DIY Lap Desk out of a Cardboard Box
I recently just got back from a trip to Egypt and decided that I should quit my job. There’s more context than that, but that was where the decision fell on the timeline.
What’s that? You want to hear about Egypt.
Oh alright, I suppose we can take a brief moment to talk about that.
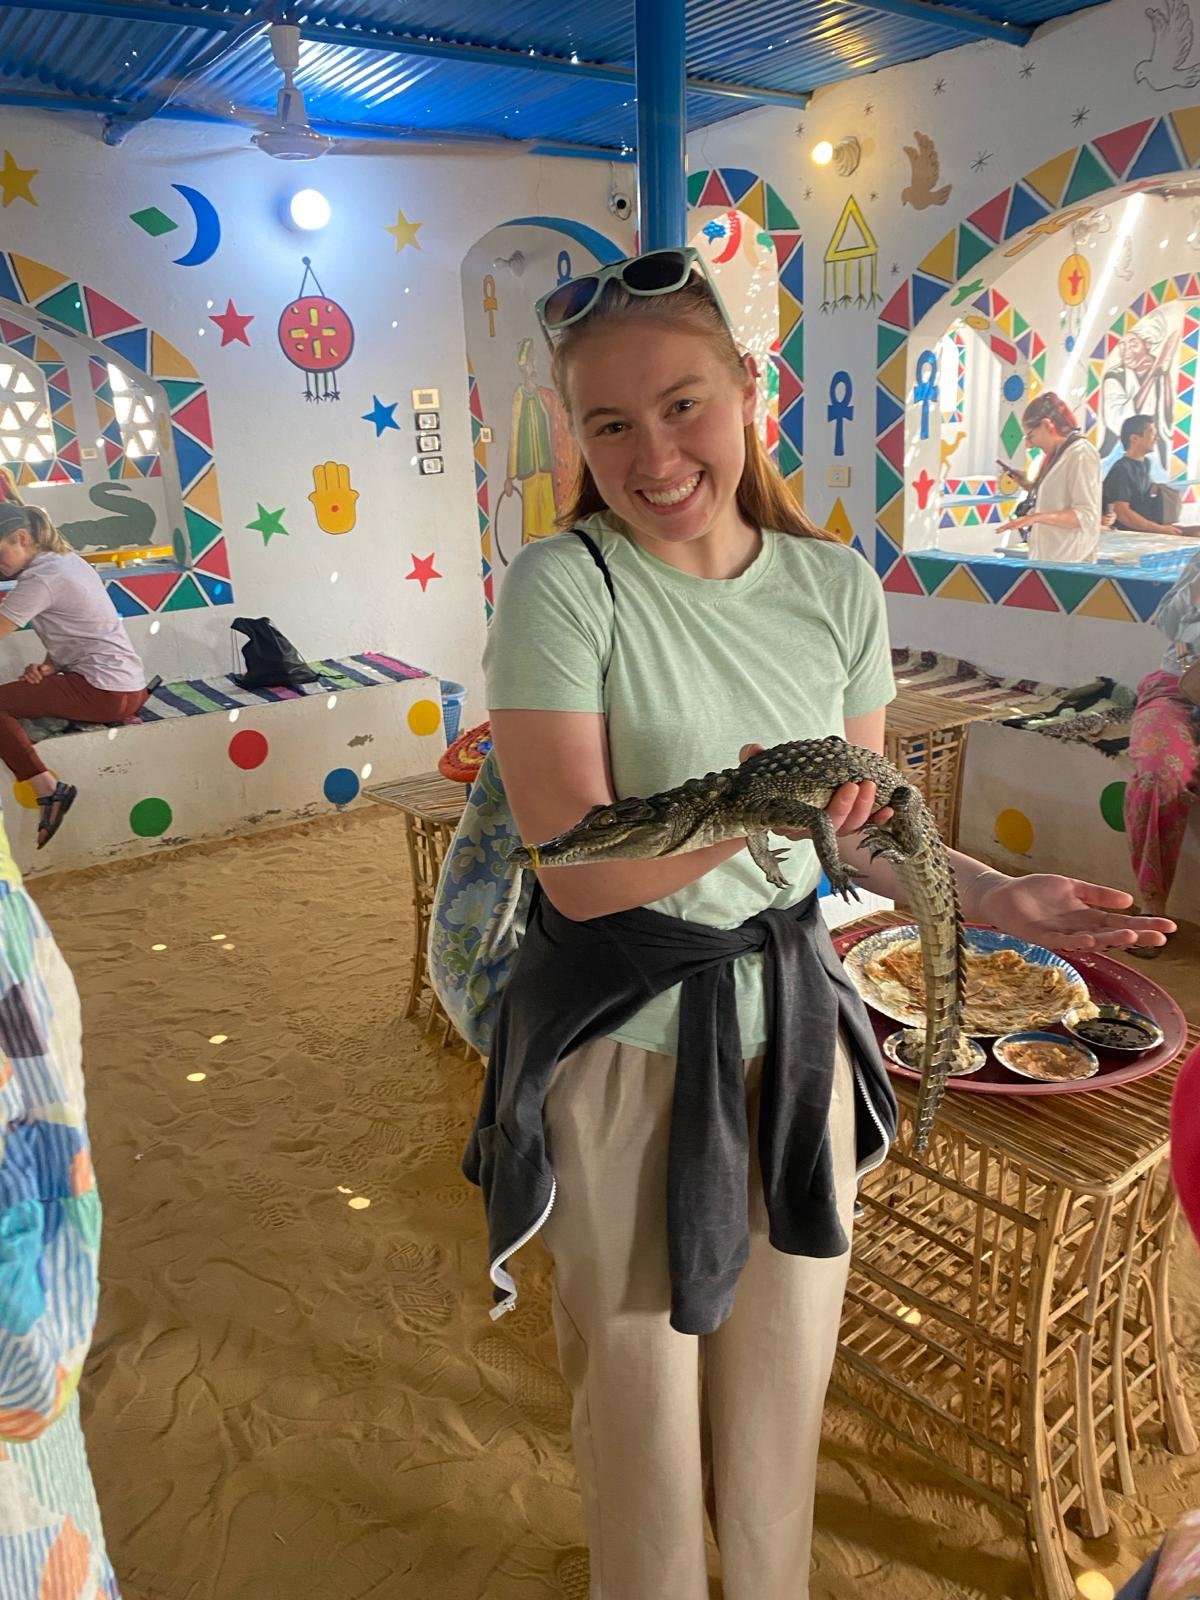
Egypt was amazing! I made some new friends, did some cool stuff, learned a lot of history, saw some famous things, and remembered how much I love to travel.
Here’s a more in depth overview of the trip.
With that out of the way let’s get on to the project.
To begin, I bought a laptop about a month ago because my old reliable laptop that survived falling out of a tree and hitting a rock crashed, not once, but twice at very inconvenient times. Hence stress purchasing a new laptop Sunday evening in order to get my assignments turned in on time.
Now, if you’re following along and don’t happen to still have the box your laptop came in, you can just use a piece of cardboard that is slightly bigger than the laptop, fits comfortably on your lap, and could accommodate a mouse should you choose to use one.
After briefly looking at some reference pictures I determined two things. 1 - lap desks have a top part and 2 - they have a bottom part that looks like a saggy pillow.
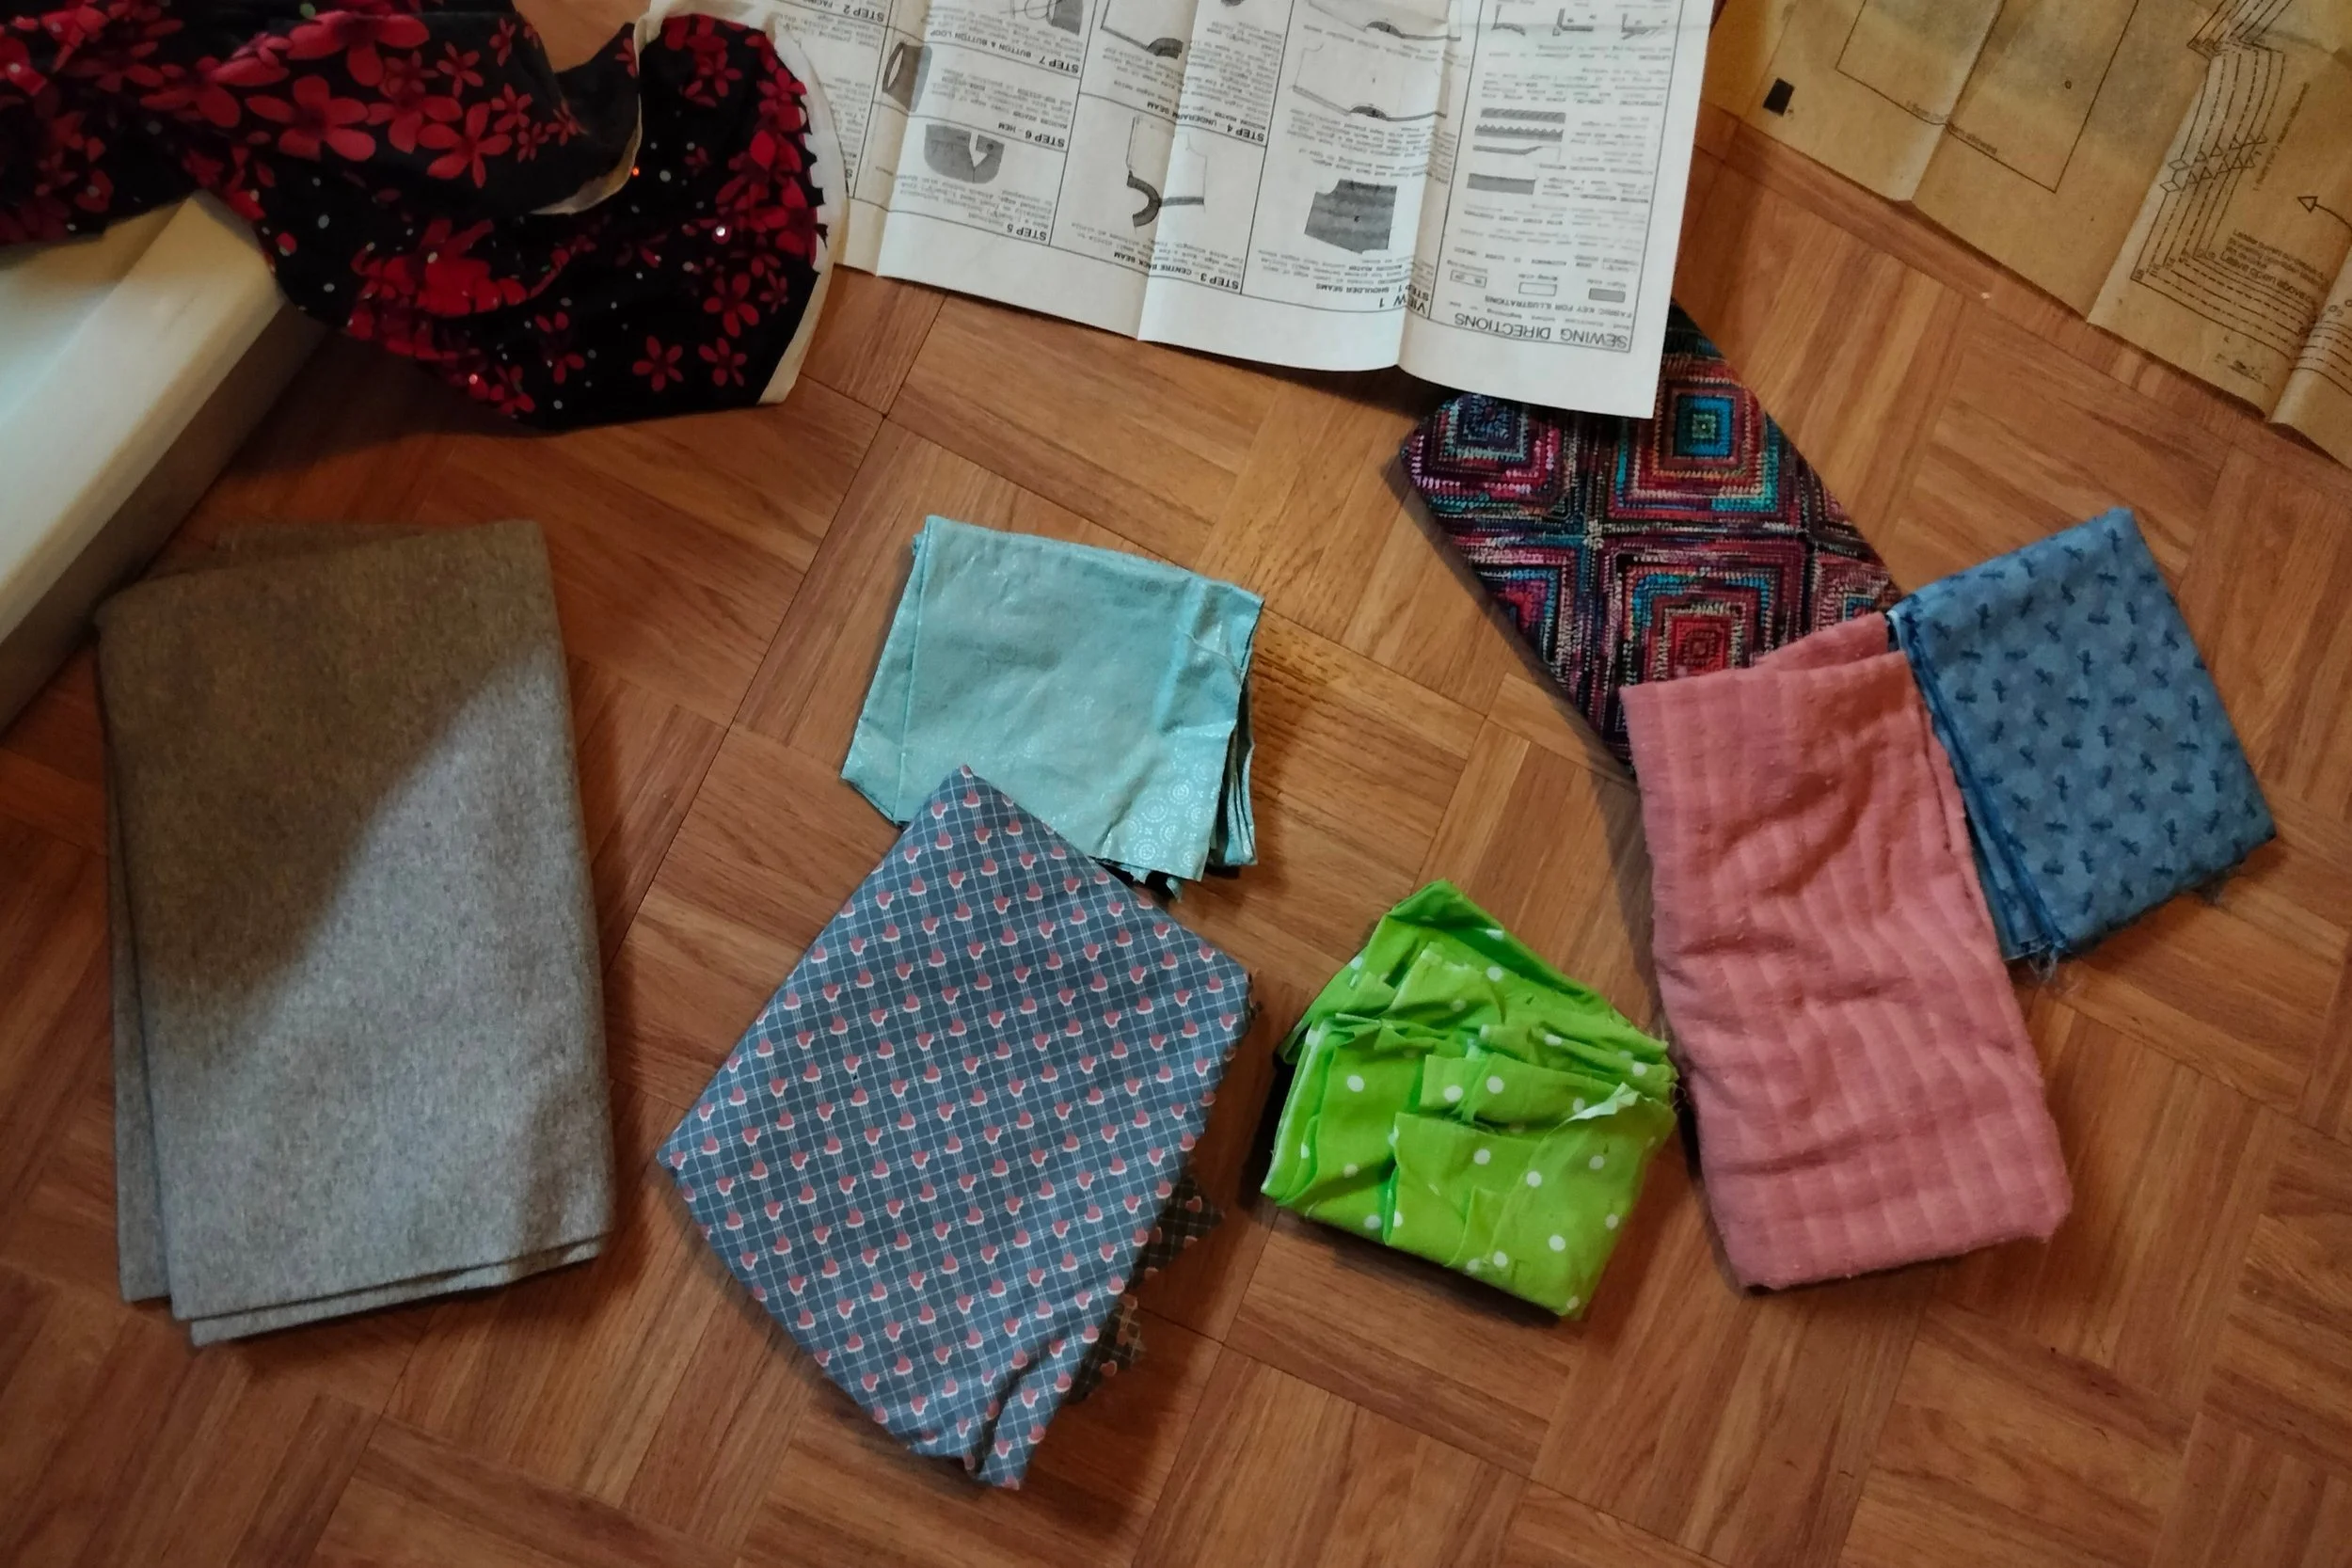
I raided my fabric stash, that I clearly haven’t been through in a while as there was an unhealthy layer of dust accumulated, in search of fabric for the pillow portion. These were the only pieces I liked that I thought I had enough of.
I chose the grey because it had one quality that the others just didn’t posses; stretch.
Notice the pattern pieces and fabric in the background. No, I wasn’t just being bad at cleaning up the giant mess I made. That’s a teaser for my next sewing project! Any guesses as to what it could be?
March 5th: It has not ceased snowing for the past three days. I have fallen gravely ill, but alas, I must finish this project I have set before myself.
Okay that’s a bit dramatic, but I am sick and there has been a shocking amount of snow in the past few days.
Anyhow, being sick is a great addition for working on projects. Usually I am very tentative to make decisions, but add in mild delusion and suddenly those decisions are easy.
First I cut out the box so I could use the two biggest uncreased pieces.
Normally, I would recommend a box and, I don’t know, some sort of cutting board. However, if you don’t have that using open scissors and being careful how deep you cut should work just fine.
Yes, my floor is just fine. Why do you ask?
Next I rounded the corners on both of the rectangles.
Again, I didn’t think too hard about what I was doing, just made a pattern, traced that onto all eight corners, and cut.
Surprisingly, it worked out kind of perfectly.
Then I hot glued those two pieces together around the edges (pay attention to that detail. It will come back to haunt me in the future).
If at this point you’re probably thinking, “Wow, things seem to be going really well.” I would agree. Things, however, tend not to stay running smoothly for long. This was the last moment for a while where what I tried worked out well.
Remember my bookshelf?
I had some white paint left over from that and decided that I could afford to be boring and just have a white lap desk and live with that for simplicity’s sake.
So I cracked open the paint can and slapped the white paint on cardboard.
Now, if you’re wondering about the saturation of chalk paint on cardboard, let me tell you, you have more foresight than I did. The paint made the cardboard quite soggy, which then made it warp. Remember how I only glued the edges? Yep, none of the center part was stuck together at all. It was like a slightly squashed pillow.
Undeterred, by this I put a second coat of paint on. That didn’t help the problem, but did even out the paint job.
Then, I decided the next logical solution would be to seal the whole thing with Mod Podge. This of course should only be done when the paint is sufficiently dry. Once I thought it was dry enough, I slathered it with my Mod Podge. That messed the paint up (or so I thought at the time) leaving clumps of white all over the surface.
Still undaunted, I switched to a before unrealized plan B.
Fabric.
Fabric covers a multitude of wrongs. For example, the rough edges on the cardboard.
Ignoring the colorful background, you have 10 seconds to guess which fabric I chose to use.
That’s right! Actually I have no idea if you guessed right or not, but I gave you a solid hint in the picture, so I’m sure you got it right.
Now, at this point the plan is only half baked at best. I glued the fabric on with Mod Podge. Then slathered more Mod Podge on top of the fabric to create a smooth surface.
It was at this point that I discovered my bottle of Mod Podge was half dried out. There were massive snot-like clumps in the glue itself. Rewind to when I thought the paint was messed up, it was really the glue.
I’m glad it happened though because I like the bright, colorful flowers much better than the plain, boring white.
Once the top layer was completely dry, I flipped it over.
At this point I really had no idea what I was trying to do. I hot glued around the edges of the cardboard to hold the fabric down, I barely had enough glue for that. Then used Mod Podge to seal right around the sides.
And it pretty much worked out exactly how I wanted it to.
After all of that, the cardboard smoothed back out and is still reasonably stable.
Upon reaching this point in the process, I really had no idea how to continue, so I just abandoned the project in the middle of my living room floor for approximately 4 days.
This worked well, as every time I had to step over it I was forced to think about how I was going to finish it. I still never figured it out, so once again, I just went for the next step
In this case seemed to be trimming the edges of the fabric and getting all the corners to lay flat(ish). I then hot glued the loose edges down and, for lack of a better plan, Mod Podged it all so it would stay.
Now, if you’ll remember back to a few days ago (or a few moments ago I guess) I was picking out fabric for the bottom. I chose the grey jersey knit stuff and then promptly lost it. My goal was to set it somewhere safe while I was cleaning my room and reorganizing my fabric totes so that I wouldn’t lose it, yet in doing so I lost it. Thus the great search began. I spent about two days trying to locate it. After looking everywhere, I finally found it underneath the fabric I had also saved out for that other project I am definitely going to be making soon.
Now, for the really tricky part. Making those pillowy things on the back…
I wanted to get some of those bean bag bead filler things because those feel cool, but they were expensive for a really small amount. I figured I could do my best with pillow filling and these tiny pearls I found.
I briefly consulted some reference pictures again and deemed that one pillow is slightly smaller to create a tilt.
I pulled out two chunks of fluff, rolled them to about the right shape, chopped off a piece of fabric, and honestly just went for it.
Could I describe this process or repeat it? No way. I have no recollection of what I did to get to the end result.
Just keep saying, “I have no idea what I’m doing” while randomly hot gluing things down. Now, does it look professional? Not even close. It’s the bottom though, no one cares.
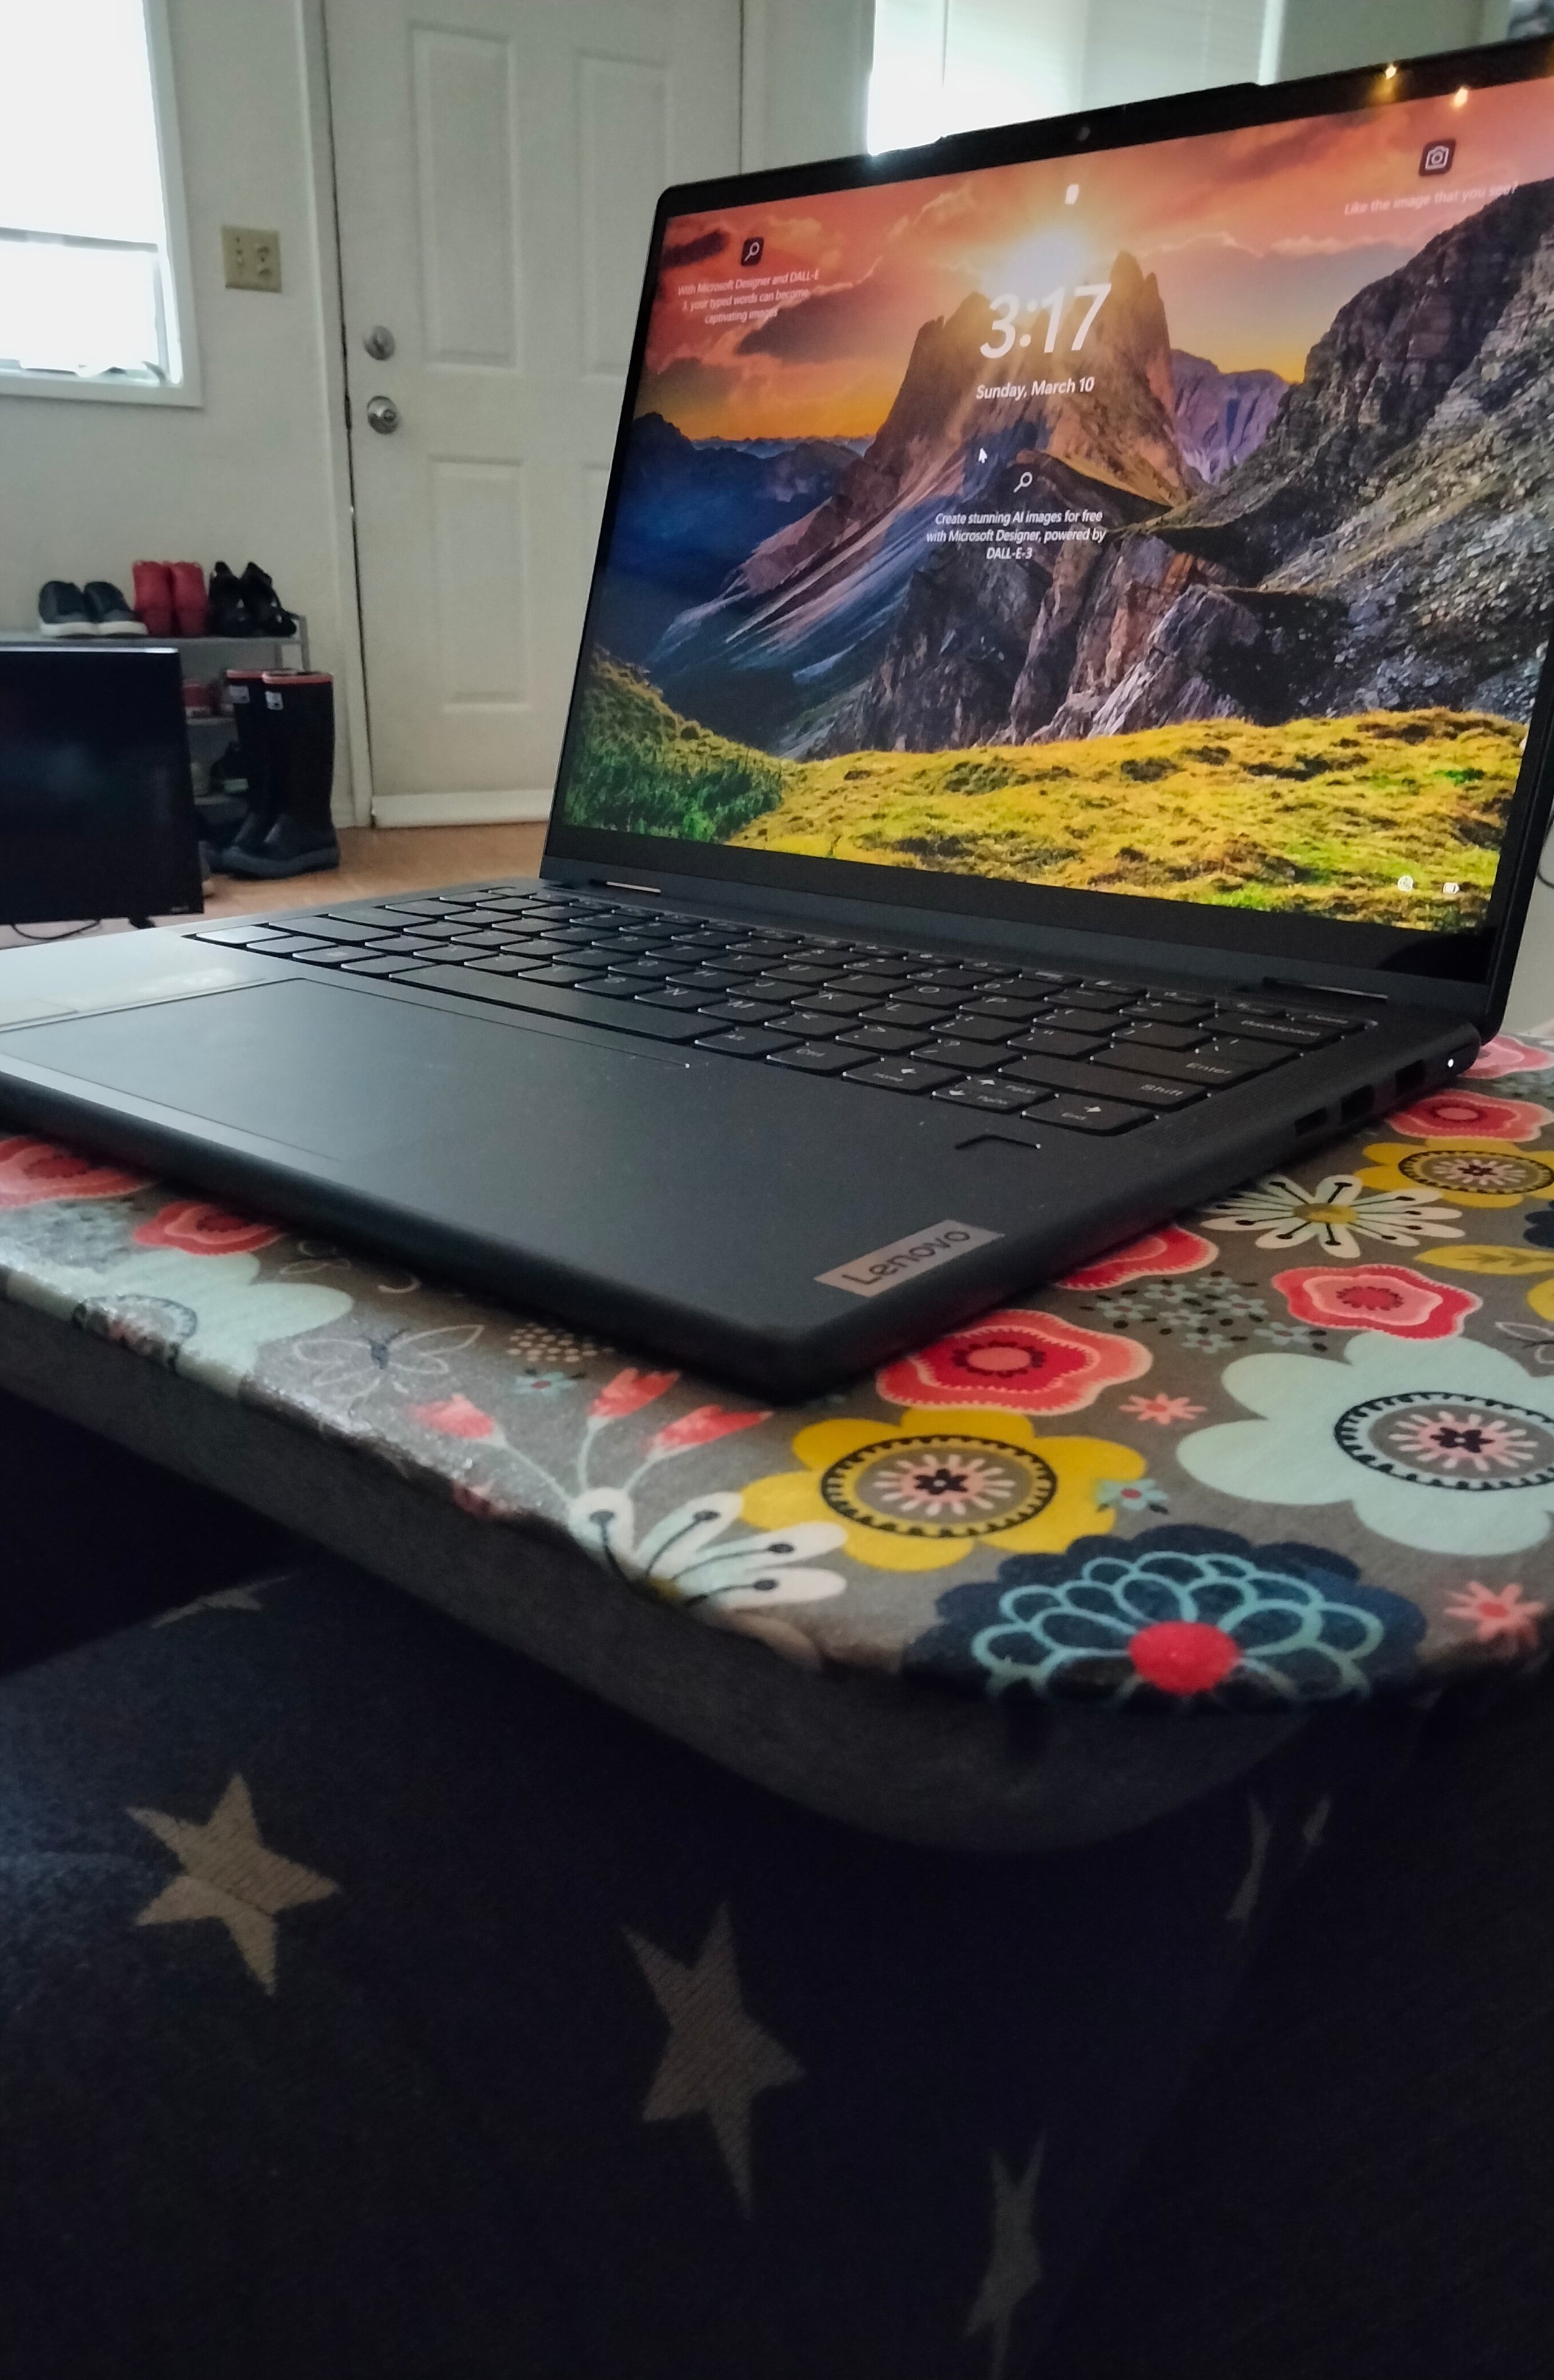
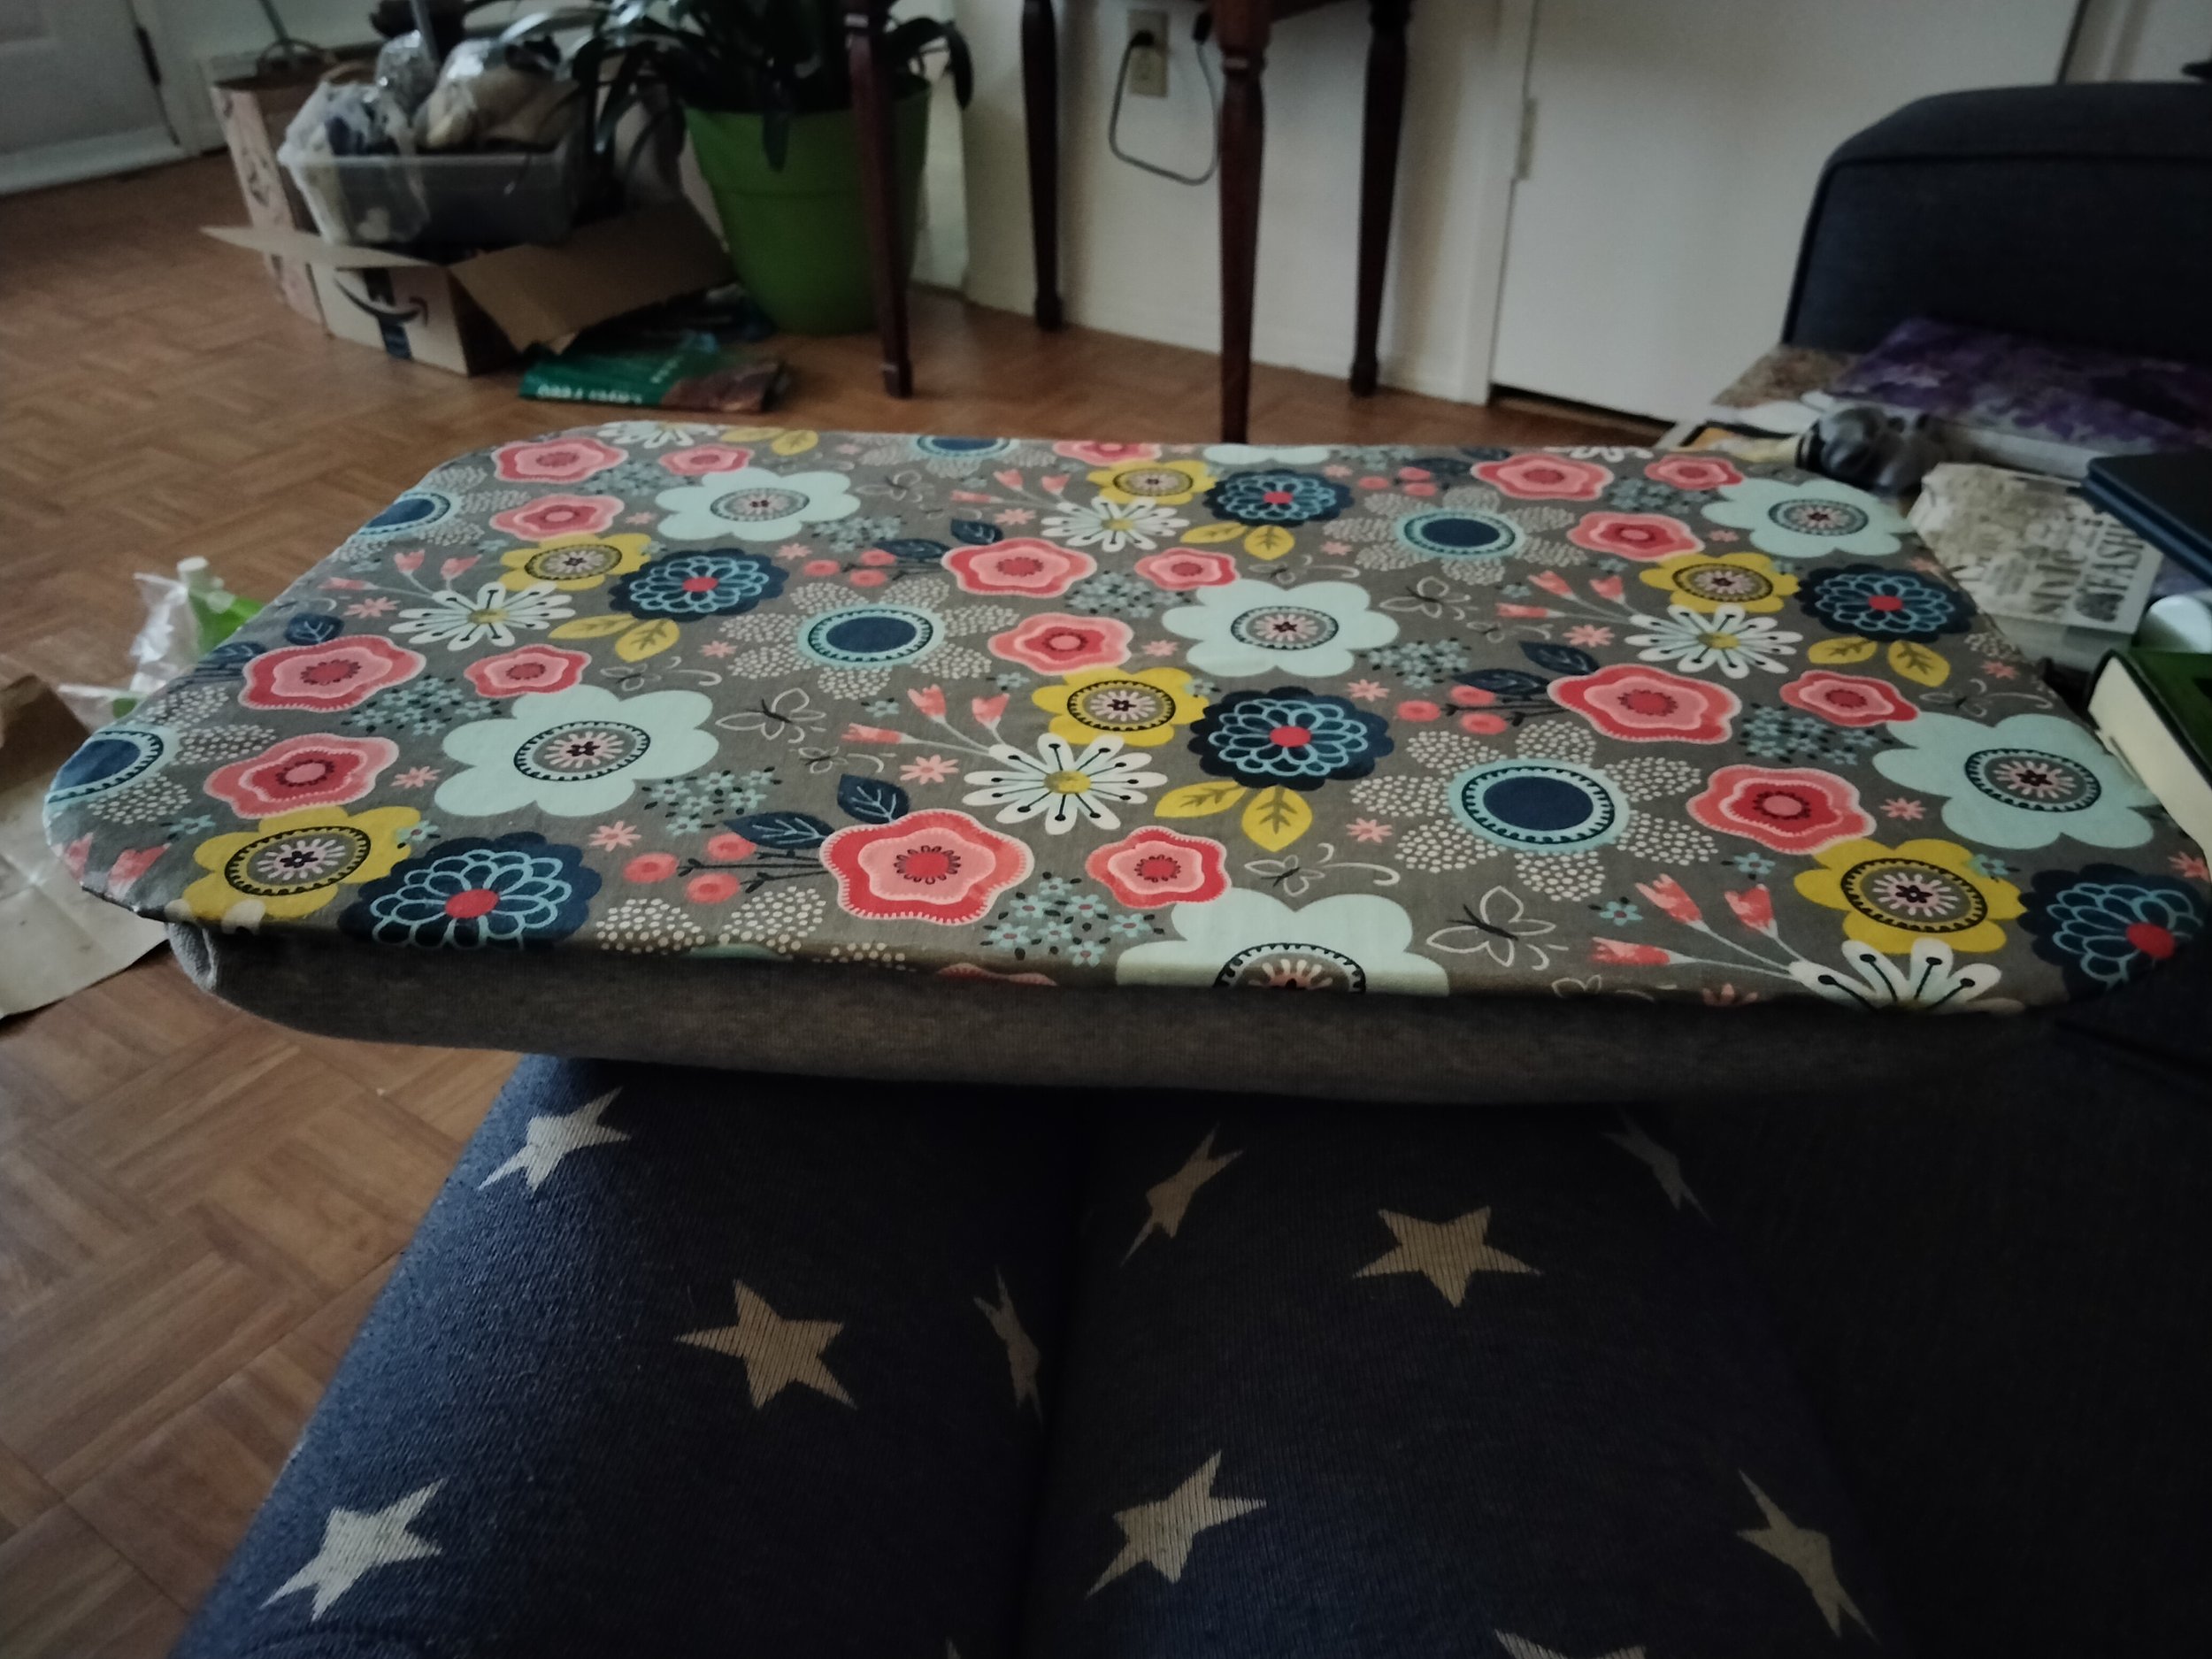
It’s functional, it’s finished, and I love it!
Thoughts on this project:
Did it turn out how I thought it would? No, it’s ten times better than I ever imagined it could be!
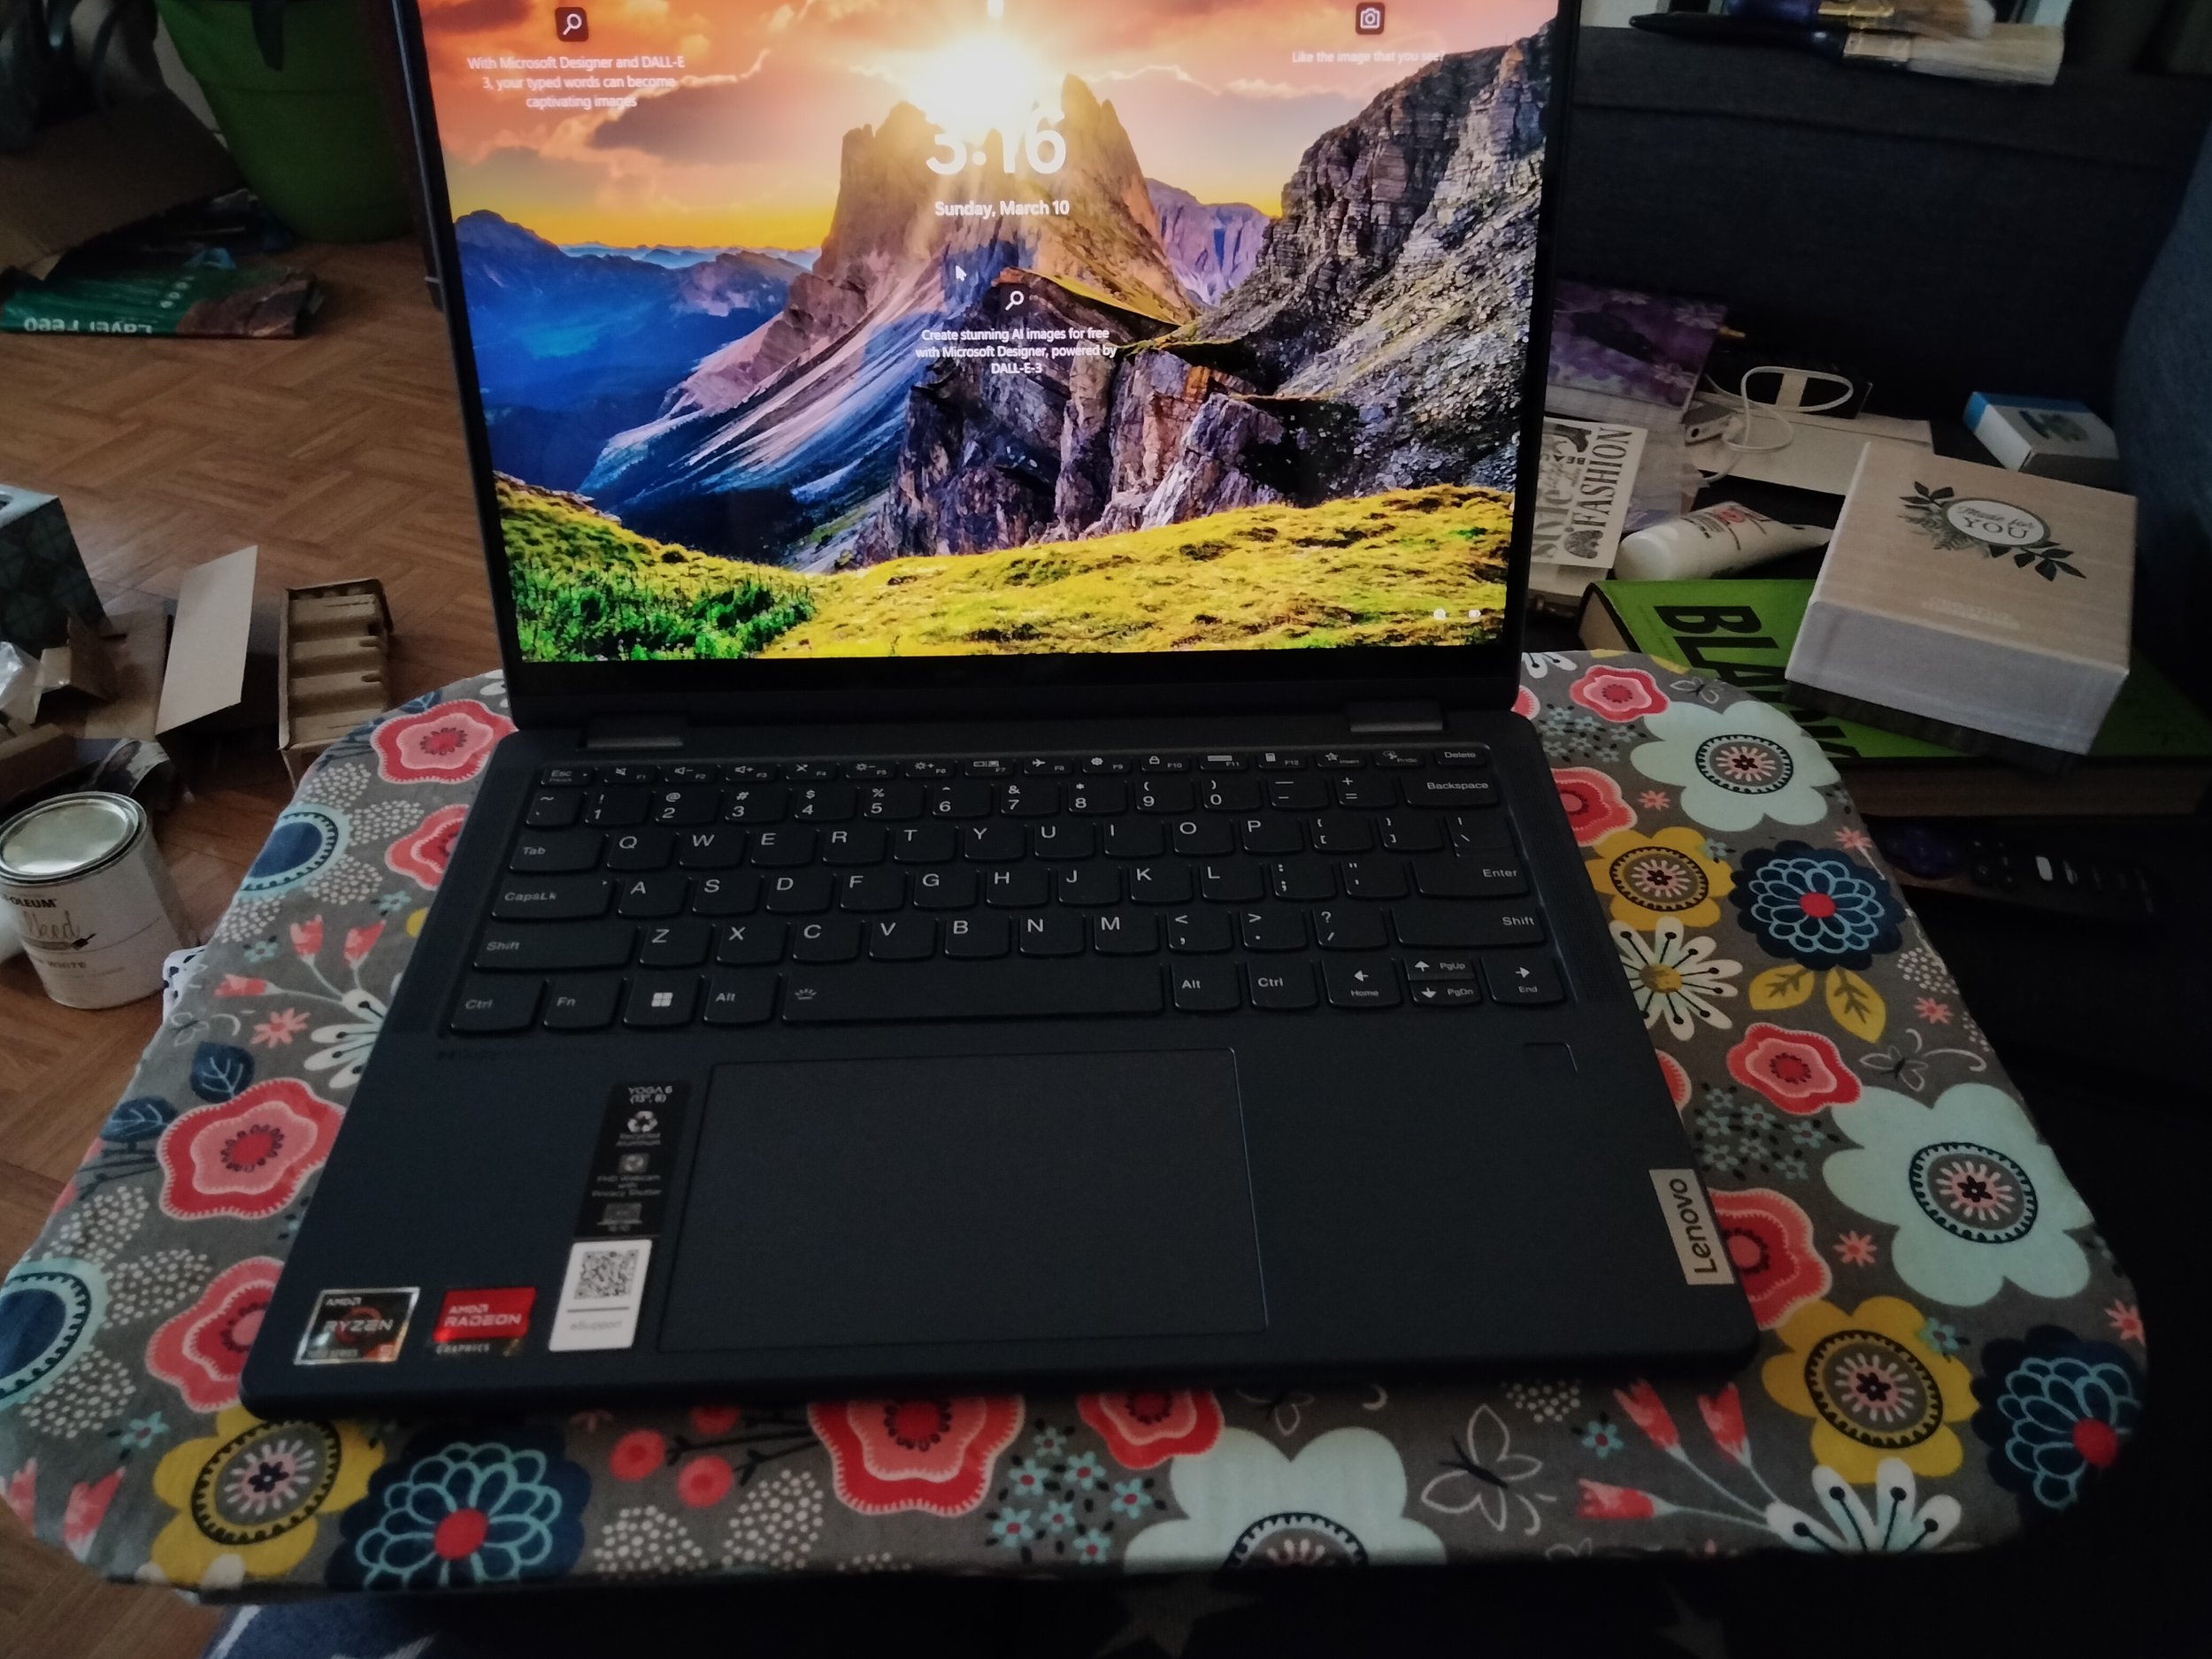
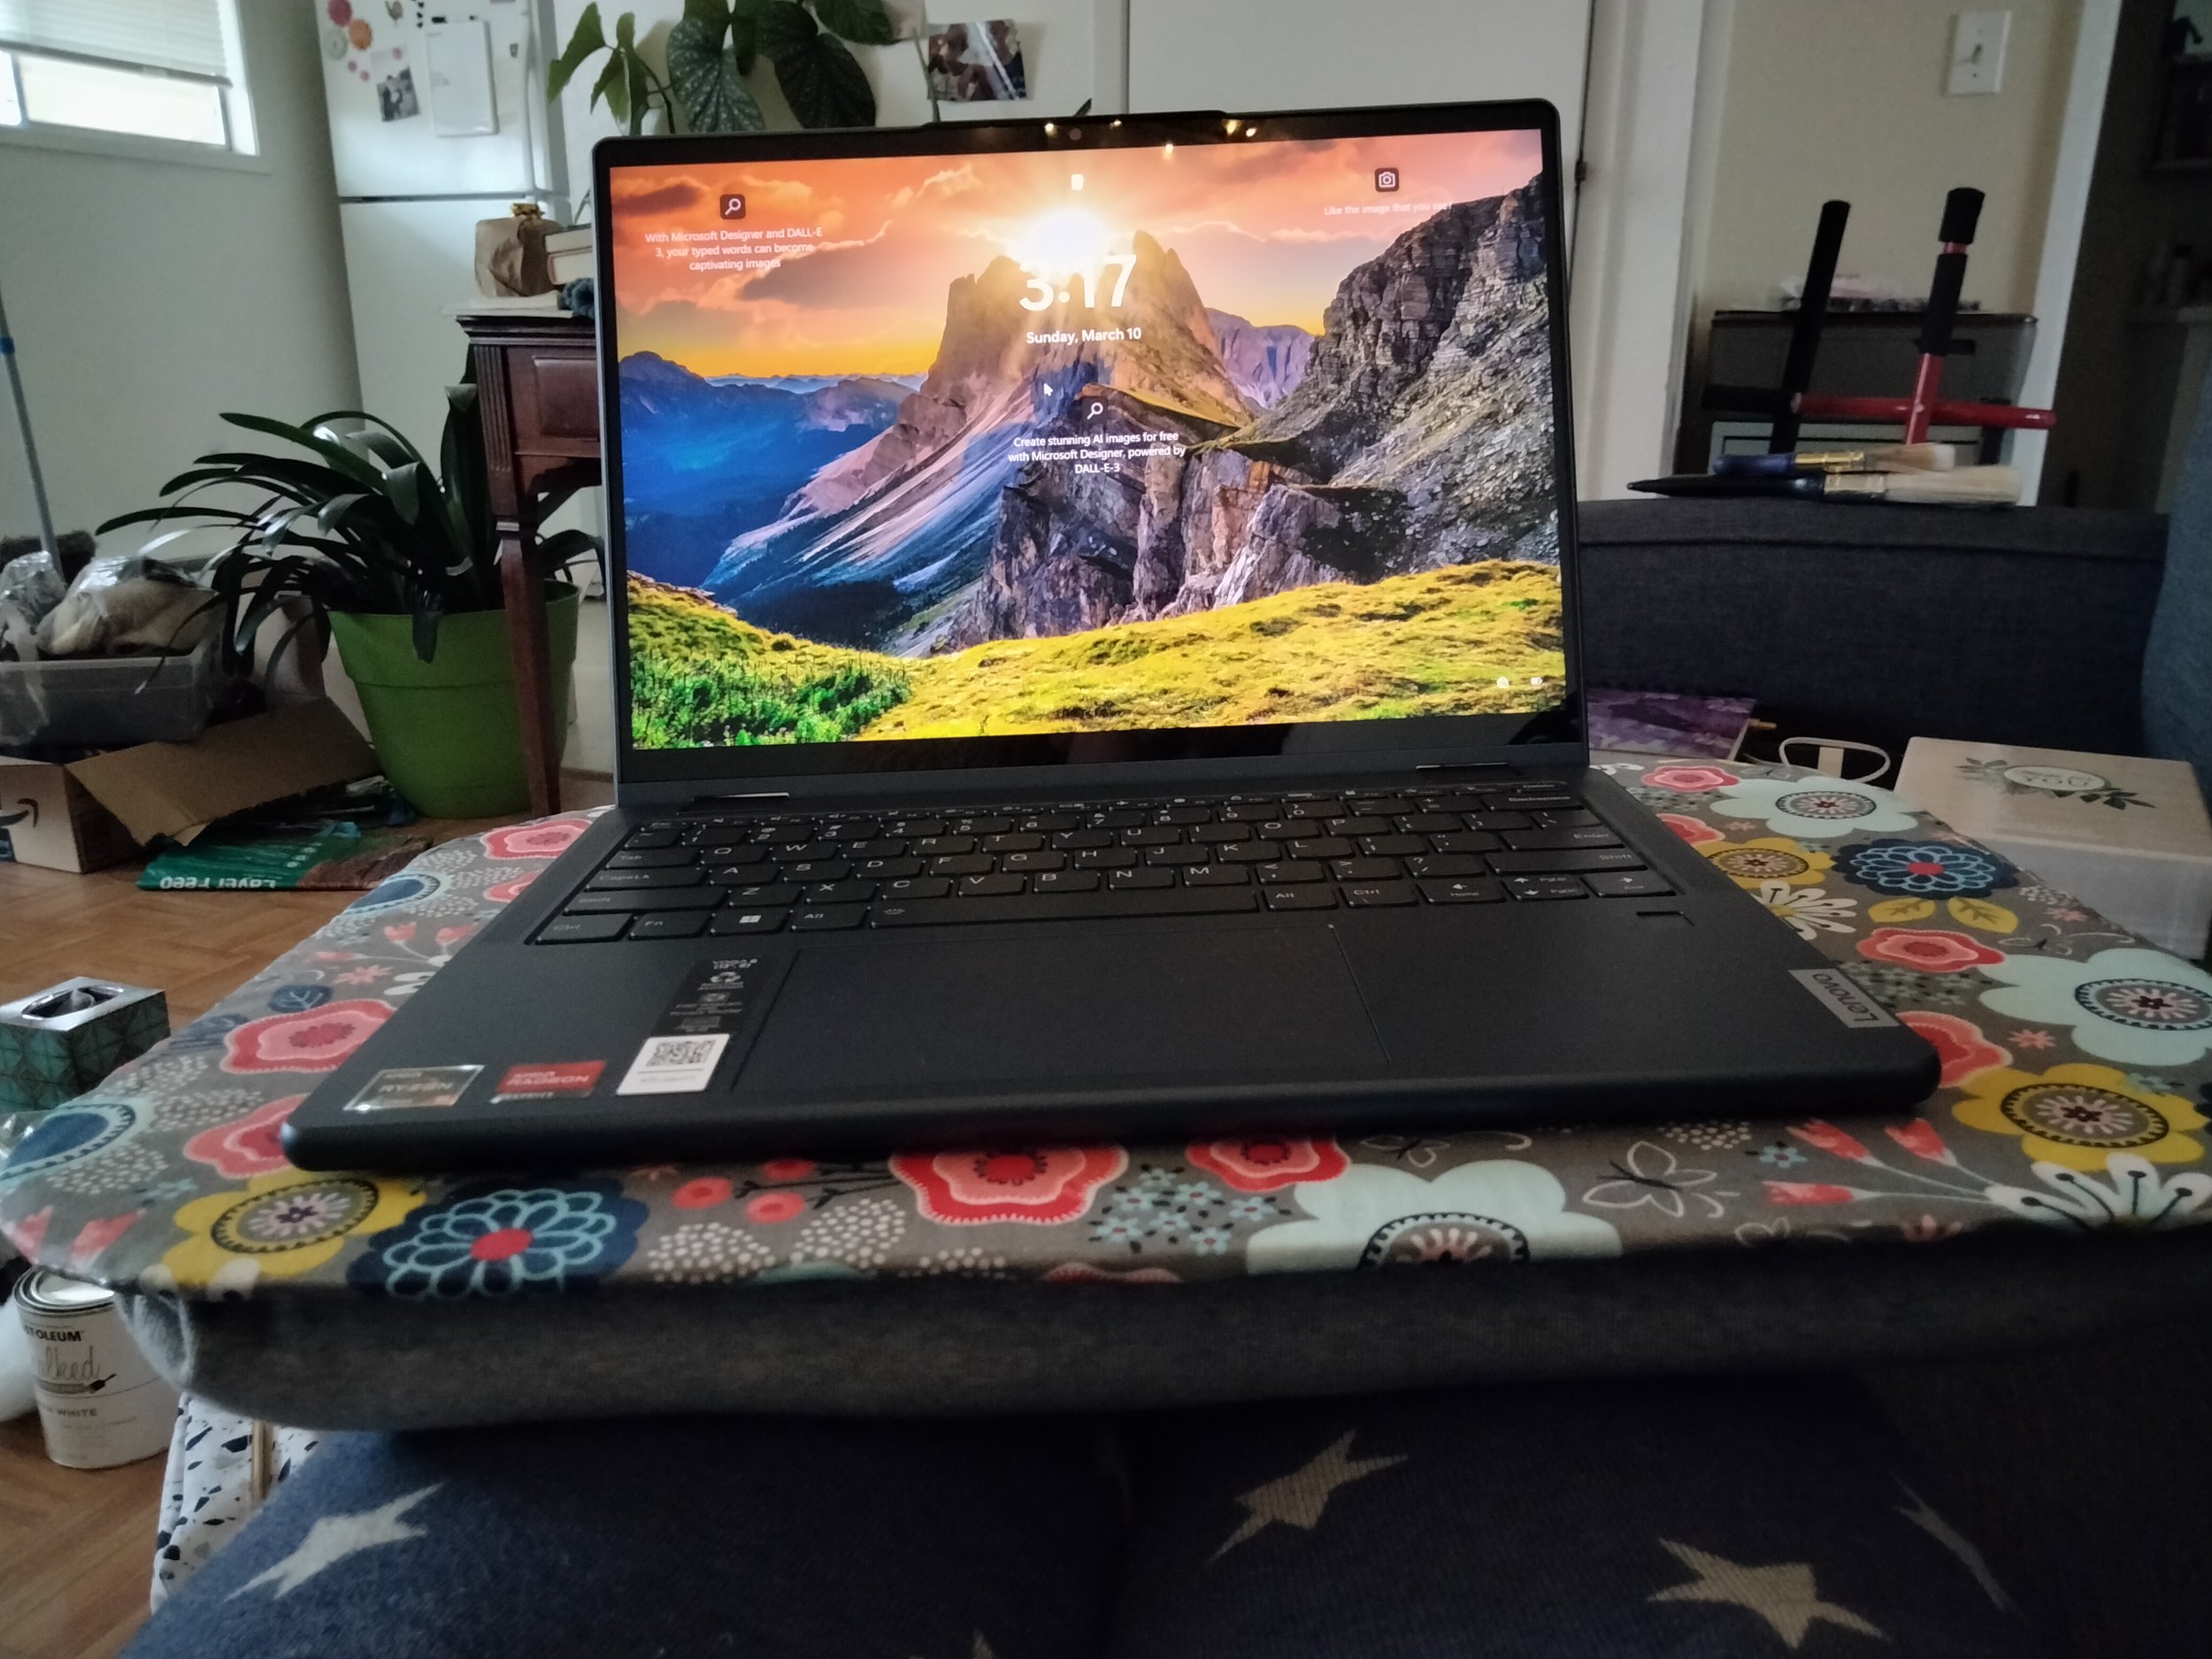
Don’t let a sick person take photographs. I mean, usually my photography isn’t fantastic, but at least I sort of try. This time though, well…
Honestly, I think this may have been one of my favorite posts I’ve ever written. Feel free to disagree, but let me know which one is your favorite.
One of these days I may start doing videos, but let me tell you why I’m grateful videos are not my platform right now. I have completely lost my voice. It’s been gone for almost four days now. I wouldn’t have been able to post this for a long time if I had to narrate anything.
I will conclude with that. I’ll see you again very soon with a sewing project!!!


