Surf Changing Towel Poncho
I'll write an intro later…
You probably think I forgot to take that part out before I posted this. I didn't. I just can't think of a good introductory anecdote, so pretend I wrote something amazing, and we're moving on.
This was probably the easiest thing I've ever made.
I was actually annoyed with how easy it was and that nothing went wrong and that it basically turned out exactly how I wanted it to. Like they always say, life without some adversity is dull.
Someone may have said that or I may have just made it up. Either way, it sounds good.
Now on to the project.

The supplies needed are:
2 beach towels
Thread
And… yeah, that's literally it
I guess pins too, but they’re not absolutely necessary
I had all of these thread colors, but none of them matched quite well enough and honestly I don’t remember which one I used anyway so pick whichever one you like best and pretend that was the one I picked. Wow, I’m making you use your imagination a lot this time.
At this point it might be good to explain what a surf changing towel poncho is… Though, come to think of it, I’m not exactly sure what they are. All I know is all the wake surfers I’ve been around have one so they must be important.

To start out, I measured the towel to see how long I wanted it to be. I marked kneeish length with my eyes, lost that mark almost instantly, and then chopped off enough to make a kitchen towel.
If you’re one of those people who prefers straight lines, I would recommend using a ruler to ensure that you don’t end up cutting quite so crooked of a line. If, however, you don’t care, just cut along the same line to ensure symmetrical crookedness.
I probably evened it up. I really don’t remember. I made this back in May and the pictures are out of order (or my recollection of how this all came together is out of order). This is all very confusing. Not for my dear readers, because by the time you read this I will have hopefully laid everything out in somewhat of a chronological timeline. Right now, I just have no idea what the next step was, because I guess I didn’t take pictures.

I think the first thing I did was to sew the top and sides together. The important part there is to leave openings for your head and arms and to not sew all the way to the bottom.
It should look something like this amazing artist rendering.
Yes, I’m aware the red lines are uneven, I just can’t be bothered to fix them right now. It’s a rendering, not an exact science.

Next, it seems that I sewed down the edges along the shoulders, probably so they wouldn’t fray. Also, that would have hemmed up the neck opening.
The great thing about using towels for this is that they already have hemmed edges. Apart from the one end I cut off I didn’t have to worry about hemming anything. That may have been one of the things that made this project take so little time.
Now, comes the most difficult part of the project. The hood.

I say it was difficult, but really I just looked up “hood pattern” and found this one for a renaissance faire costume.
It even came with measurements. Which I conveniently didn’t really use, but they looked friendly and helpful.

I took one of the dish towel length leftover towel pieces and marked out a similar shape.
I did measure the base of the hood to the circumference of the neck hole, just so that it would fit.
I tried to draw a nice curve for the back, but the marker didn’t show up at all on the towel and I didn’t feel like looking for another marking apparatus, so I just pictured in my mind what I wanted it to look like and free handed it.

To my shock and amazement it turned out slightly perfect.
A quick seam along the curved edge turned it into a beautiful hood.

That hood then got sewn to the neck opening.
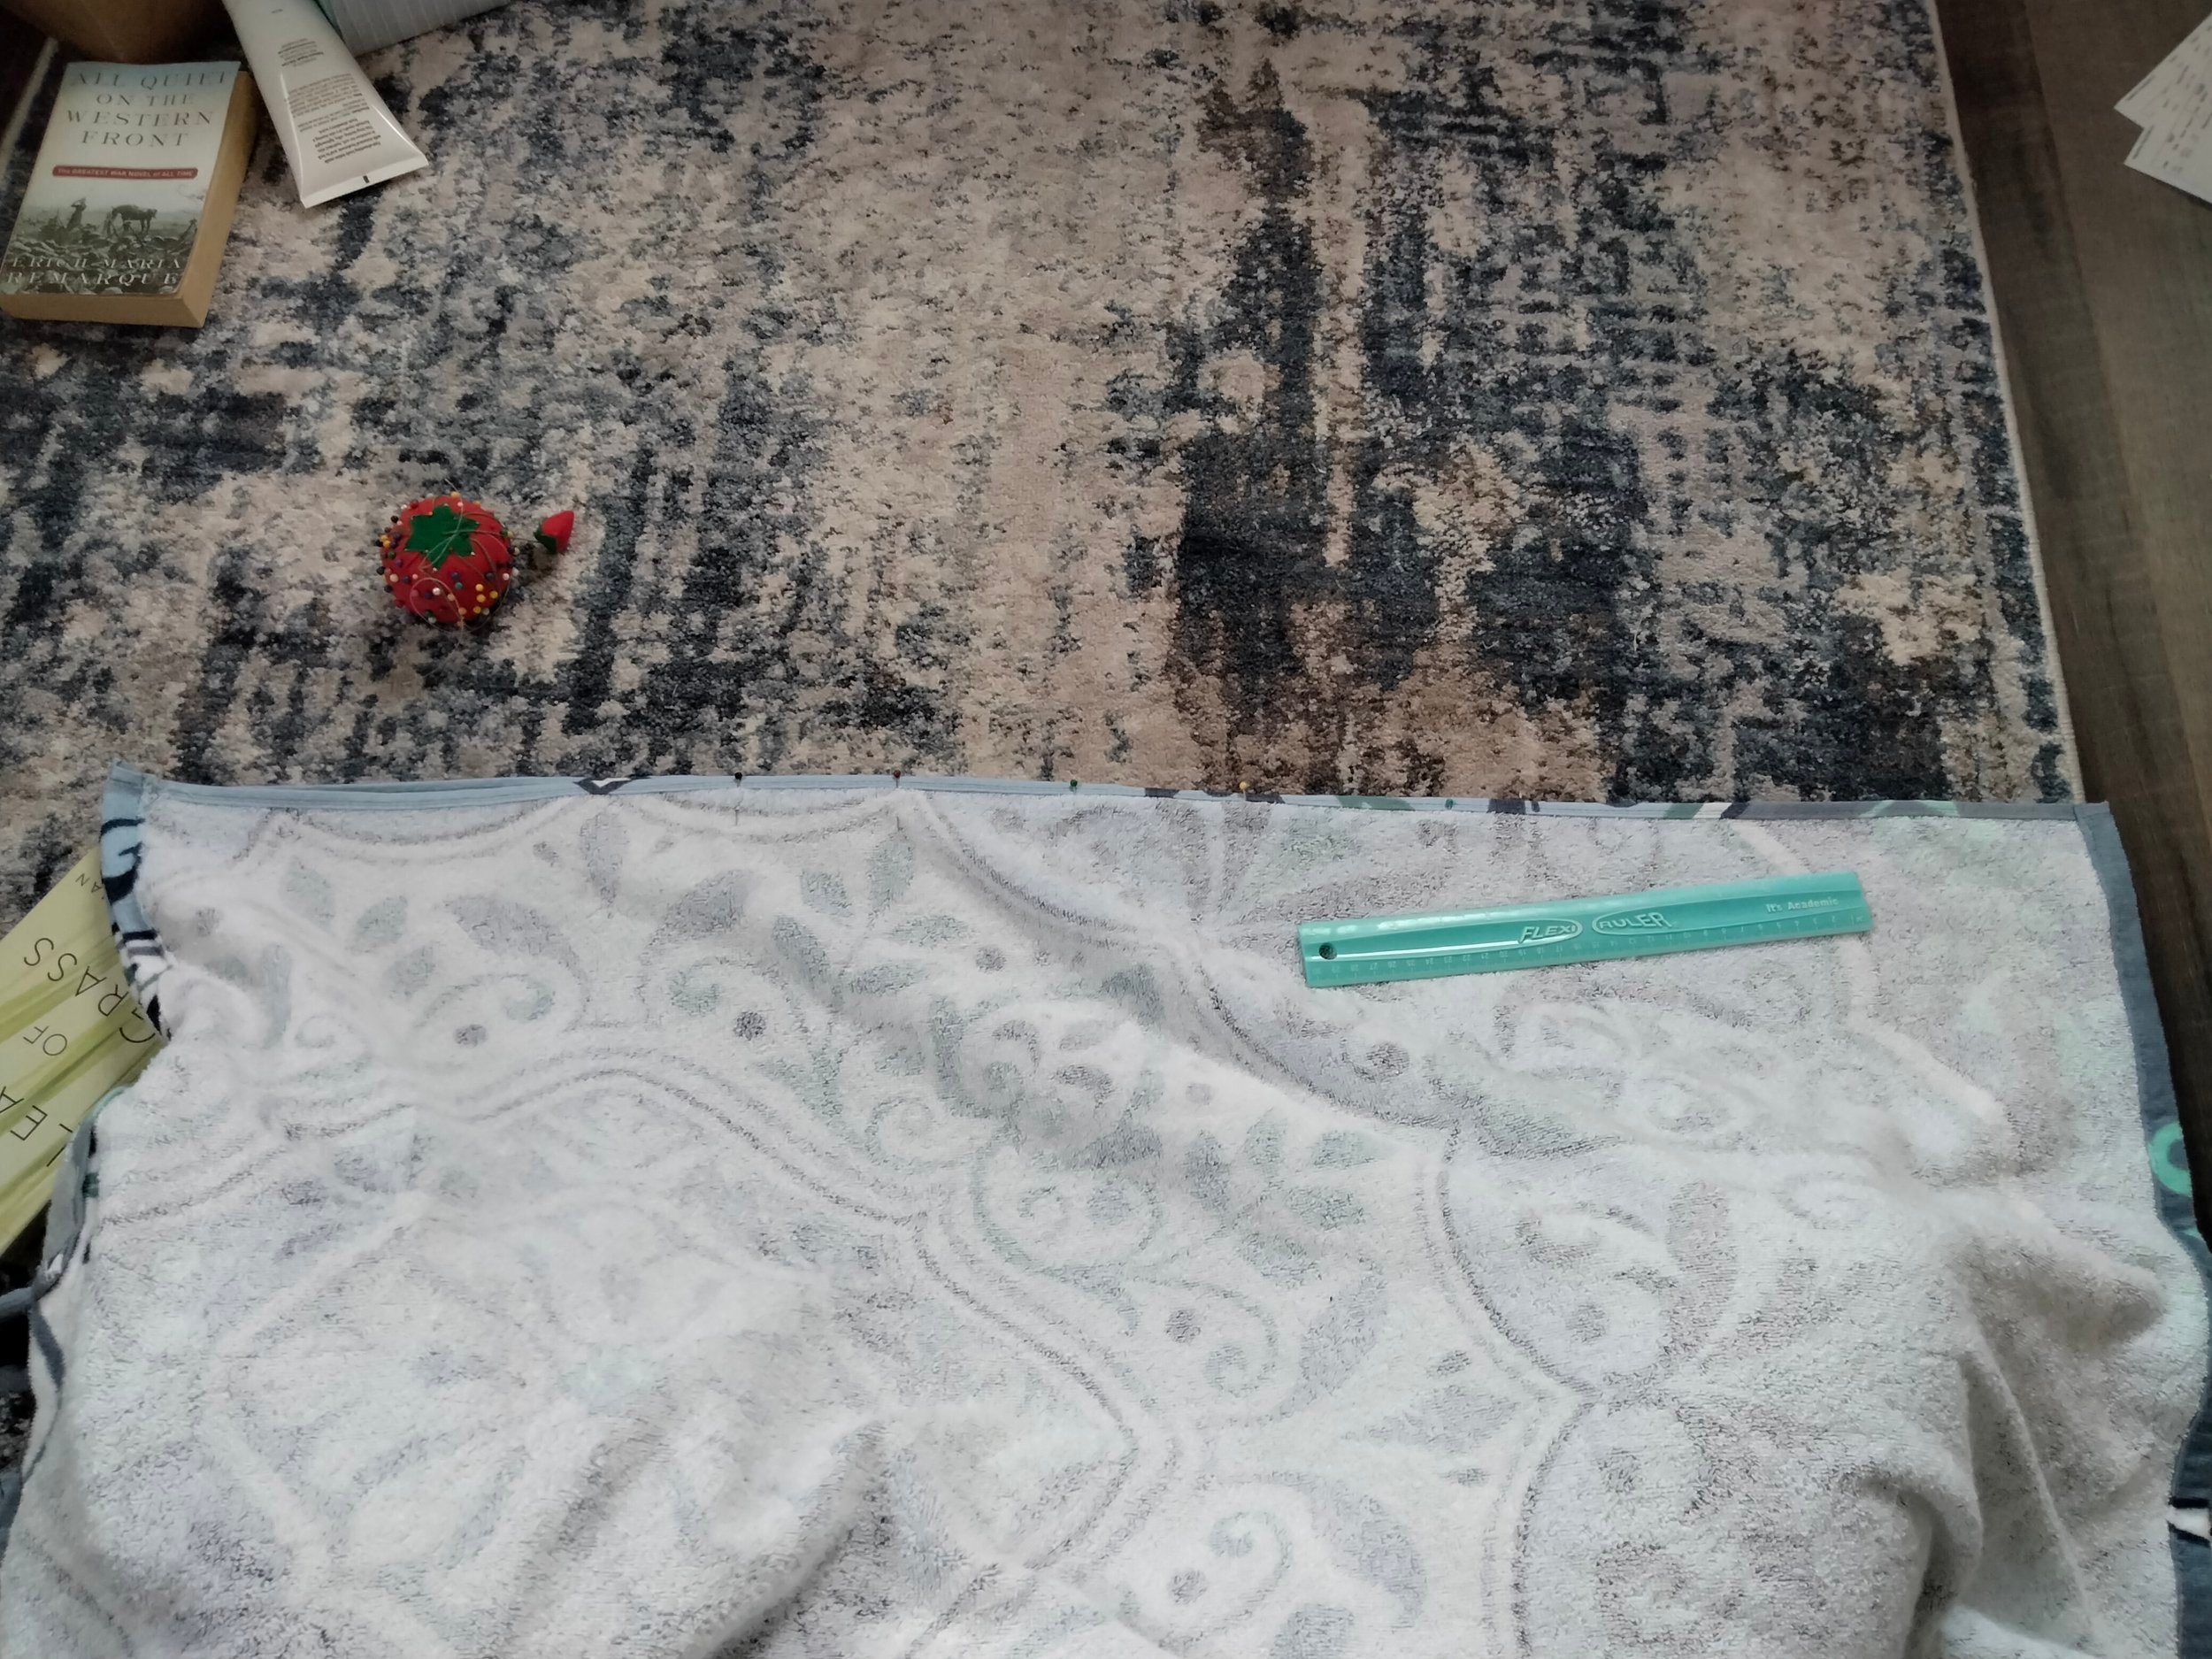
I’m not sure why I thought this shot would be useful, but there it is, make of it what you will.
With that, the changing towel poncho is complete.
Oh wait, I guess sewing up the sides was the last thing I did.
Don’t do that part back when I told you to.
I think I put the ruler in as a reference point for how far down I didn’t sew, but it’s not really lined up with anything, so it doesn’t really help.
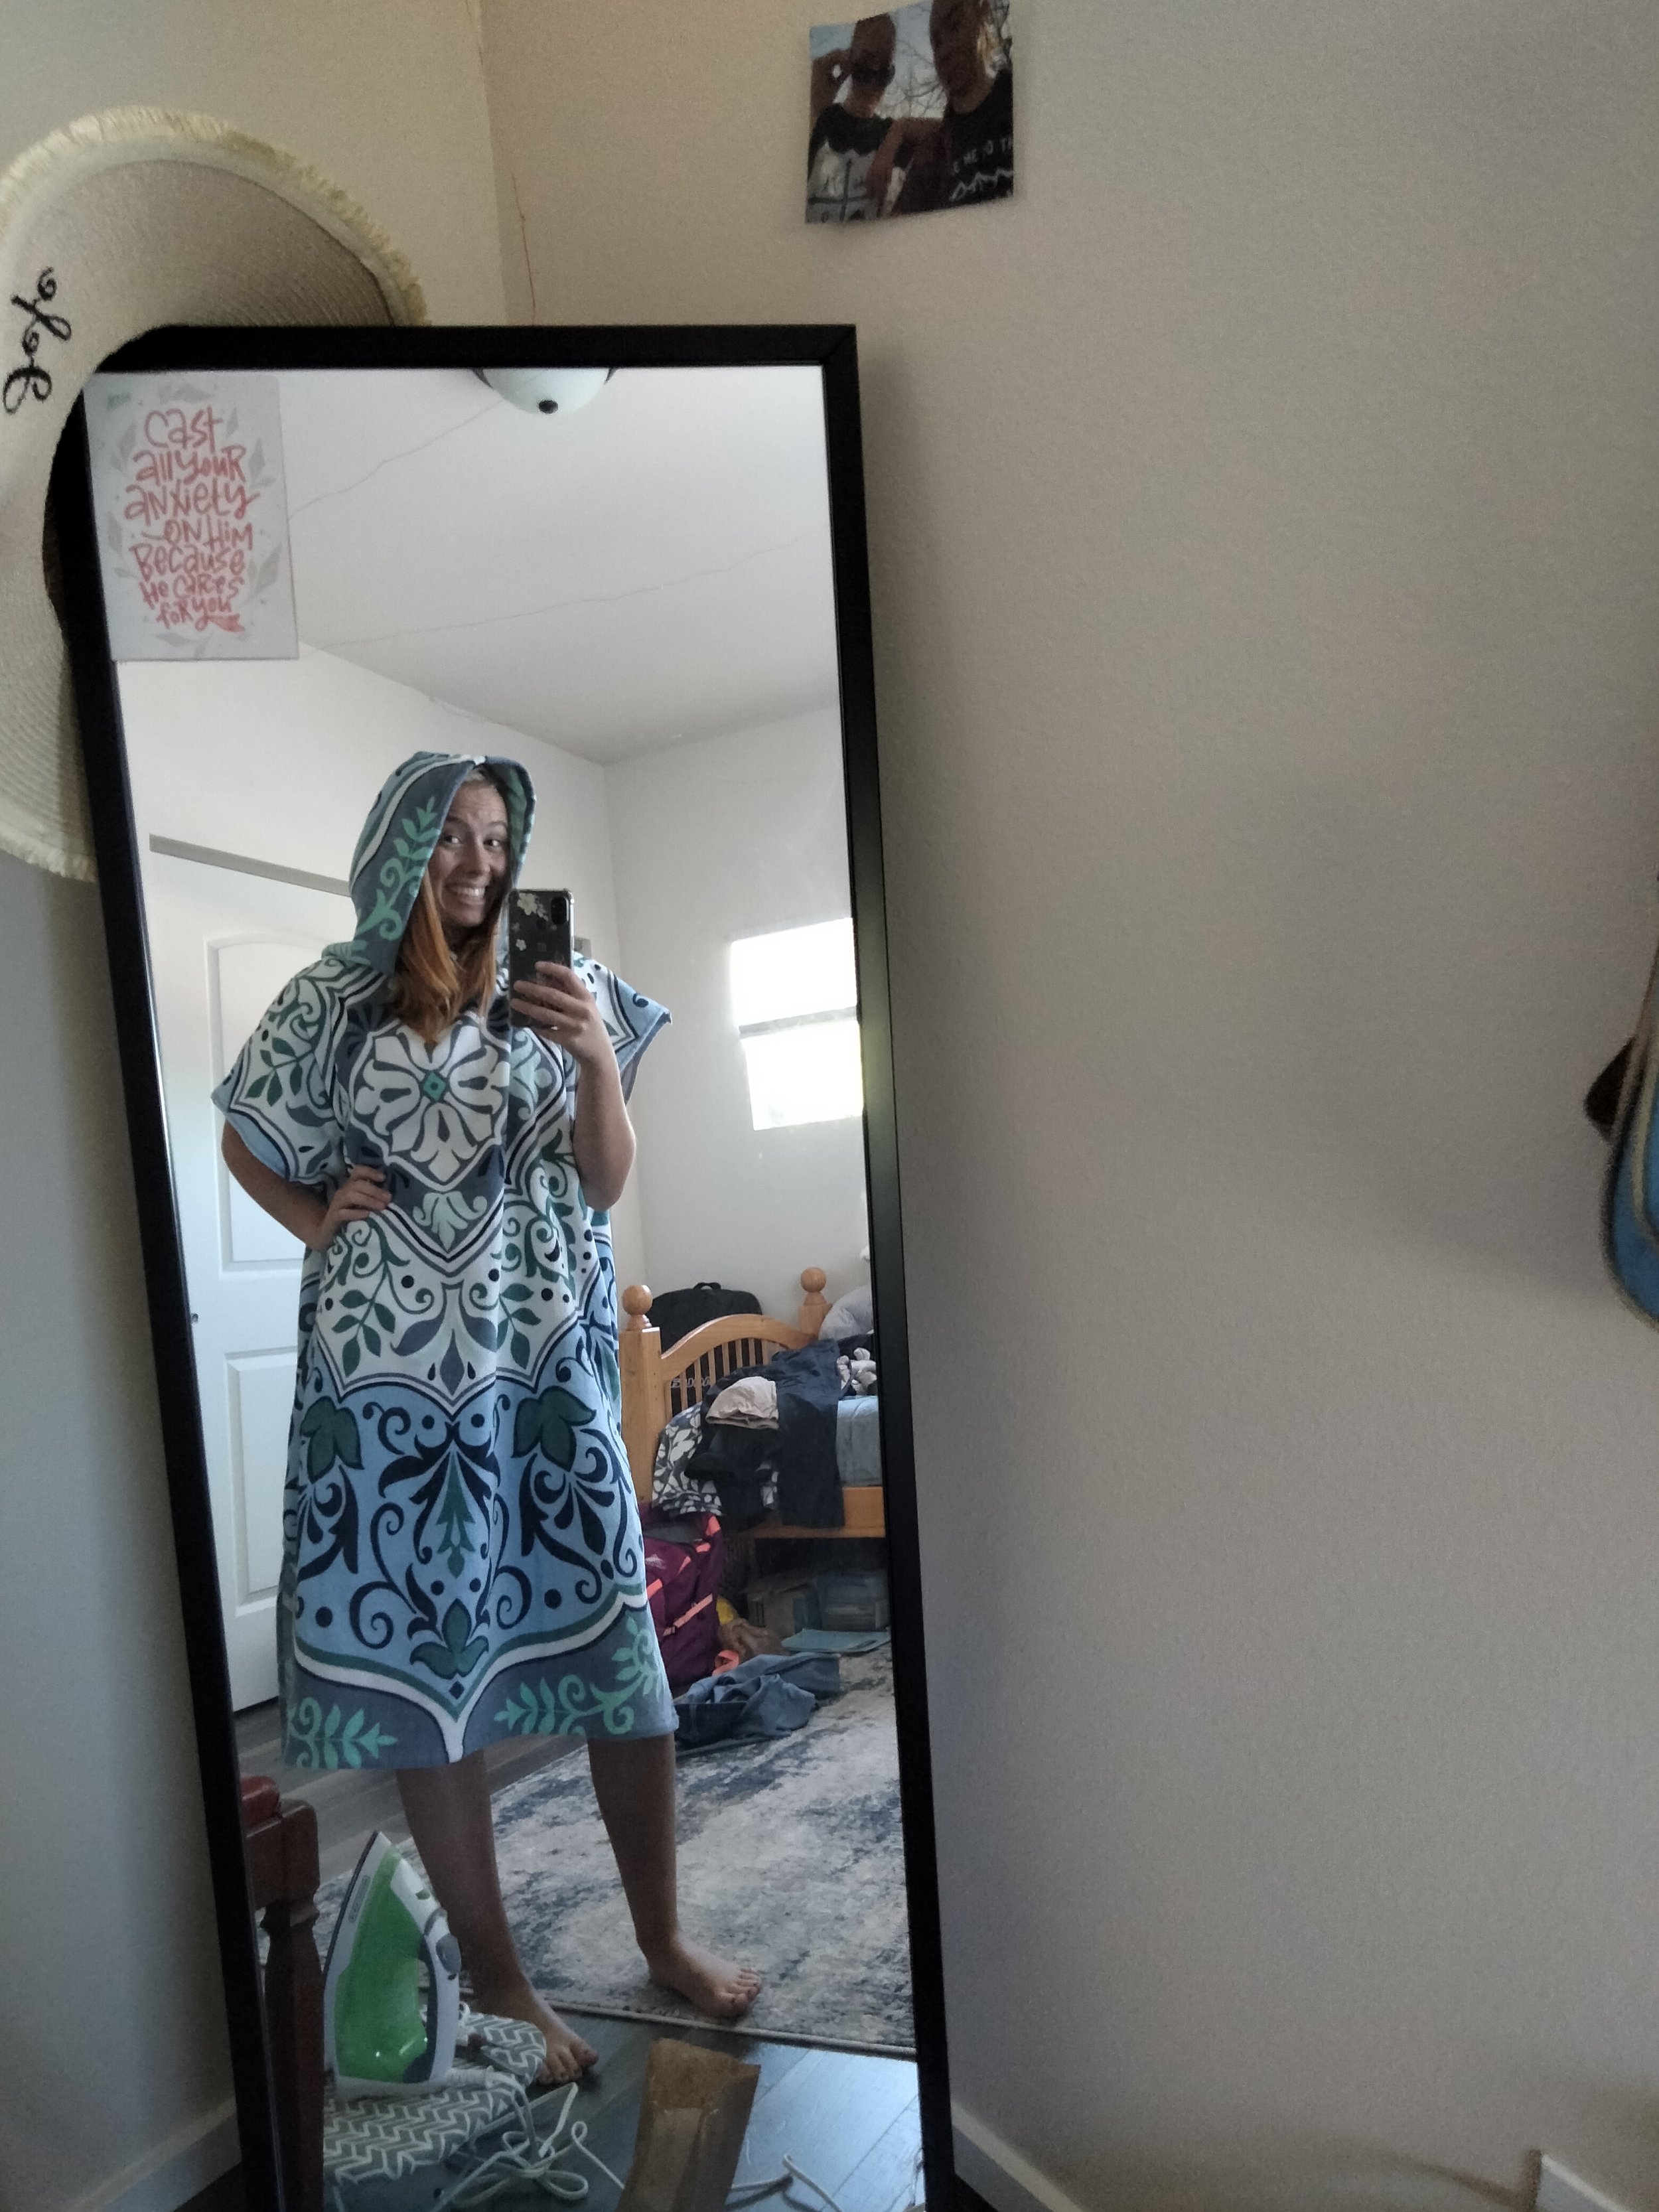
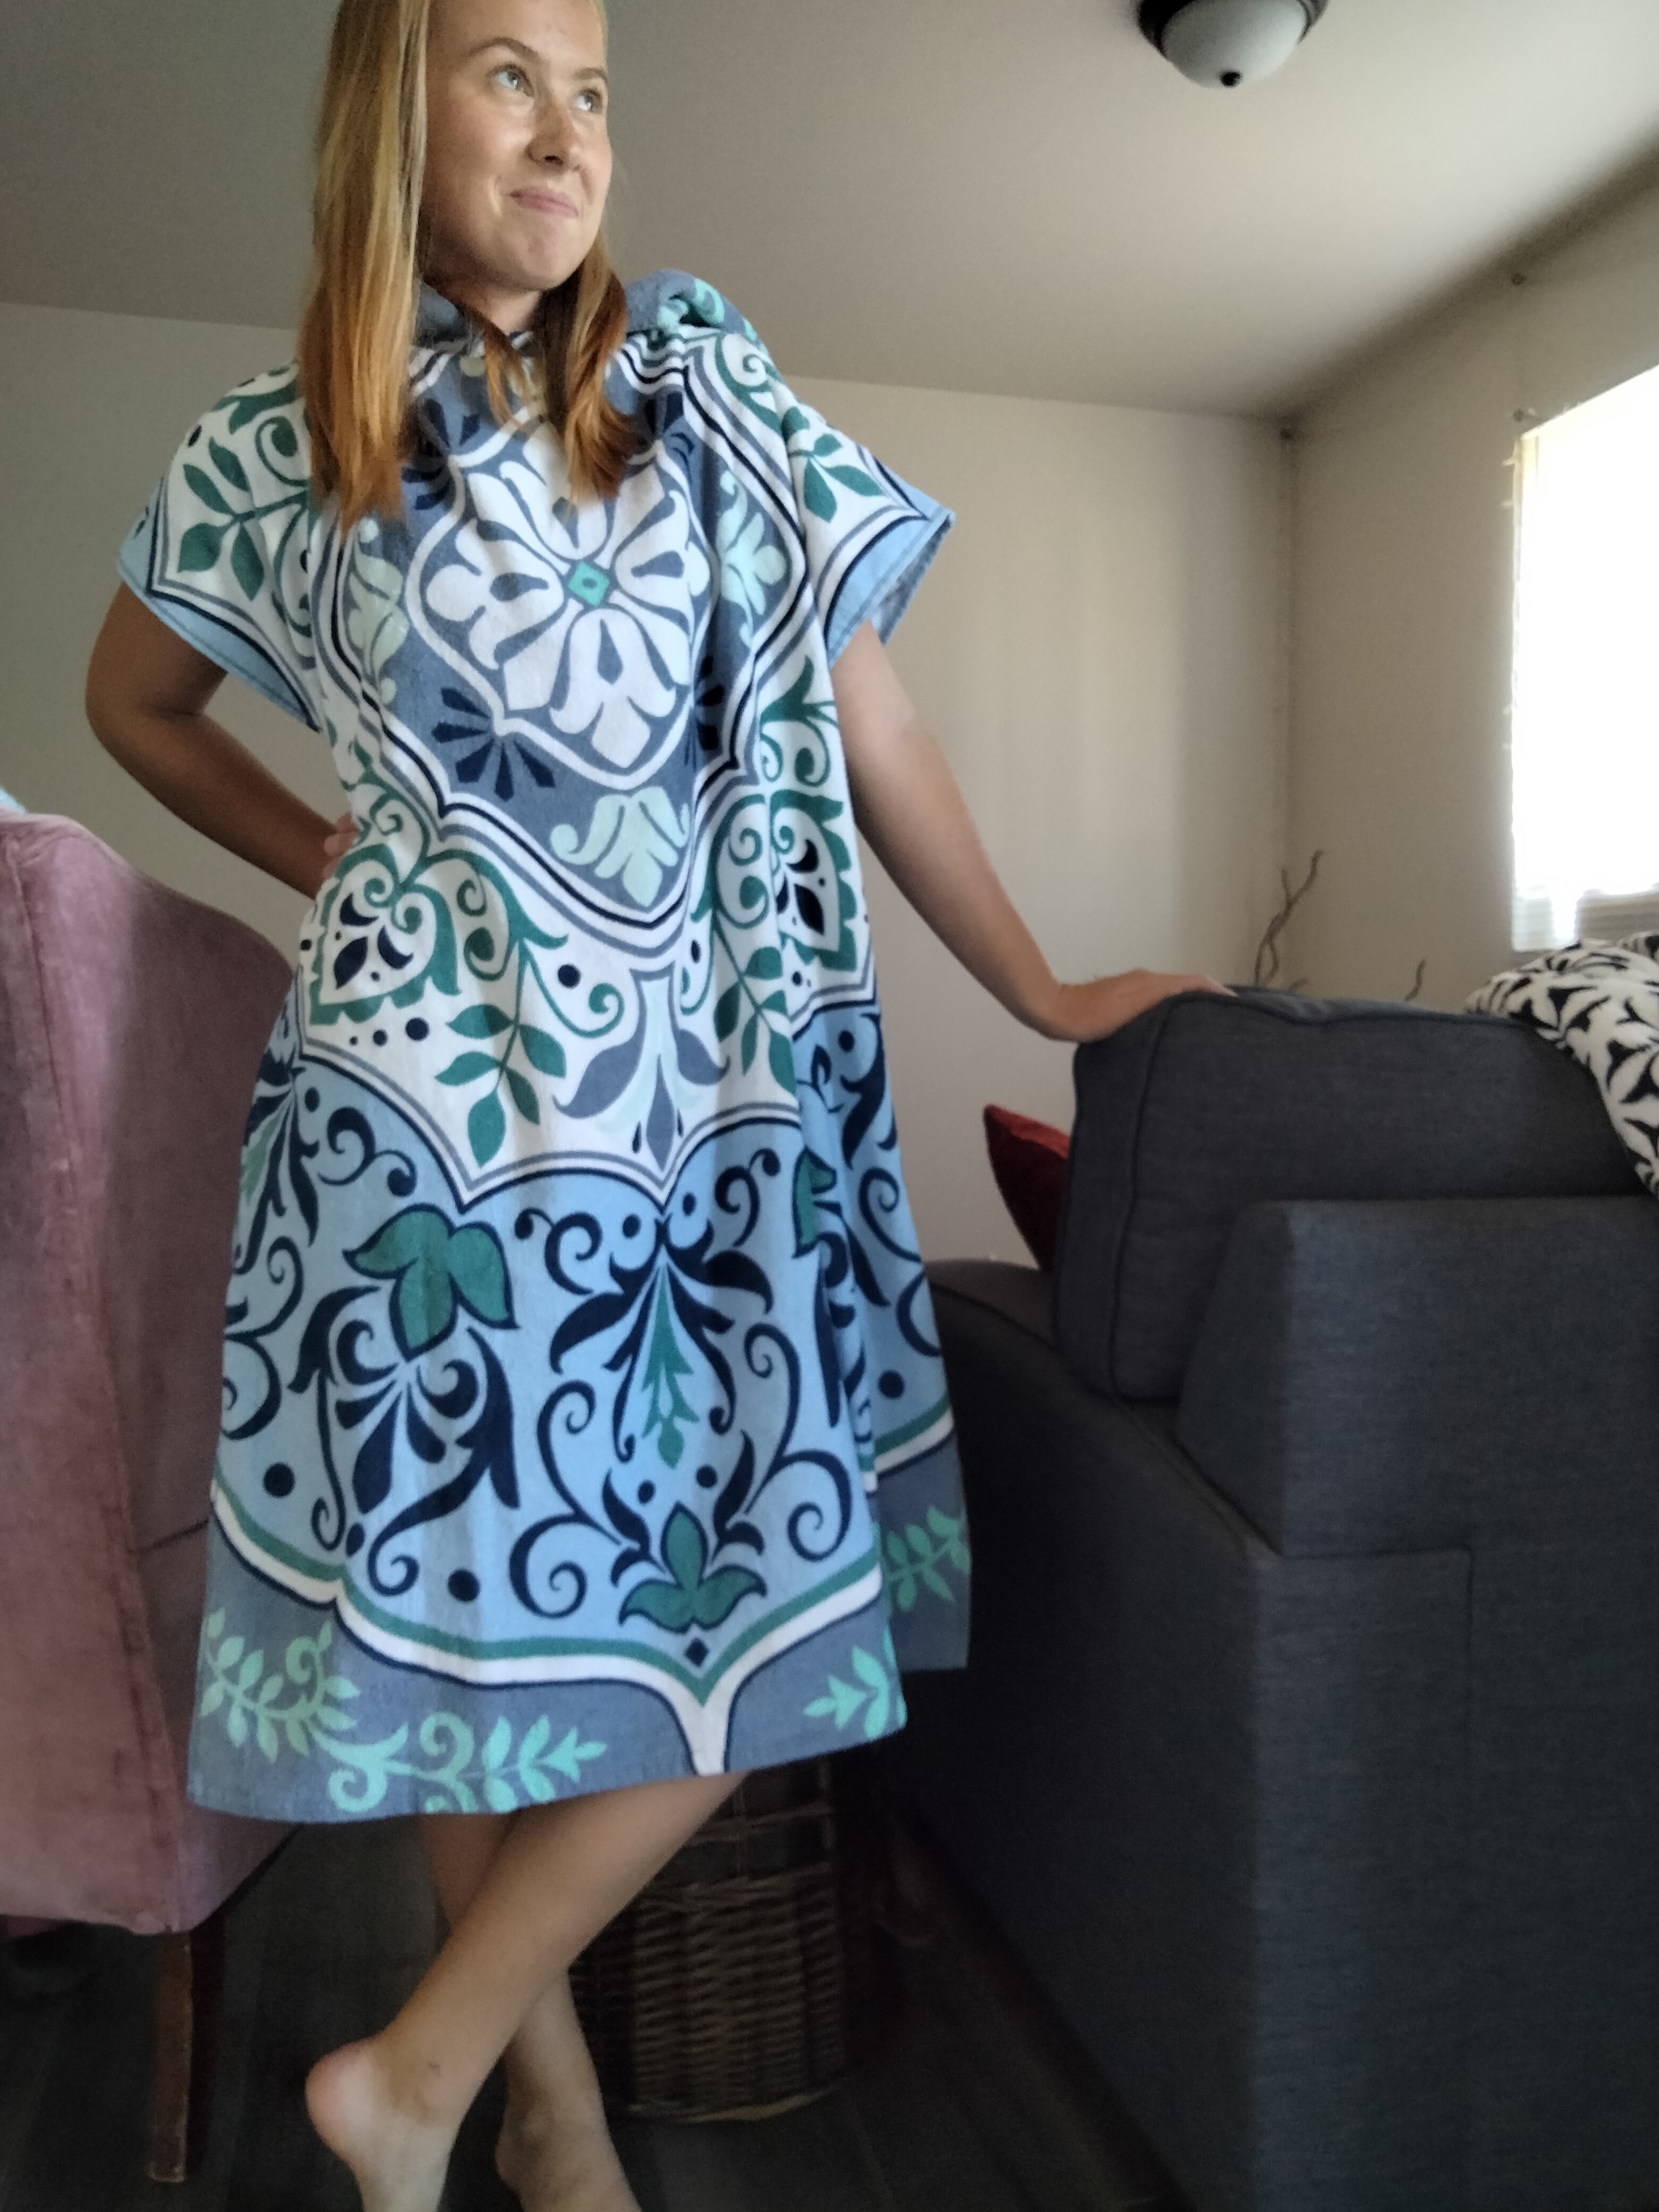
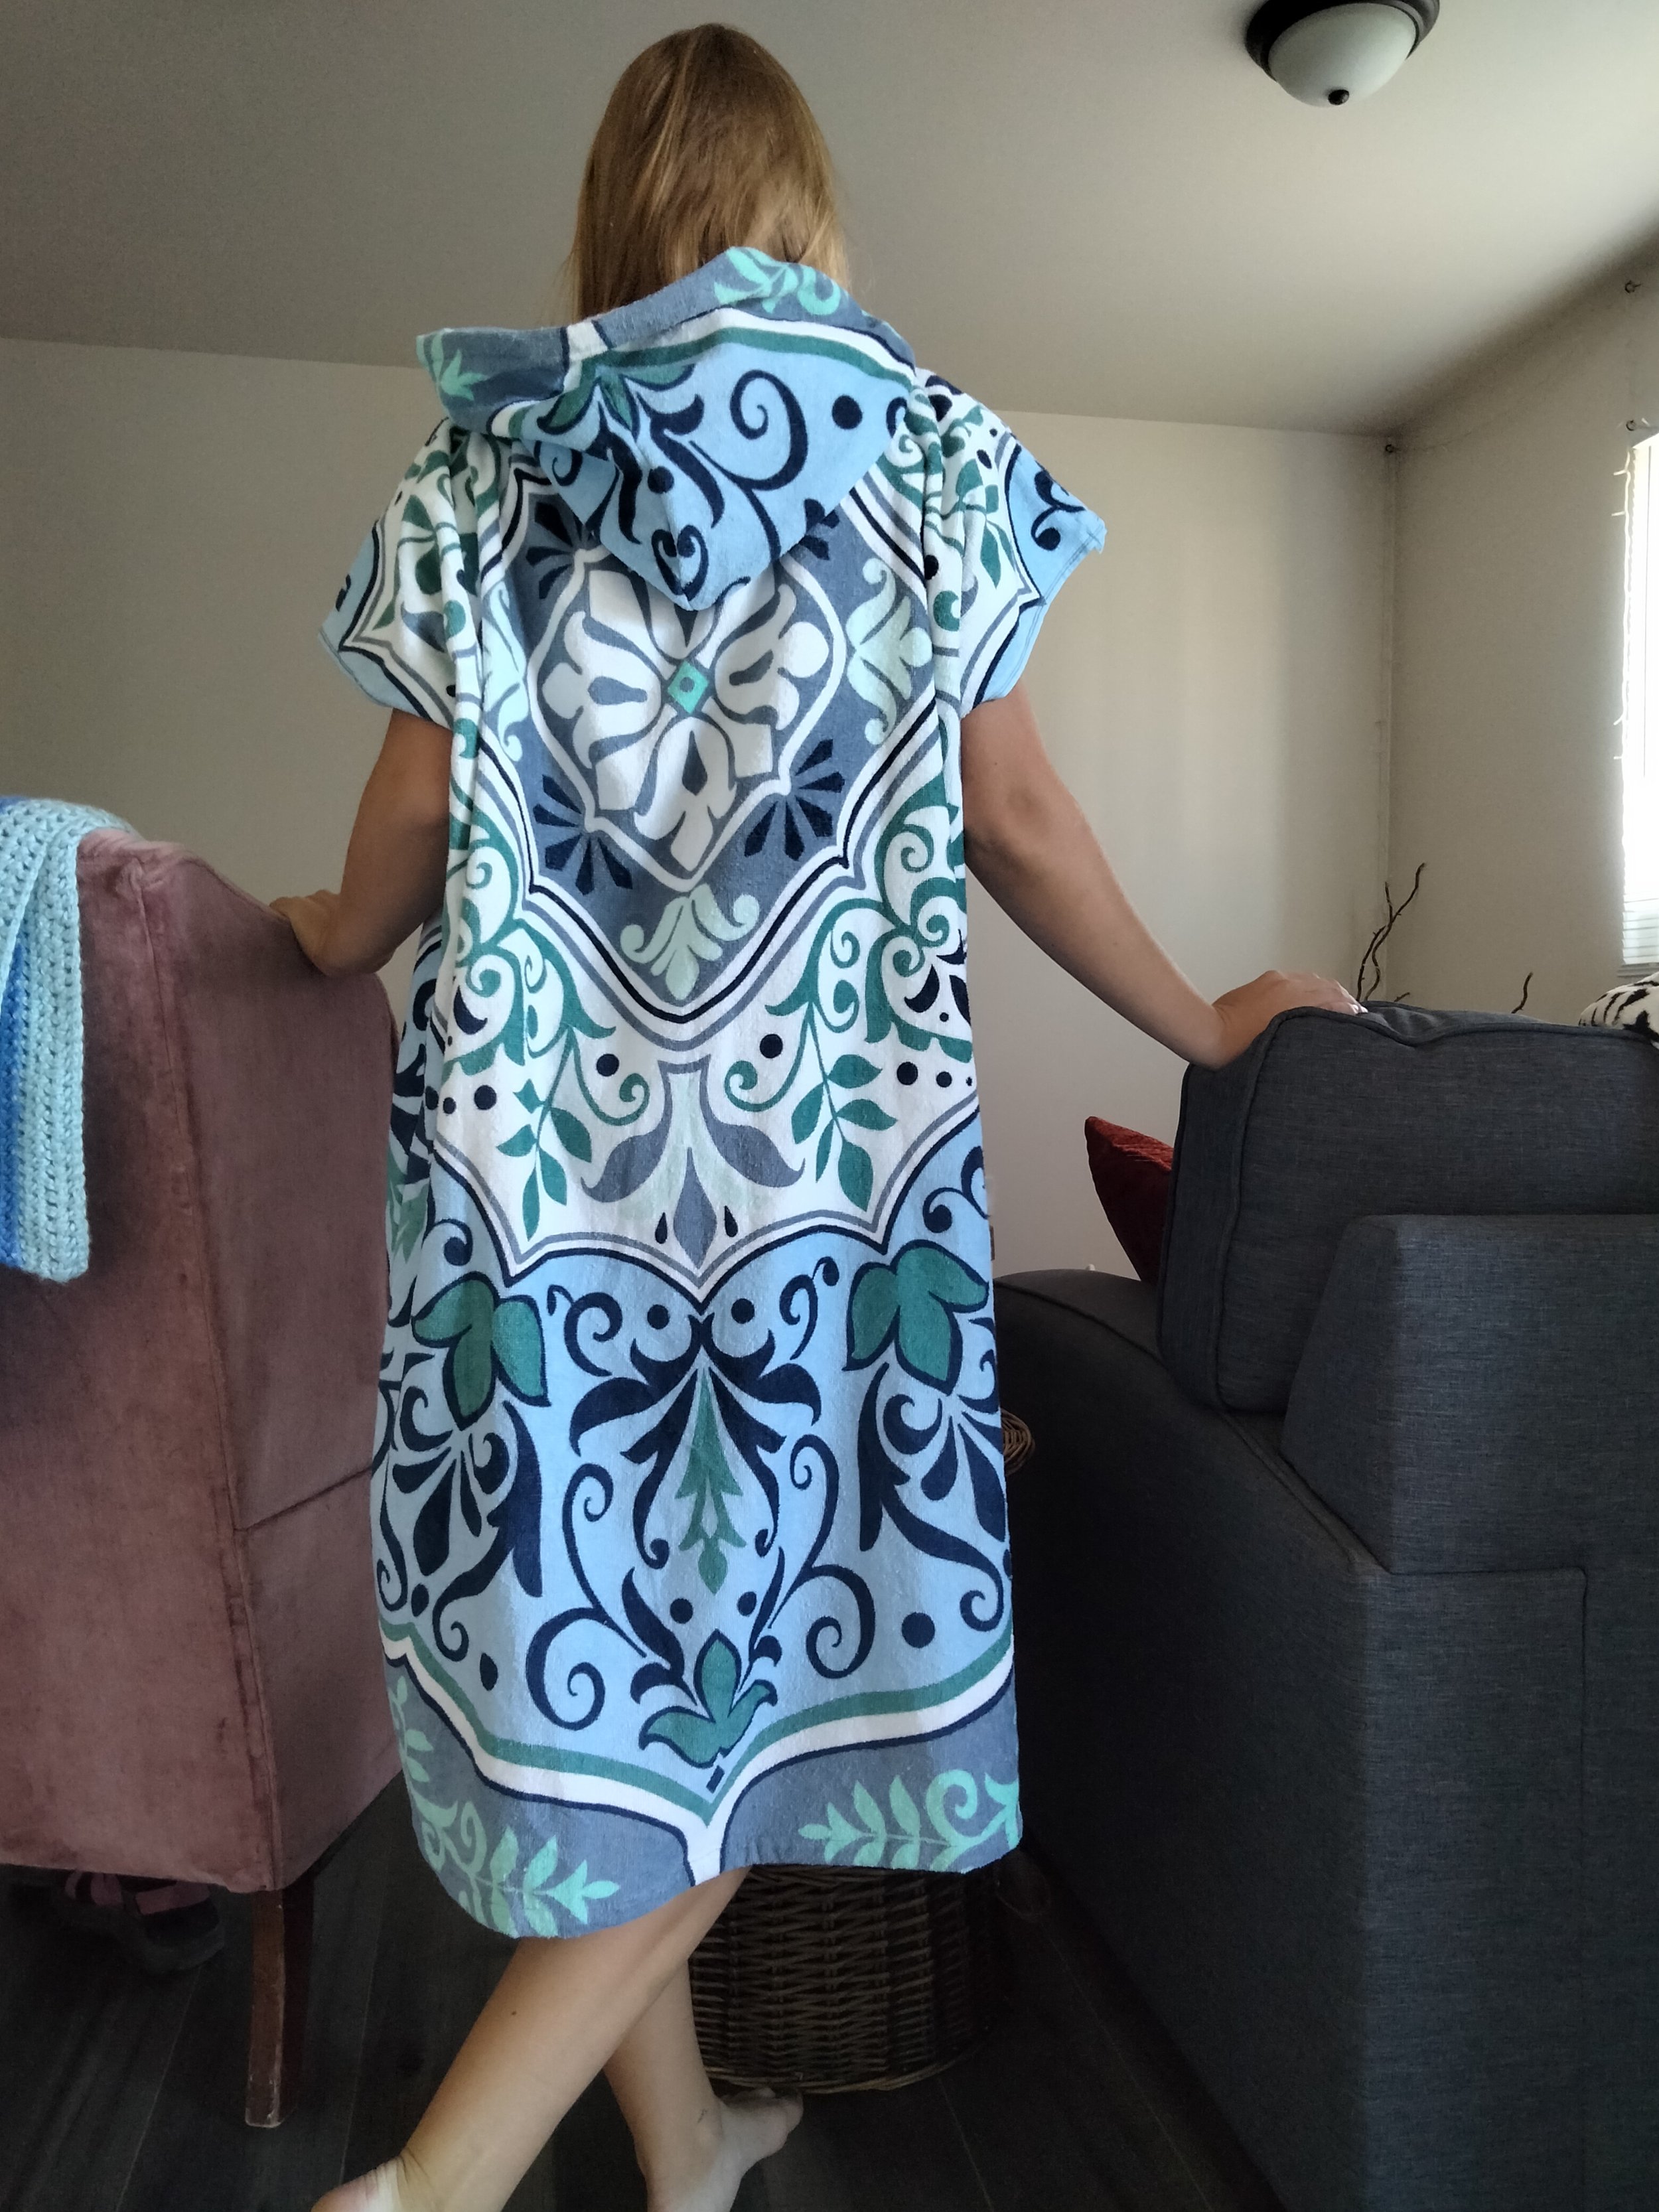
Ok, now it’s done. Time to see what this looks like completed!
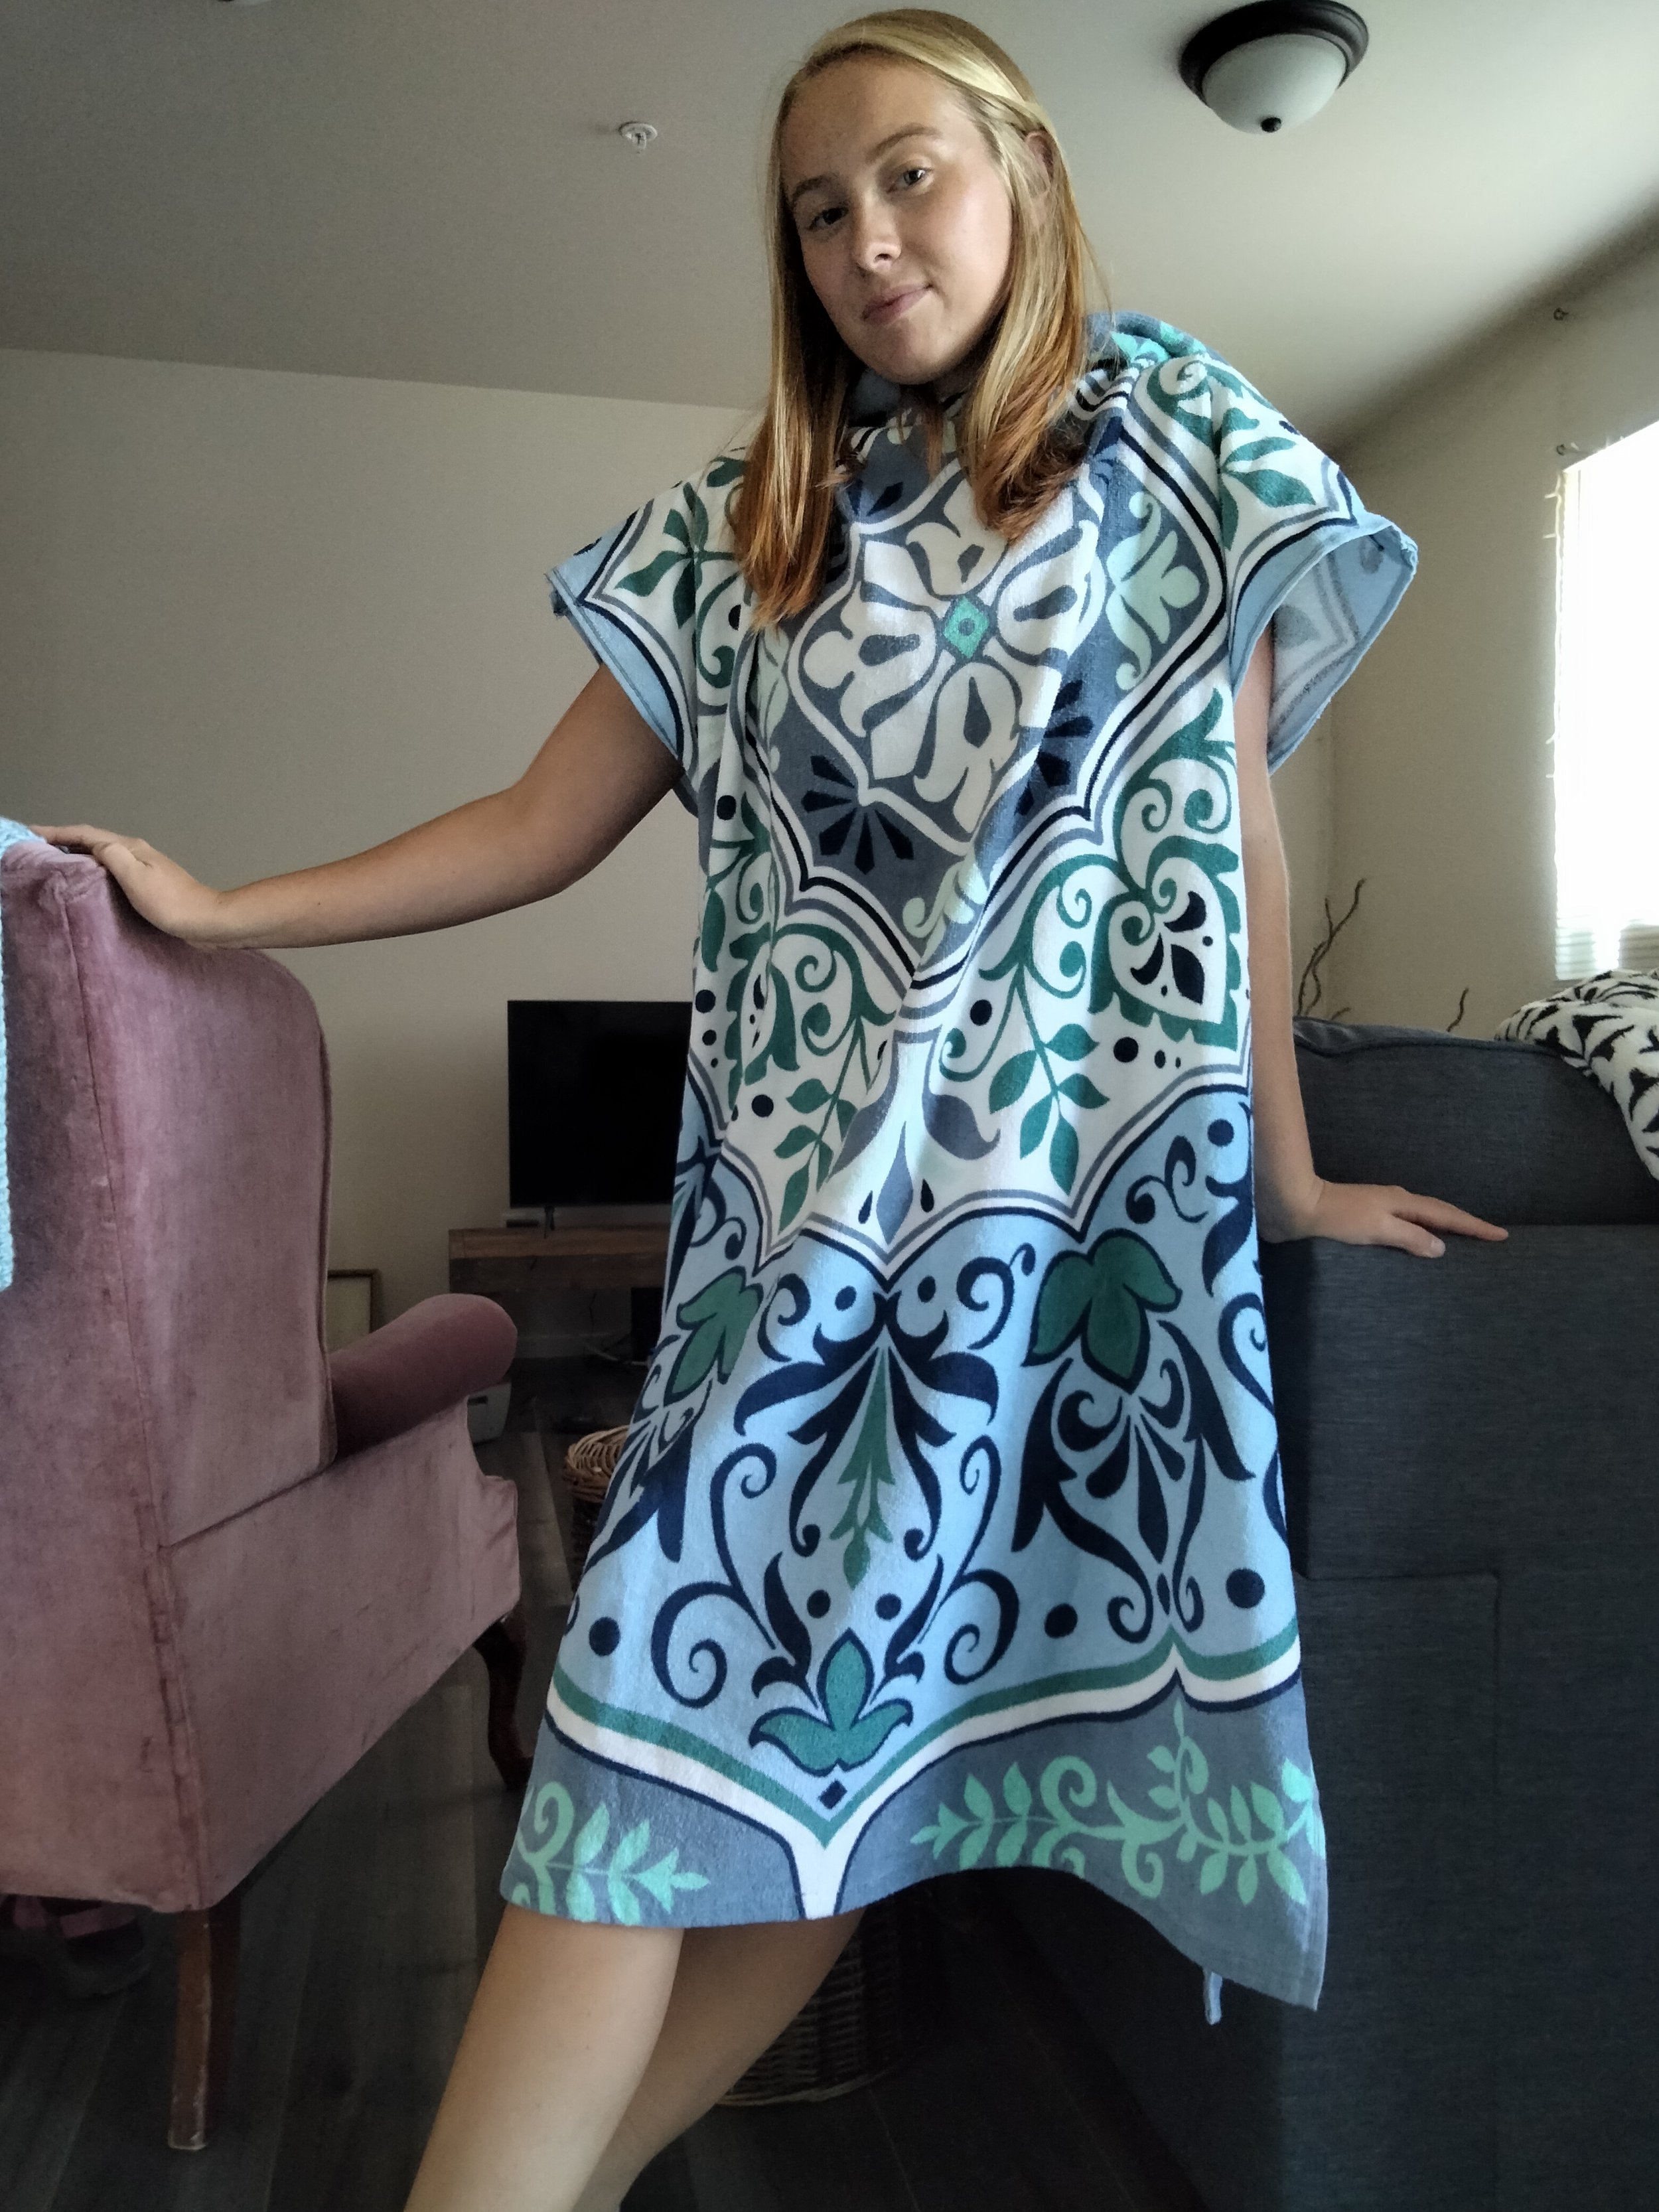
I could have added a big pocket on the front, but that seemed too complicated, so I just didn’t.
So there it is. I’m still not sure what exactly these are supposed to be used for, but it’s definitely cozy and fun to wear!