A Semi-Historically Accurate 1950’s Inspired Swing Dress

Finally a sewing project. That is what I initially created this blog for; all my sewing projects. Then somewhere along the way I lost all that inspiration for sewing, also I don’t have a whole lot of room, and I basically don’t know what I’m doing half the time. All of that is changing.
Probably.
I got this incredible new sewing table that I set up in my room so that I can leave my sewing machine set up and it’s not on the floor causing me to have terrible posture whilst trying to sew professionally.
It's going to be its project later on. I’m hopefully going to refinish it but right now it’s too cold outside to do any major projects like that, but stay tuned!

Even though my room is really small, having this little area sort of dedicated to my sewing projects makes it feel like there’s more to it than there is.
And yes, obviously my room is a bit of a disaster, but how was I to know I’d be taking pictures of it?
I could go on about that desk and how amazing it is and how much I love it and all the cool things it has but I’m going to save that for another time.
This post is dedicated to that dress.
Often times when I’m working on something, a well meaning soul will walk up to me and say, “Are you sure you know what you’re doing?” To which I’ve started replying, “Yes, I do, I’m making it up as I go along.” Basically that’s how I feel about just about everything I’ve done this far in life and so far it seems to be working out just fine.

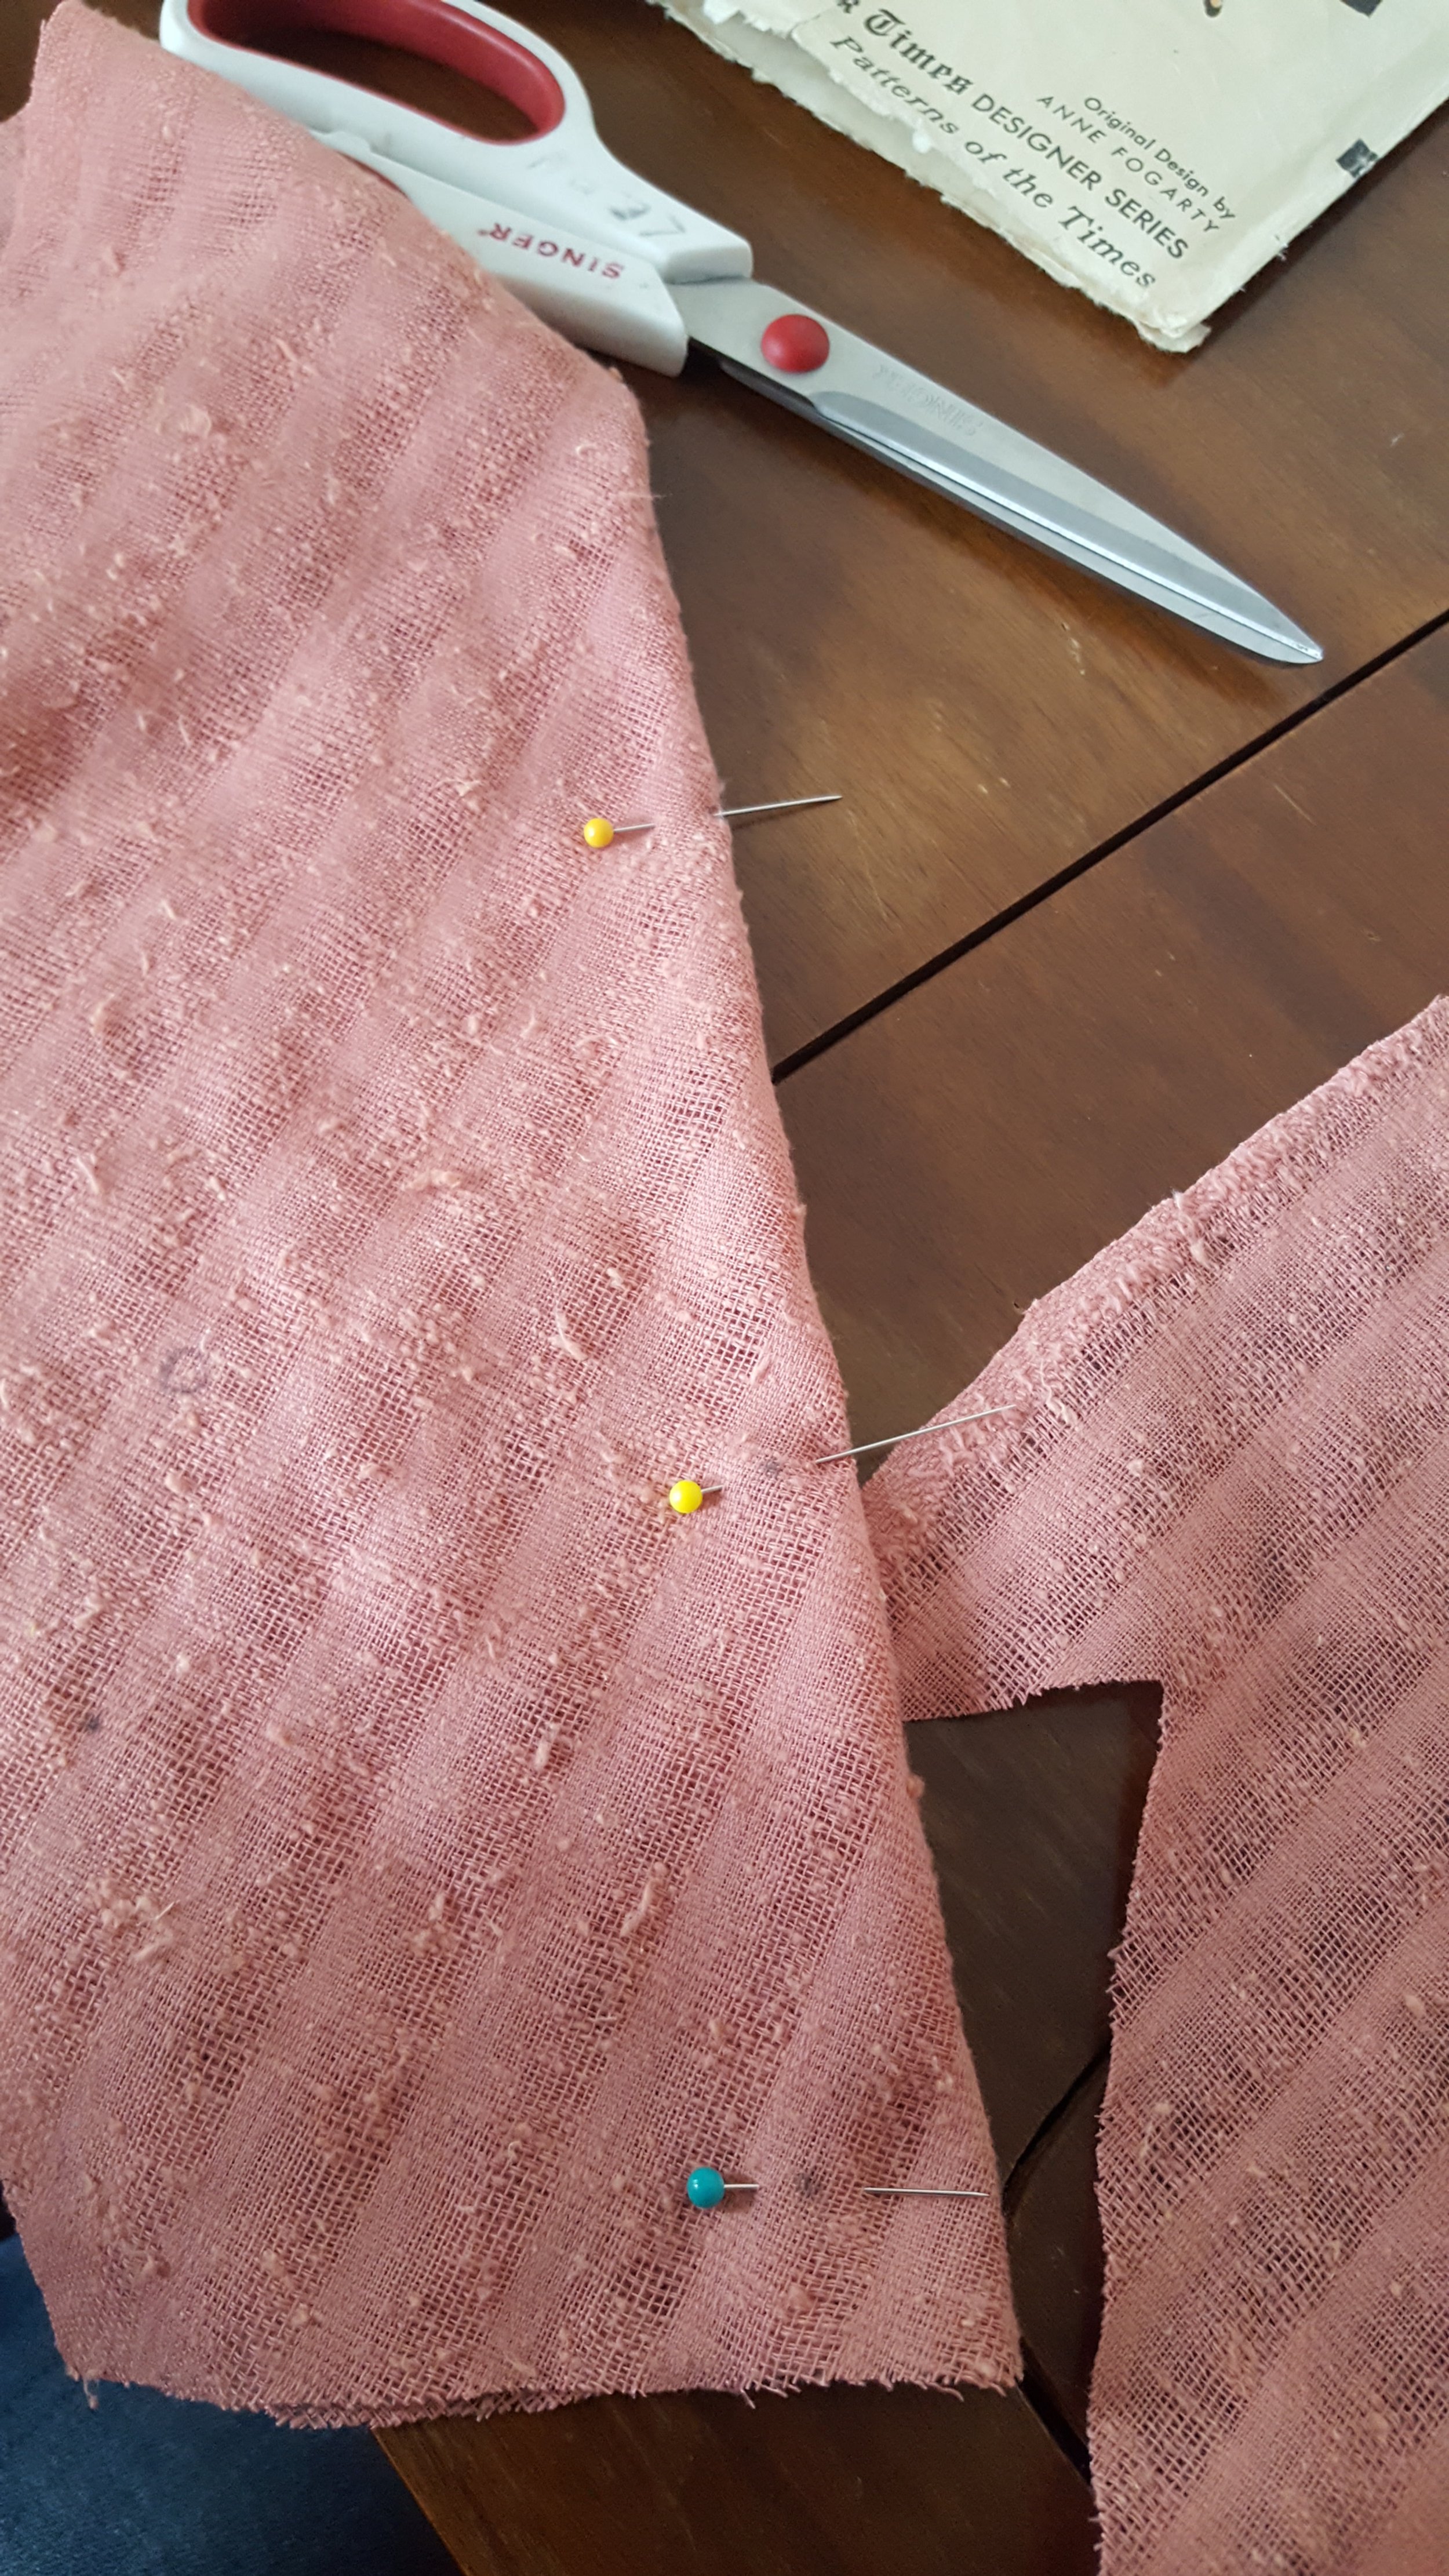
I started this project out with this unknown length of pink fabric. I assumed there would be enough of it for a dress based on how heavy it was. I’m not really sure there’s a better way of doing that without the whole headache of unfolding the whole bundle, finding a yardstick, measuring all of it, returning the yardstick to wherever you located it, and ultimately folding all the fabric back up only knowing the dimensions. Far easier to just take a wild stab in the dark and hope for the best.

I knew I wanted to make a 1950’s style dress out of the material.
I knew this because a) some friends of mine were throwing a 1950’s dance in just over a week and b) I’ve always been really interesting in making historical clothing.
I found this pattern for $5 at a vintage market, antique store place and thought it would work perfectly for the fabric I had.
I should mention here that this material came from my grandmother. She found it in one of her old trunks and gave it to me because she hadn’t used it when she thought she would. I also got some of my aunt’s prom dresses and one of my grandma’s every day skirt shirt outfits. It’s really interesting to wear that clothing from different times and to notice how clothing shapes have changed and evolved over the years.

Anyway, I opened the pattern up and ever so gently unfolded and separated all the pattern pieces I was going to need. Then the unimaginable happened. I was missing one piece of the pattern.
Just one.
I double and triple checked to make sure it wasn’t among the other pieces that I wasn’t using and no matter how hard I looked it just wasn’t there.
So I examined the picture of the piece on the pattern and…

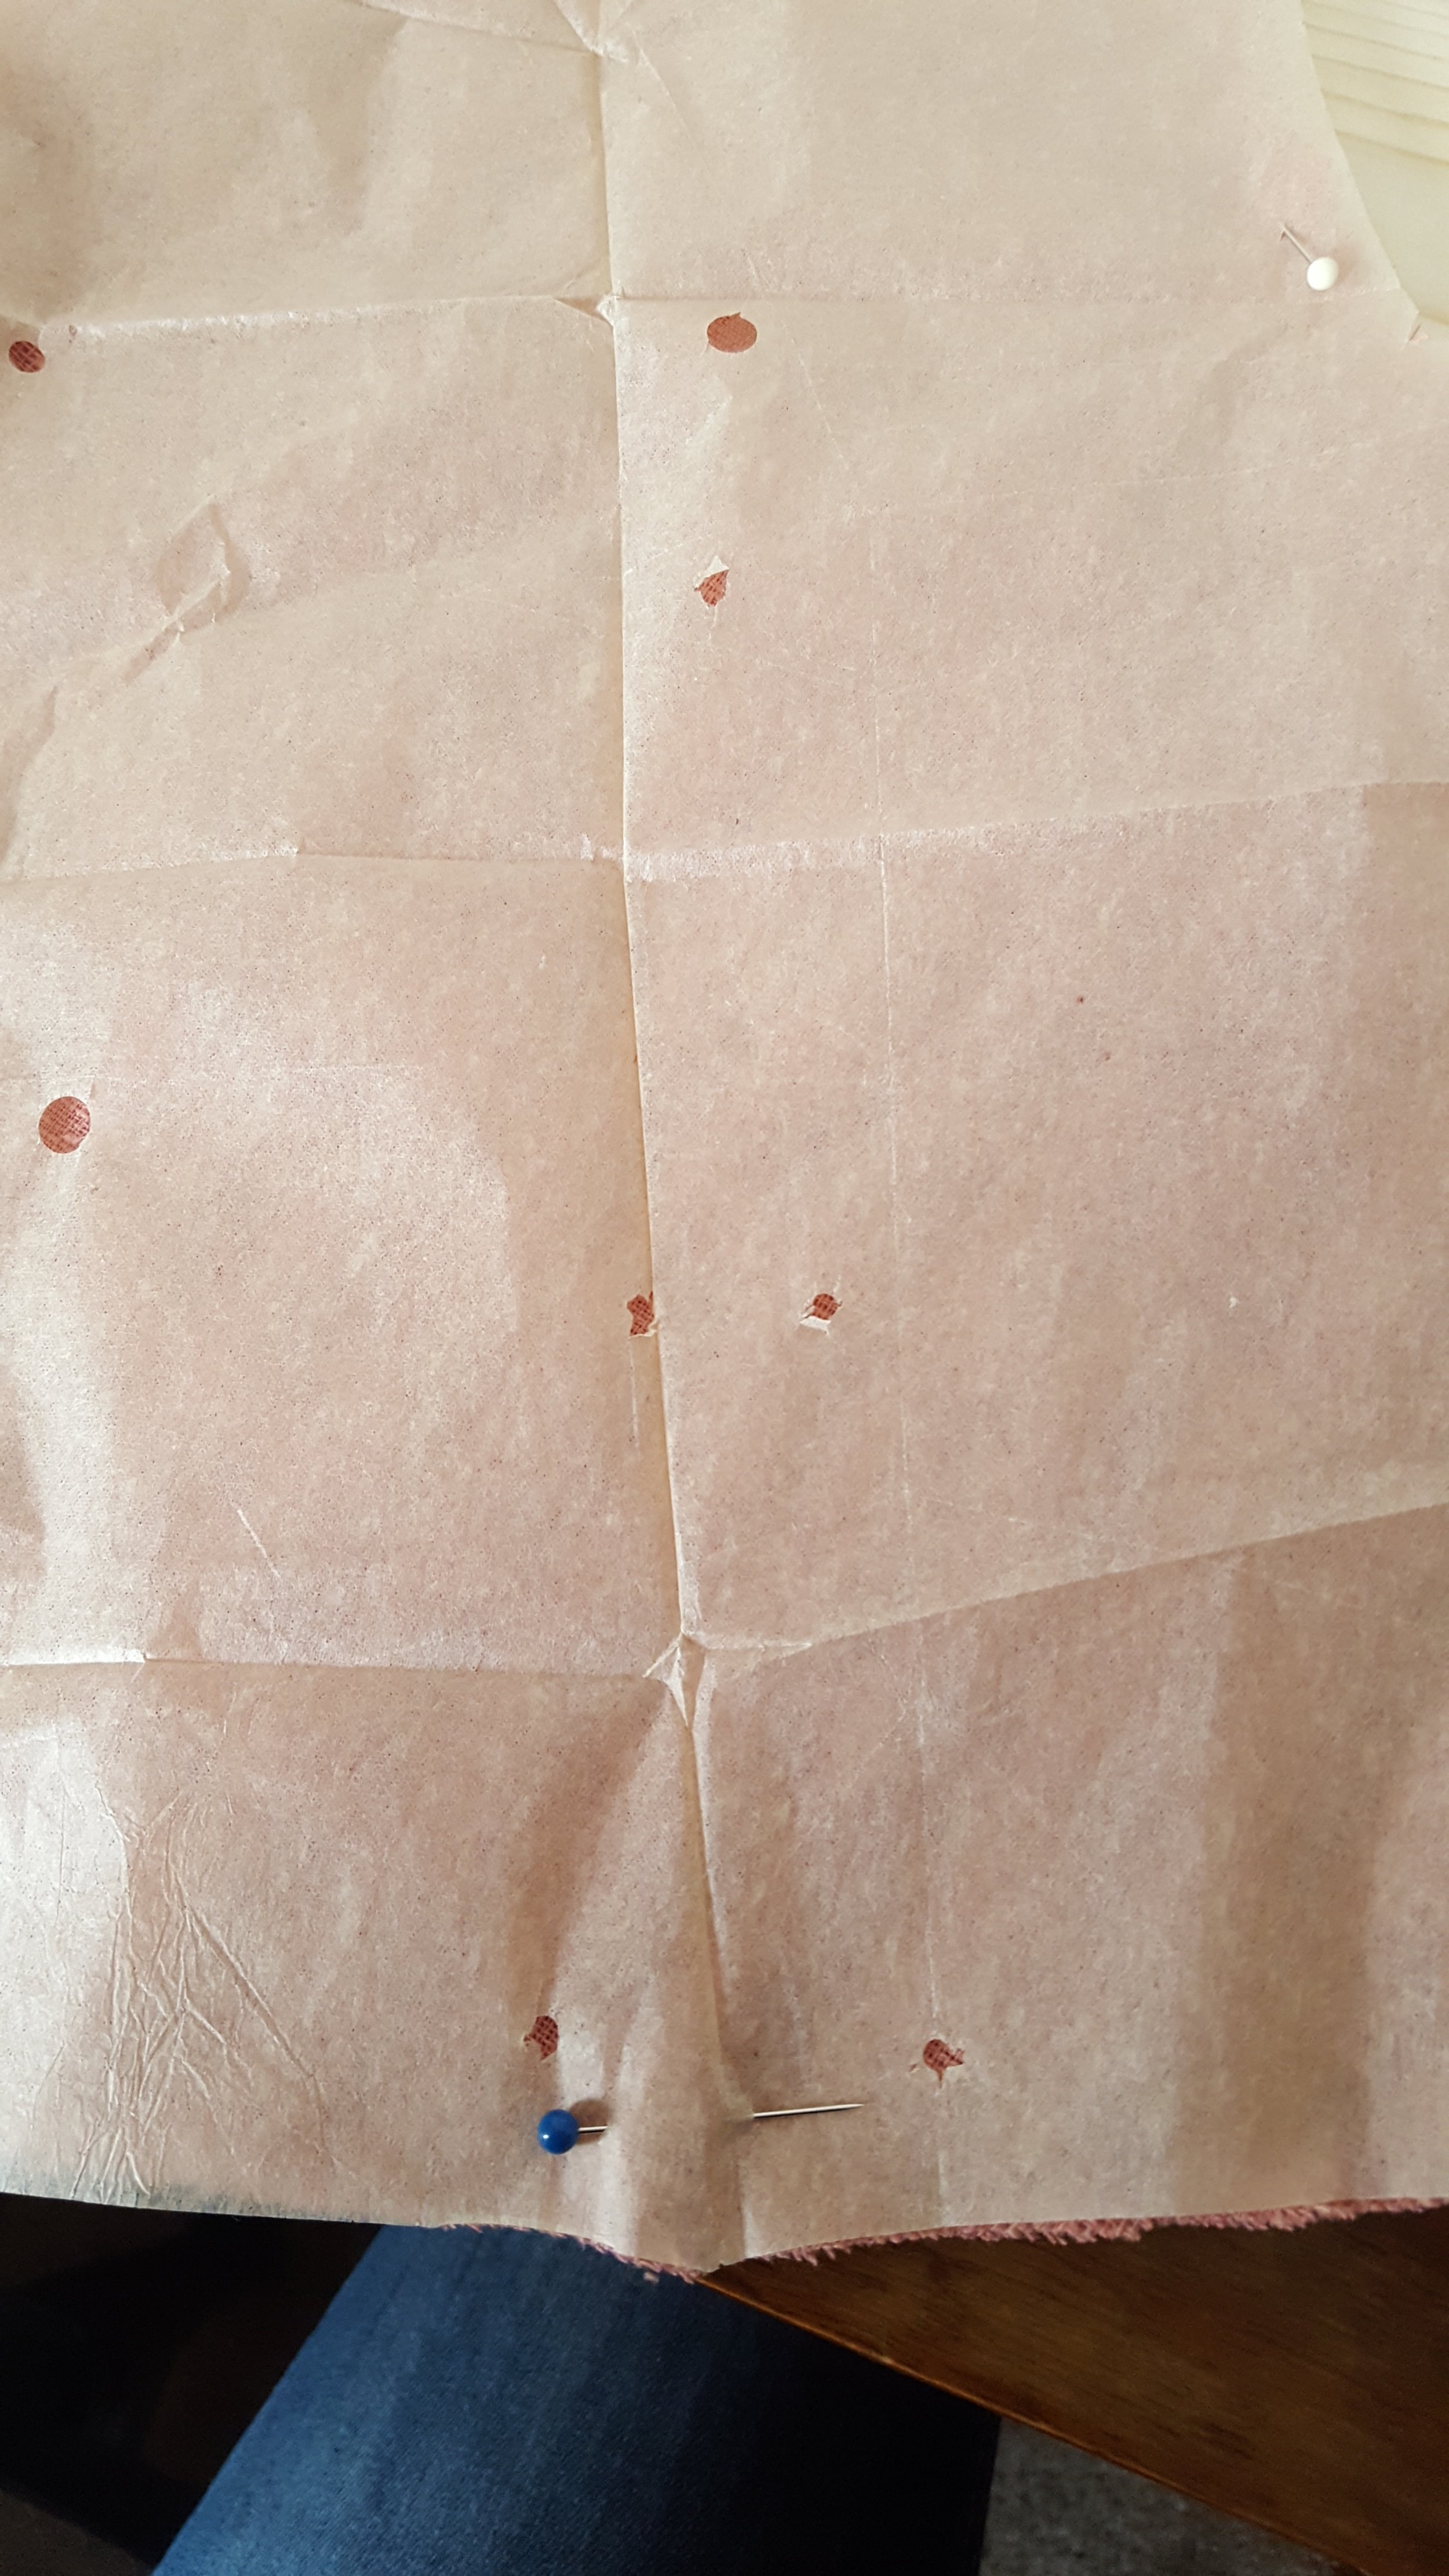
I free hand sketched it on a piece of brown paper bag because I’m not quite cool enough to have pattern paper.
That’s actually not true though, I traced one of the other pattern pieces because they looked similar enough that I hoped it would work out alright.
Hello, this is Leah from nearly ten months later. Yes, I did intend to make this dress for a Valentine’s Day Dance and yes, I failed miserably. Then I had to moved a few times and everything got packed up and then it was summer time and I was so crazy busy that I barely had time to eat much less sew. Needless to say this dress has been sitting in my sewing case for a good ten months. I ran into some structural trouble which we’ll get to as I go about recapping as much of the process as I remember. Oh and I did move so all I was saying about my fantastic sewing machine set up is irrelevant because, well, that no longer exists. Now I’m going to do my best to remember what Leah ten months ago did while she was working on this dress. Enjoy.

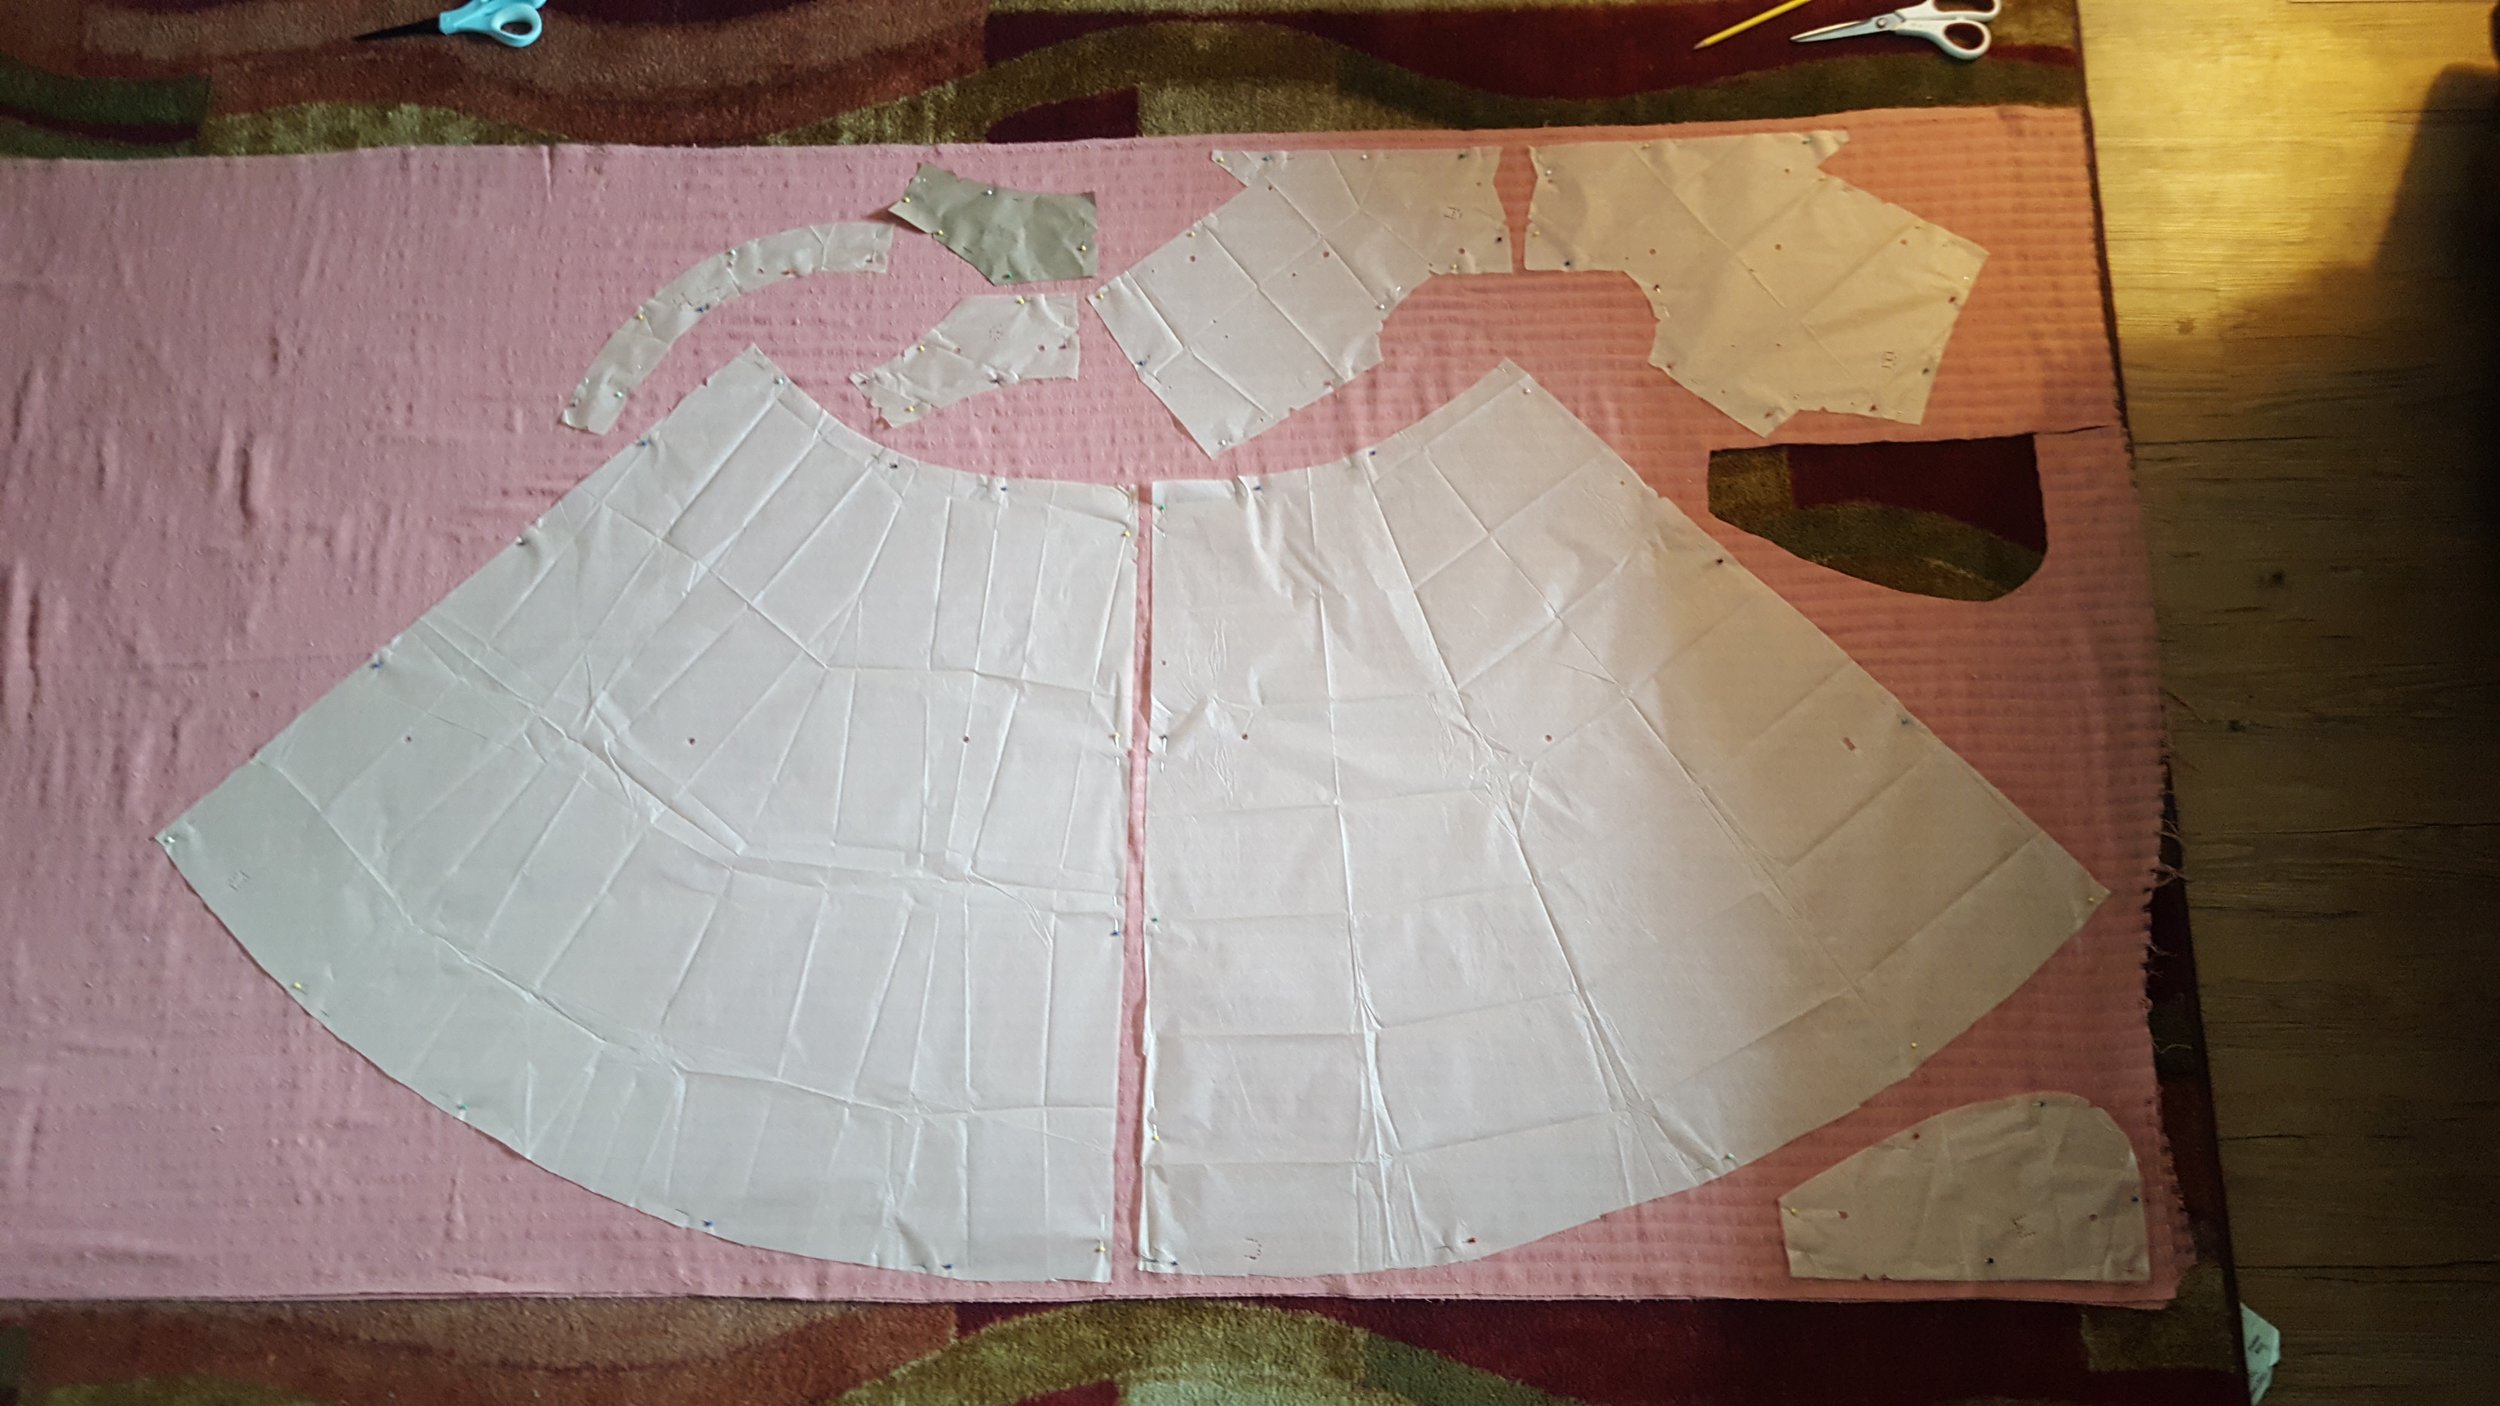
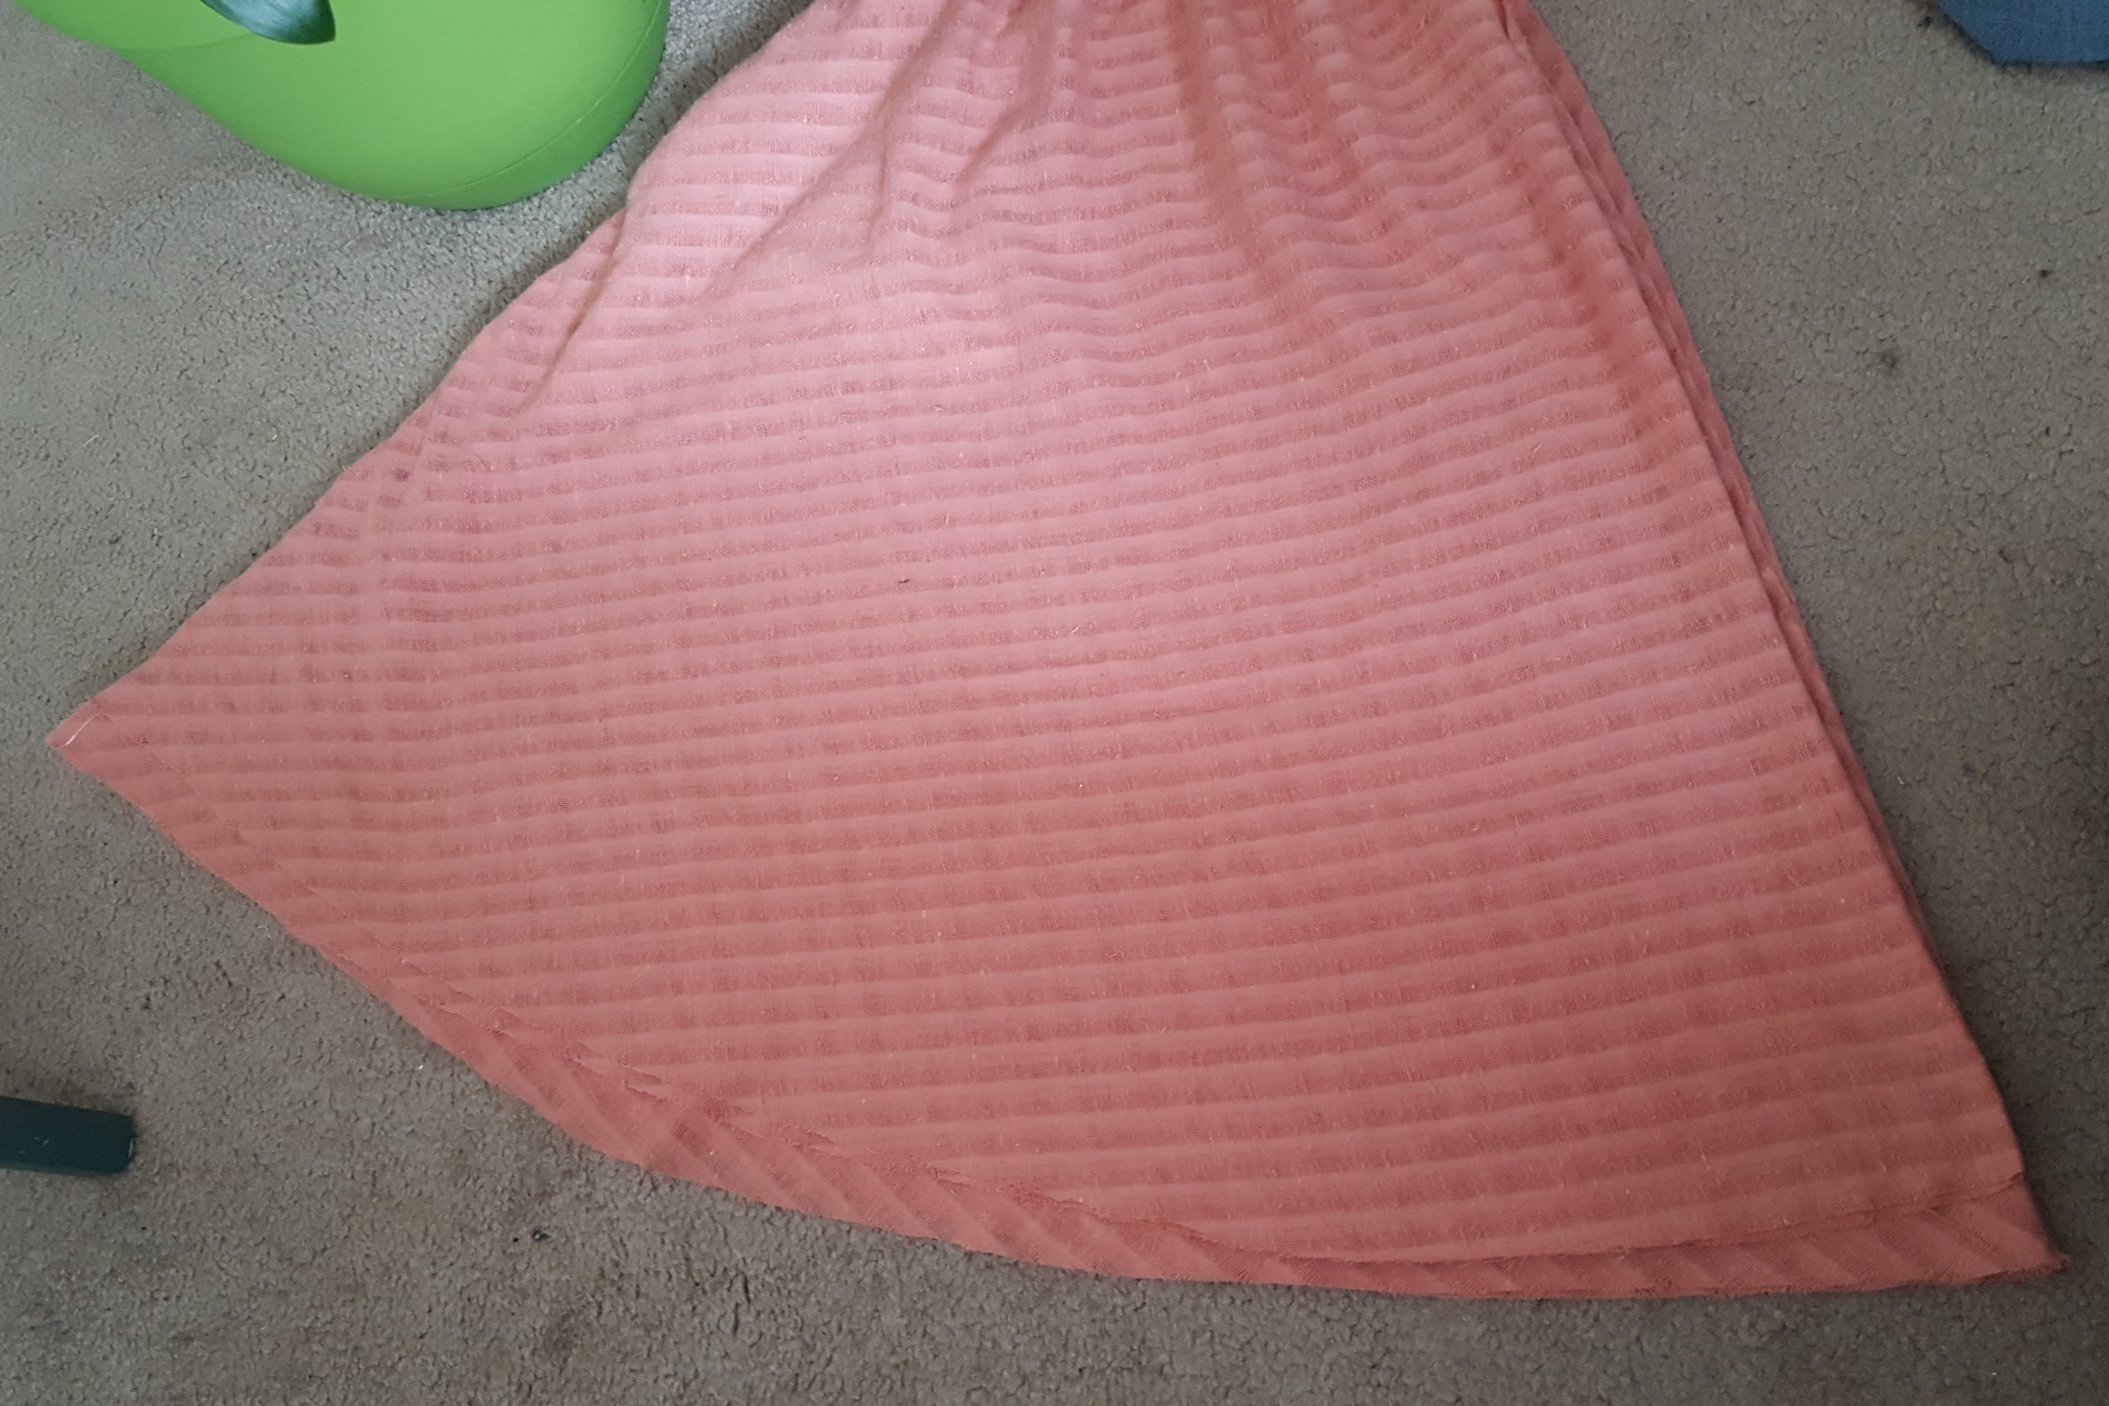
Once all the pattern pieces were present and accounted for I folded the fabric in half. doing so generally makes cutting out patters go a bit easier.
As you can see I’ve got a pretty big piece of fabric. There’s likely no need to use it all (I realize there’s no scale of measure here but that was my entire living room floor [it was a small living room]).

Luckily the pattern came with the most efficient way to lay out the pieces depending on what width fabric you had.
Unfortunately, I didn’t know the width of my fabric since I didn’t have a measuring tape and still really don’t understand how fabric width is measured.
Future Leah here, I don’t remember which one I ended up choosing but it looked like this so take your best guess.

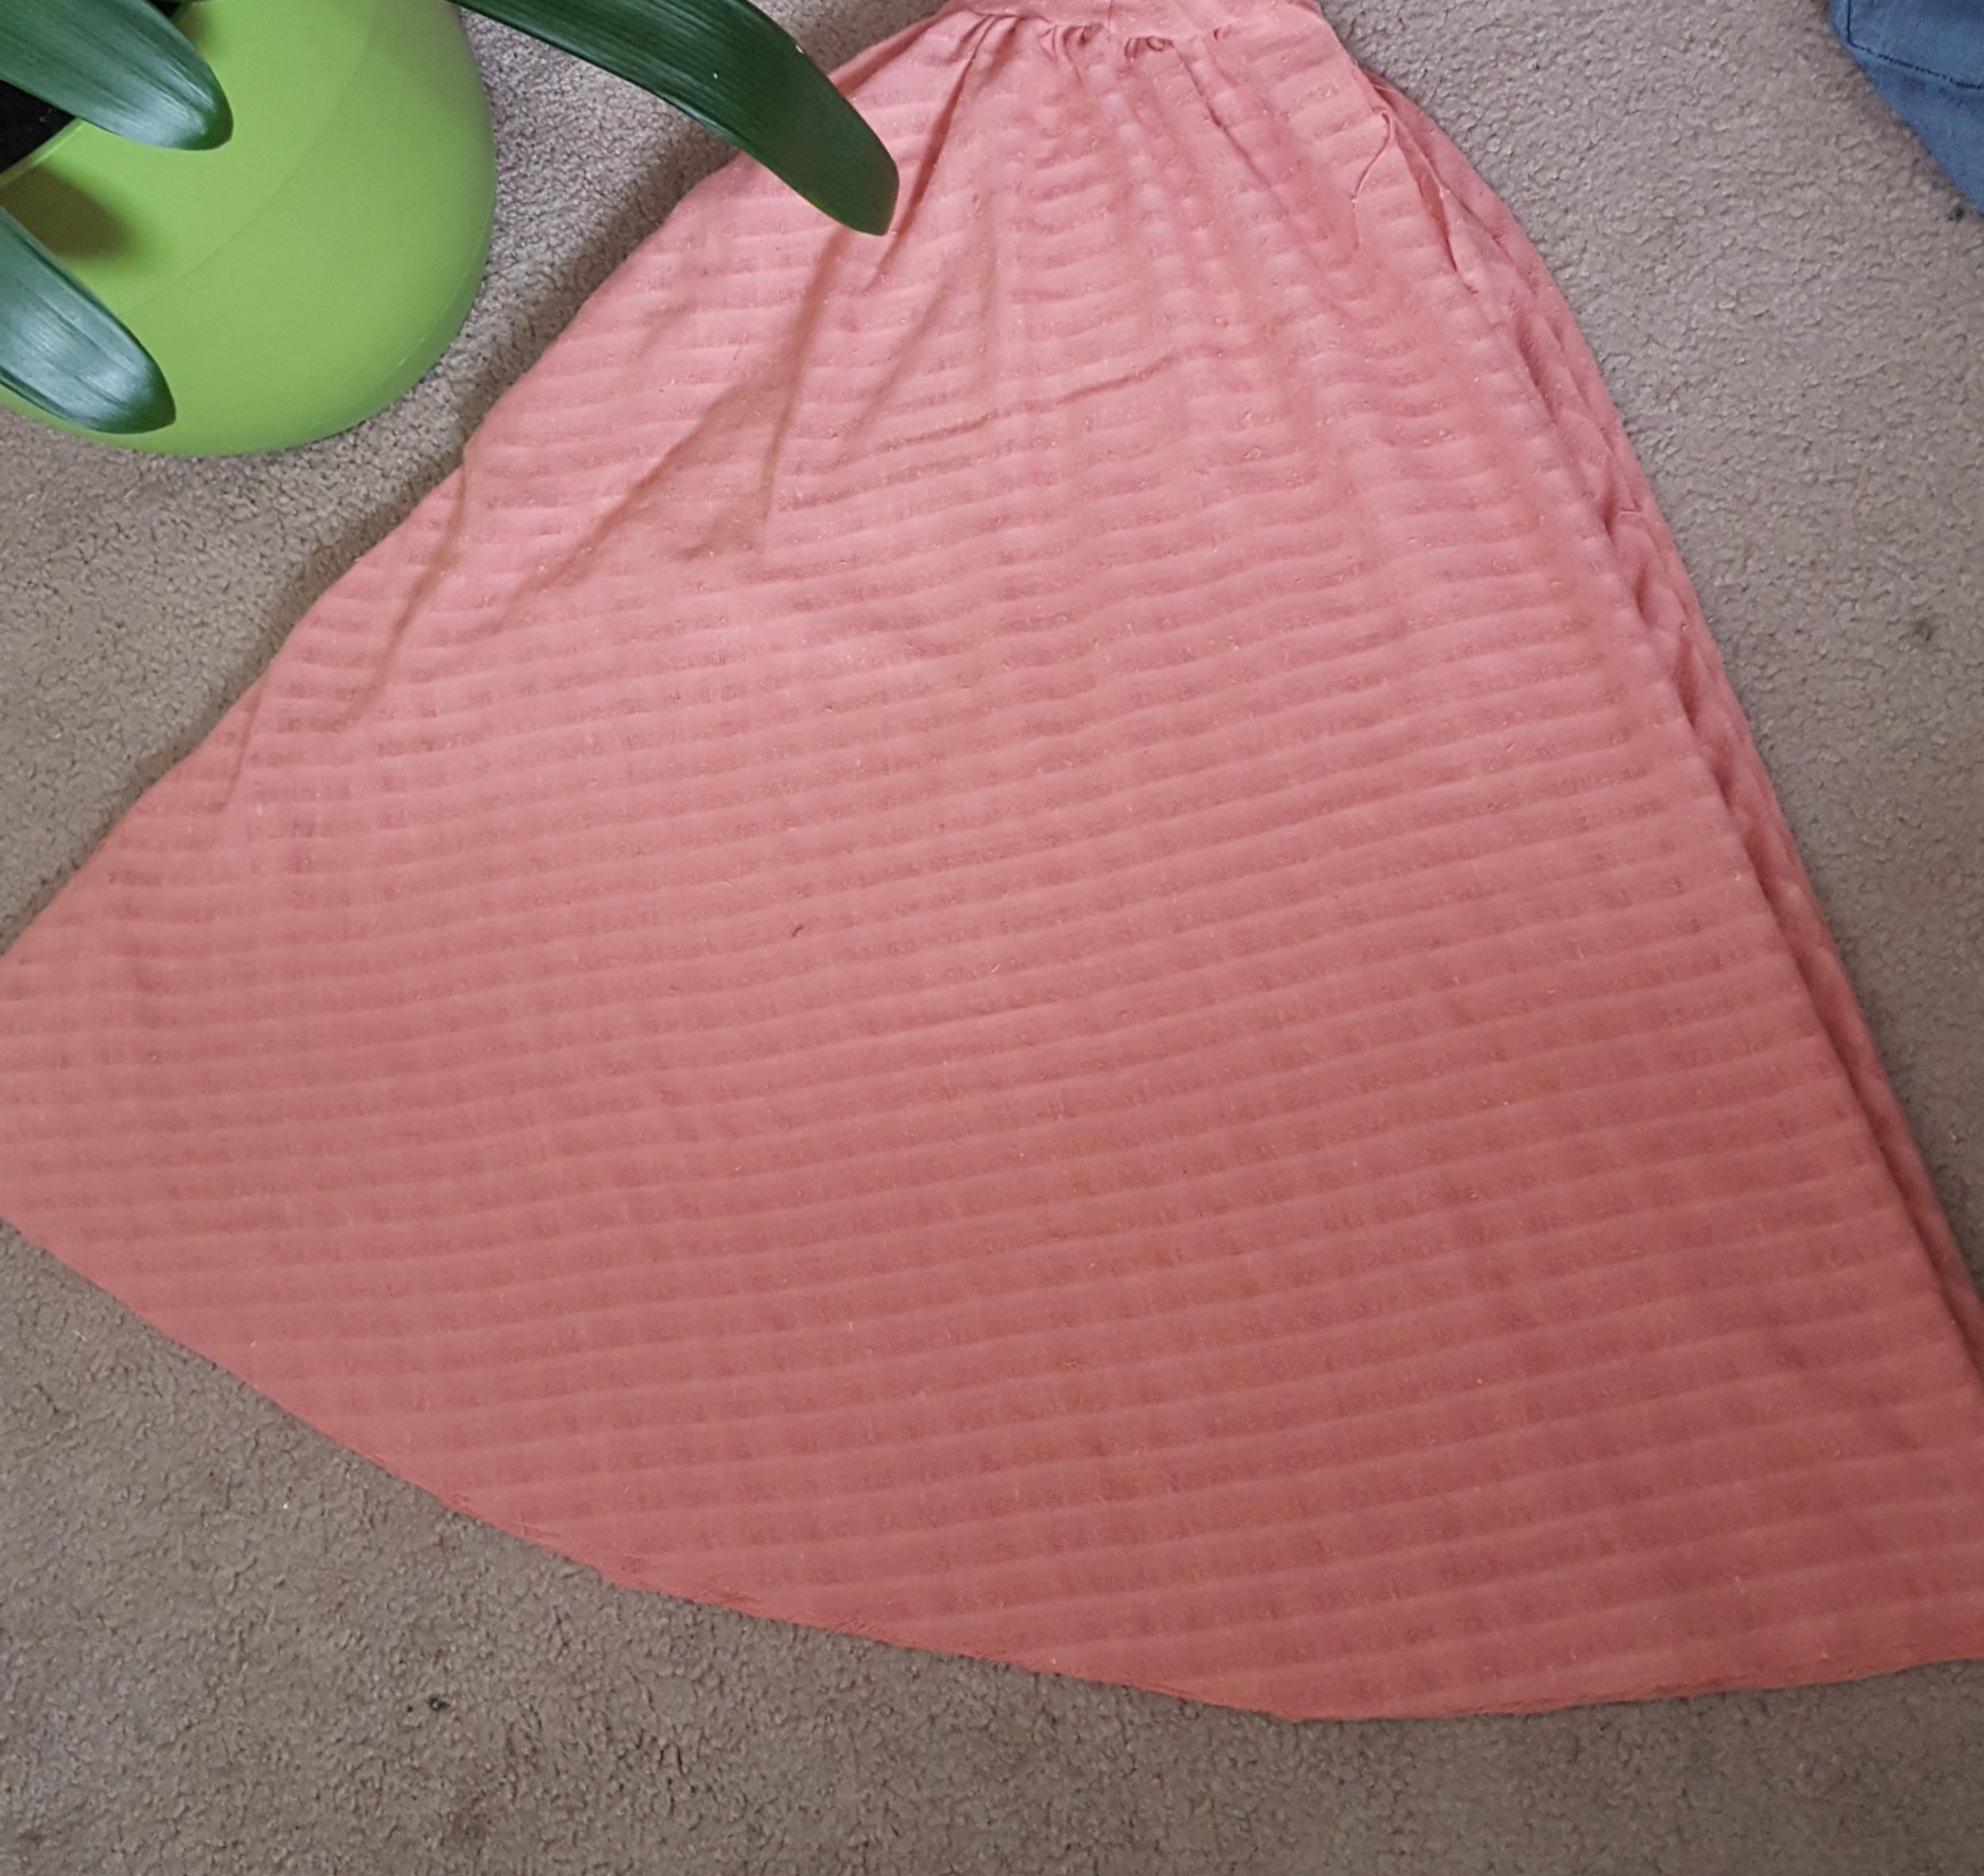
I think it was at this point that I realized that the fabric matched my chair exactly! I mean look at it it’s exactly the same color from a distance.
And yes, this is my old living room. It’s small and a mess, but it was my home for a good long while. Also, my favorite part about it was that it had a real fireplace in which to have real fires. I’m pretty sure I had one going that day because it was absolutely freezing (my roommates weren’t fans of high electricity bills so we’d keep the house at 55°F all winter long. That made right in front of the fire the best place to be.

Enough reminiscing, back to sewing.
I guess this is all of the pattern pieces cut out (the fire likely out too, since all my sewing stuff was set up in my room upstairs) and ready to start construction.
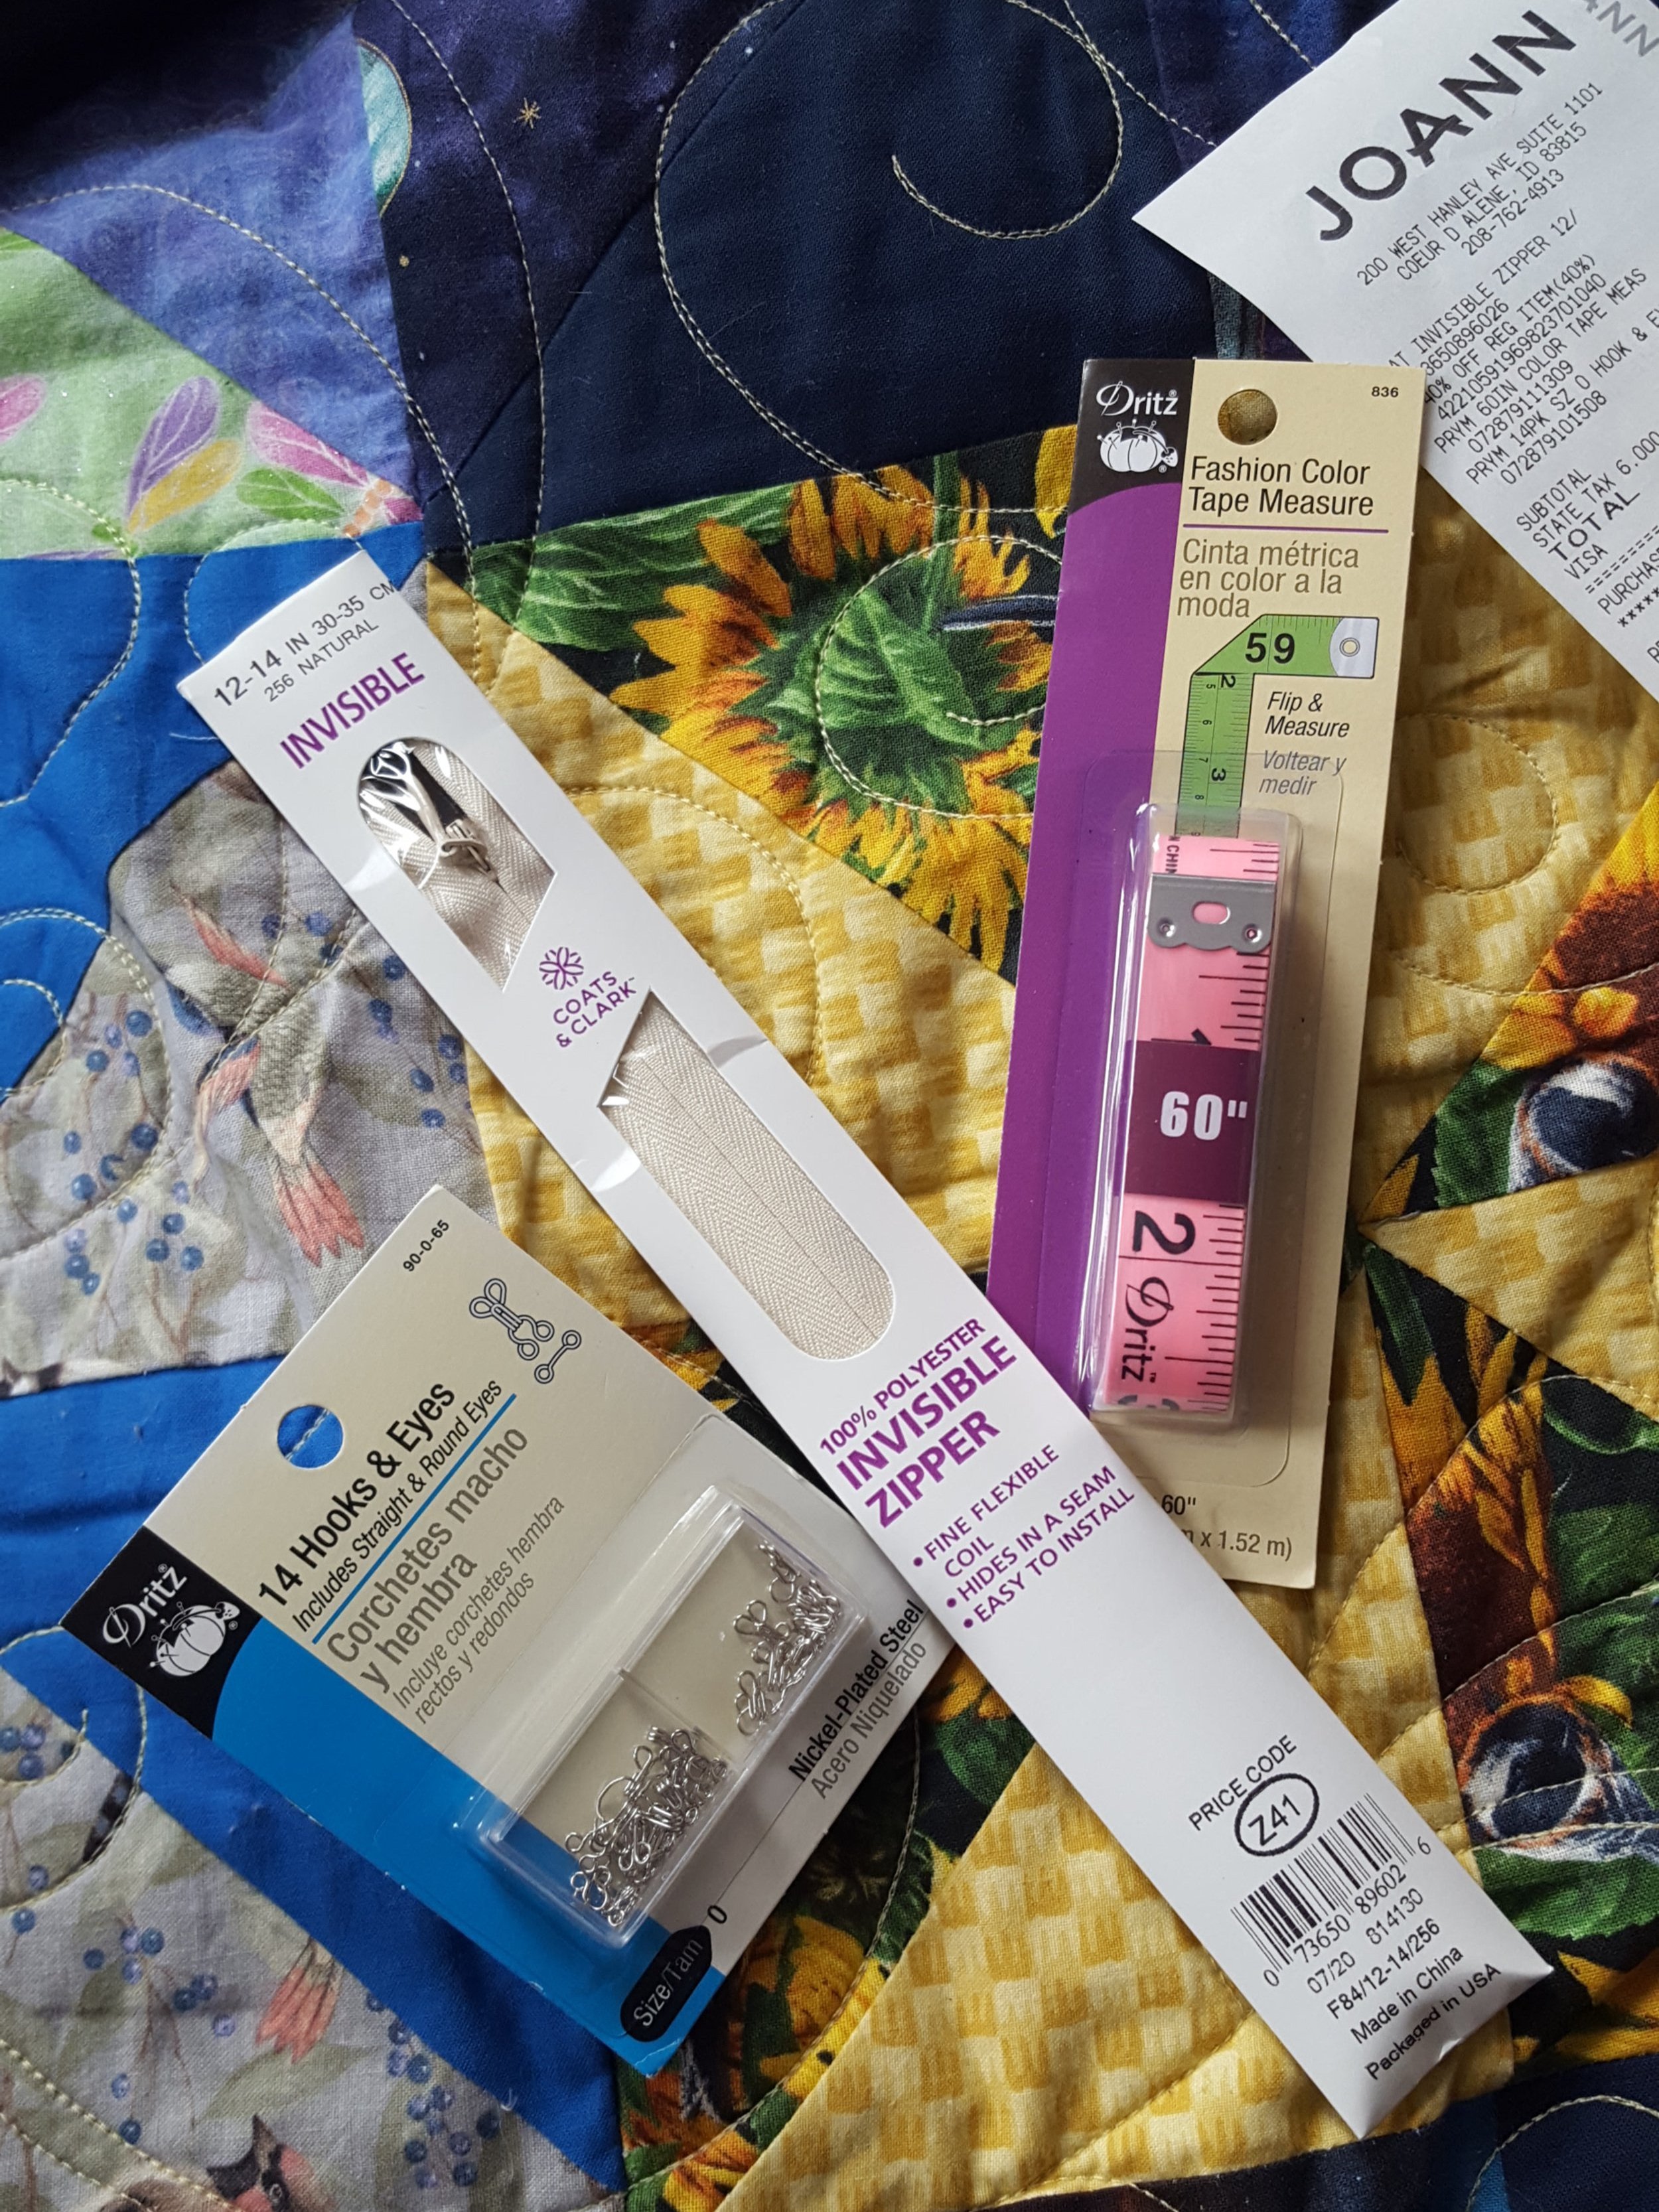
Ok, here it looks like I braved JoAnn Fabrics to get a zipper, a much needed measuring tape (since I somehow lost my old one), and some hook and eye closures.

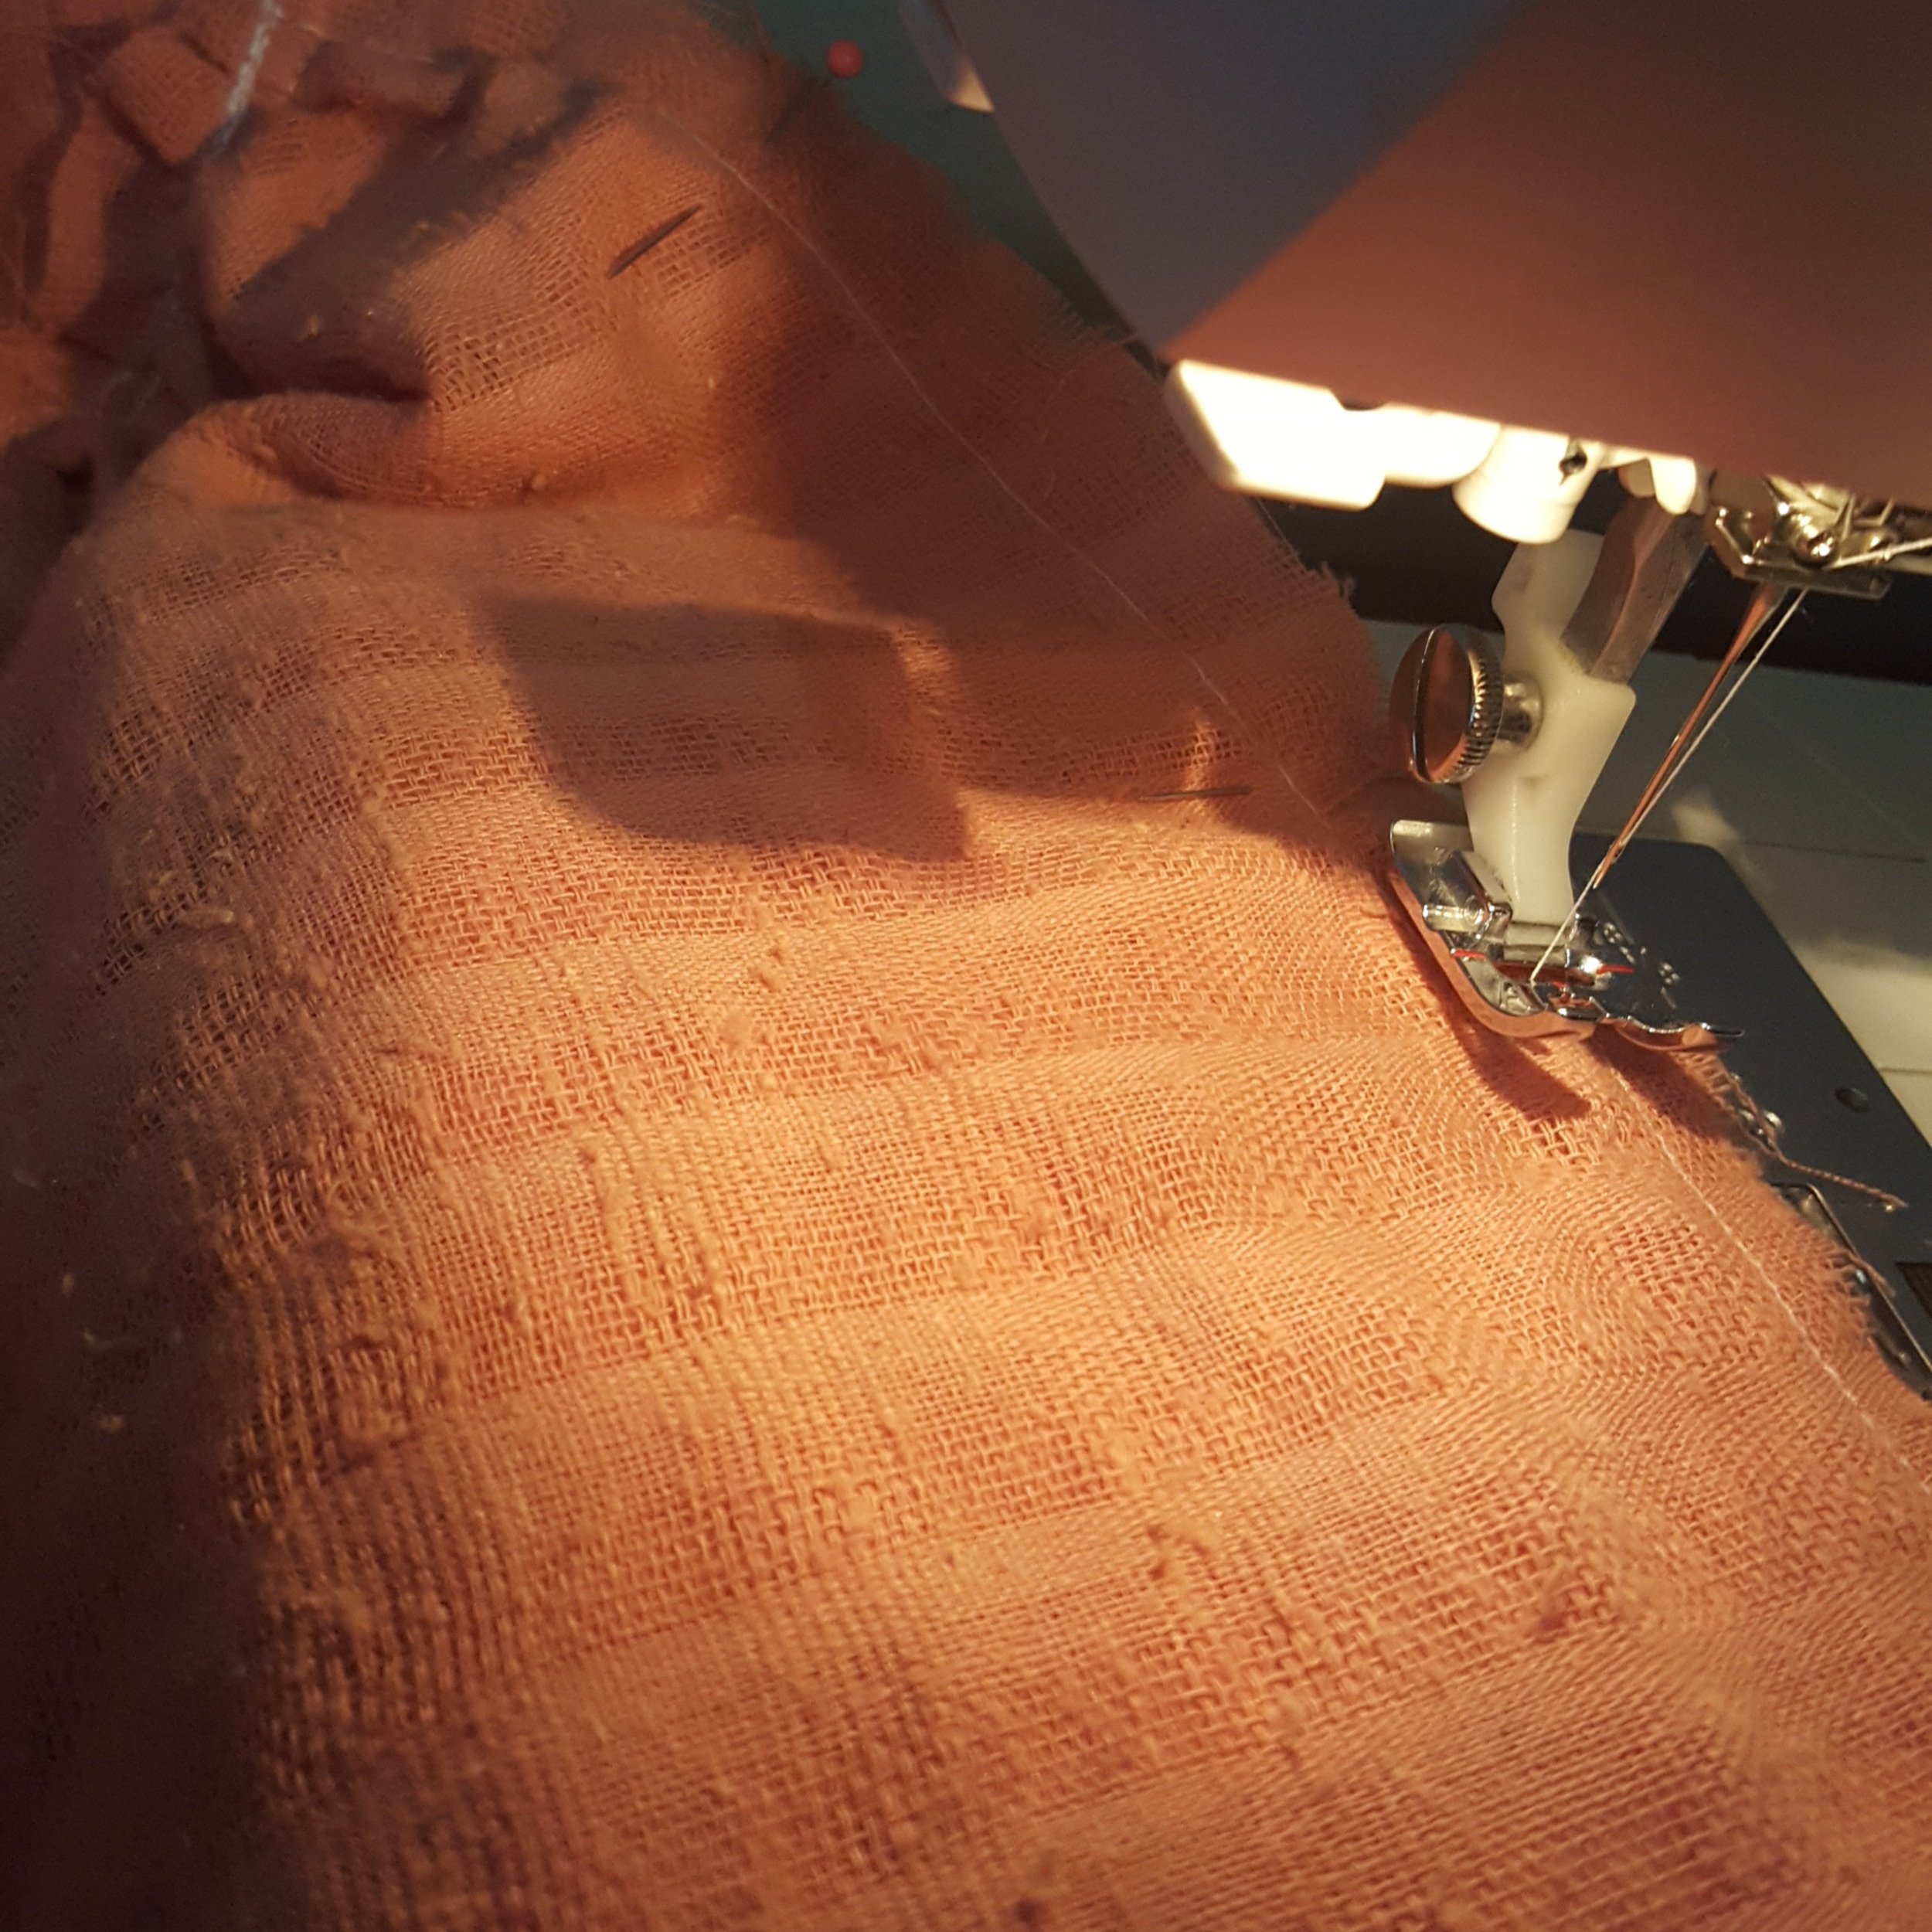
Grab the perfectly matching thread I found in my handy dandy secret sewing table compartment and we’re ready to sew some pleats.
Ok, the fact of the matter is this; I have no idea what most of these picture are of, so I’m going to take my best guess and speed through the part where all the pieces look the same and come out the other end with a mostly finished product.
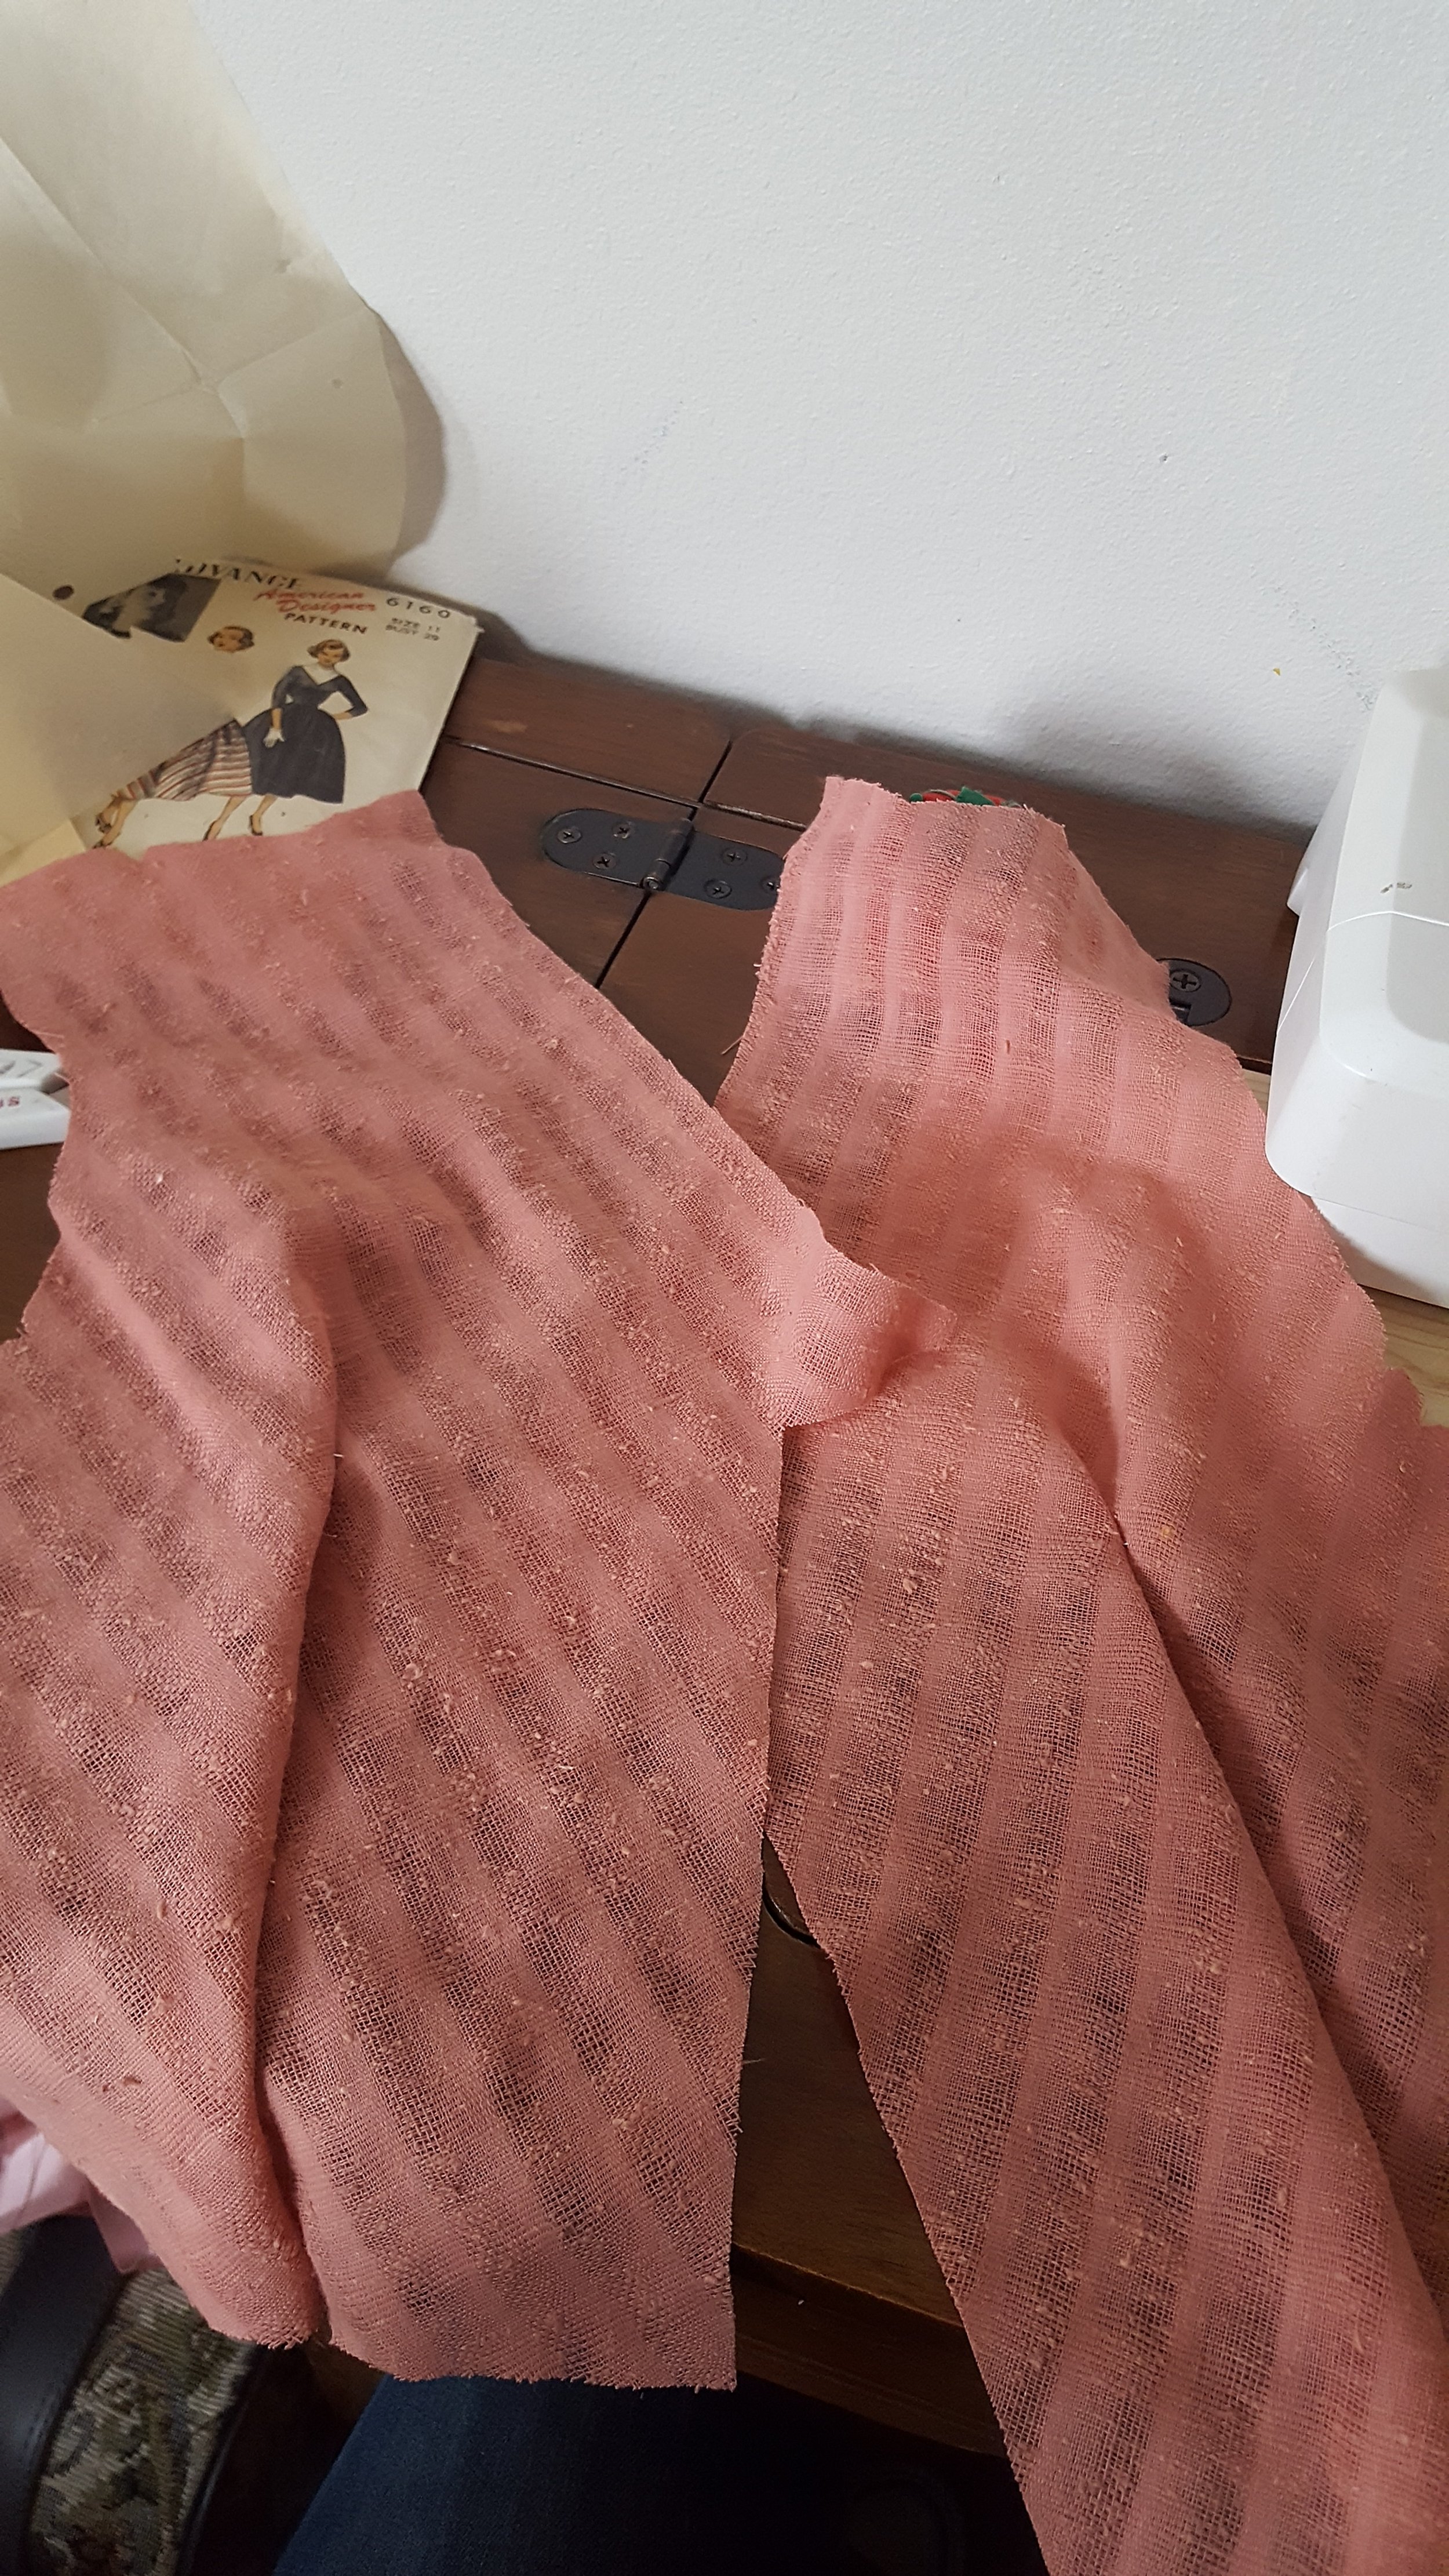
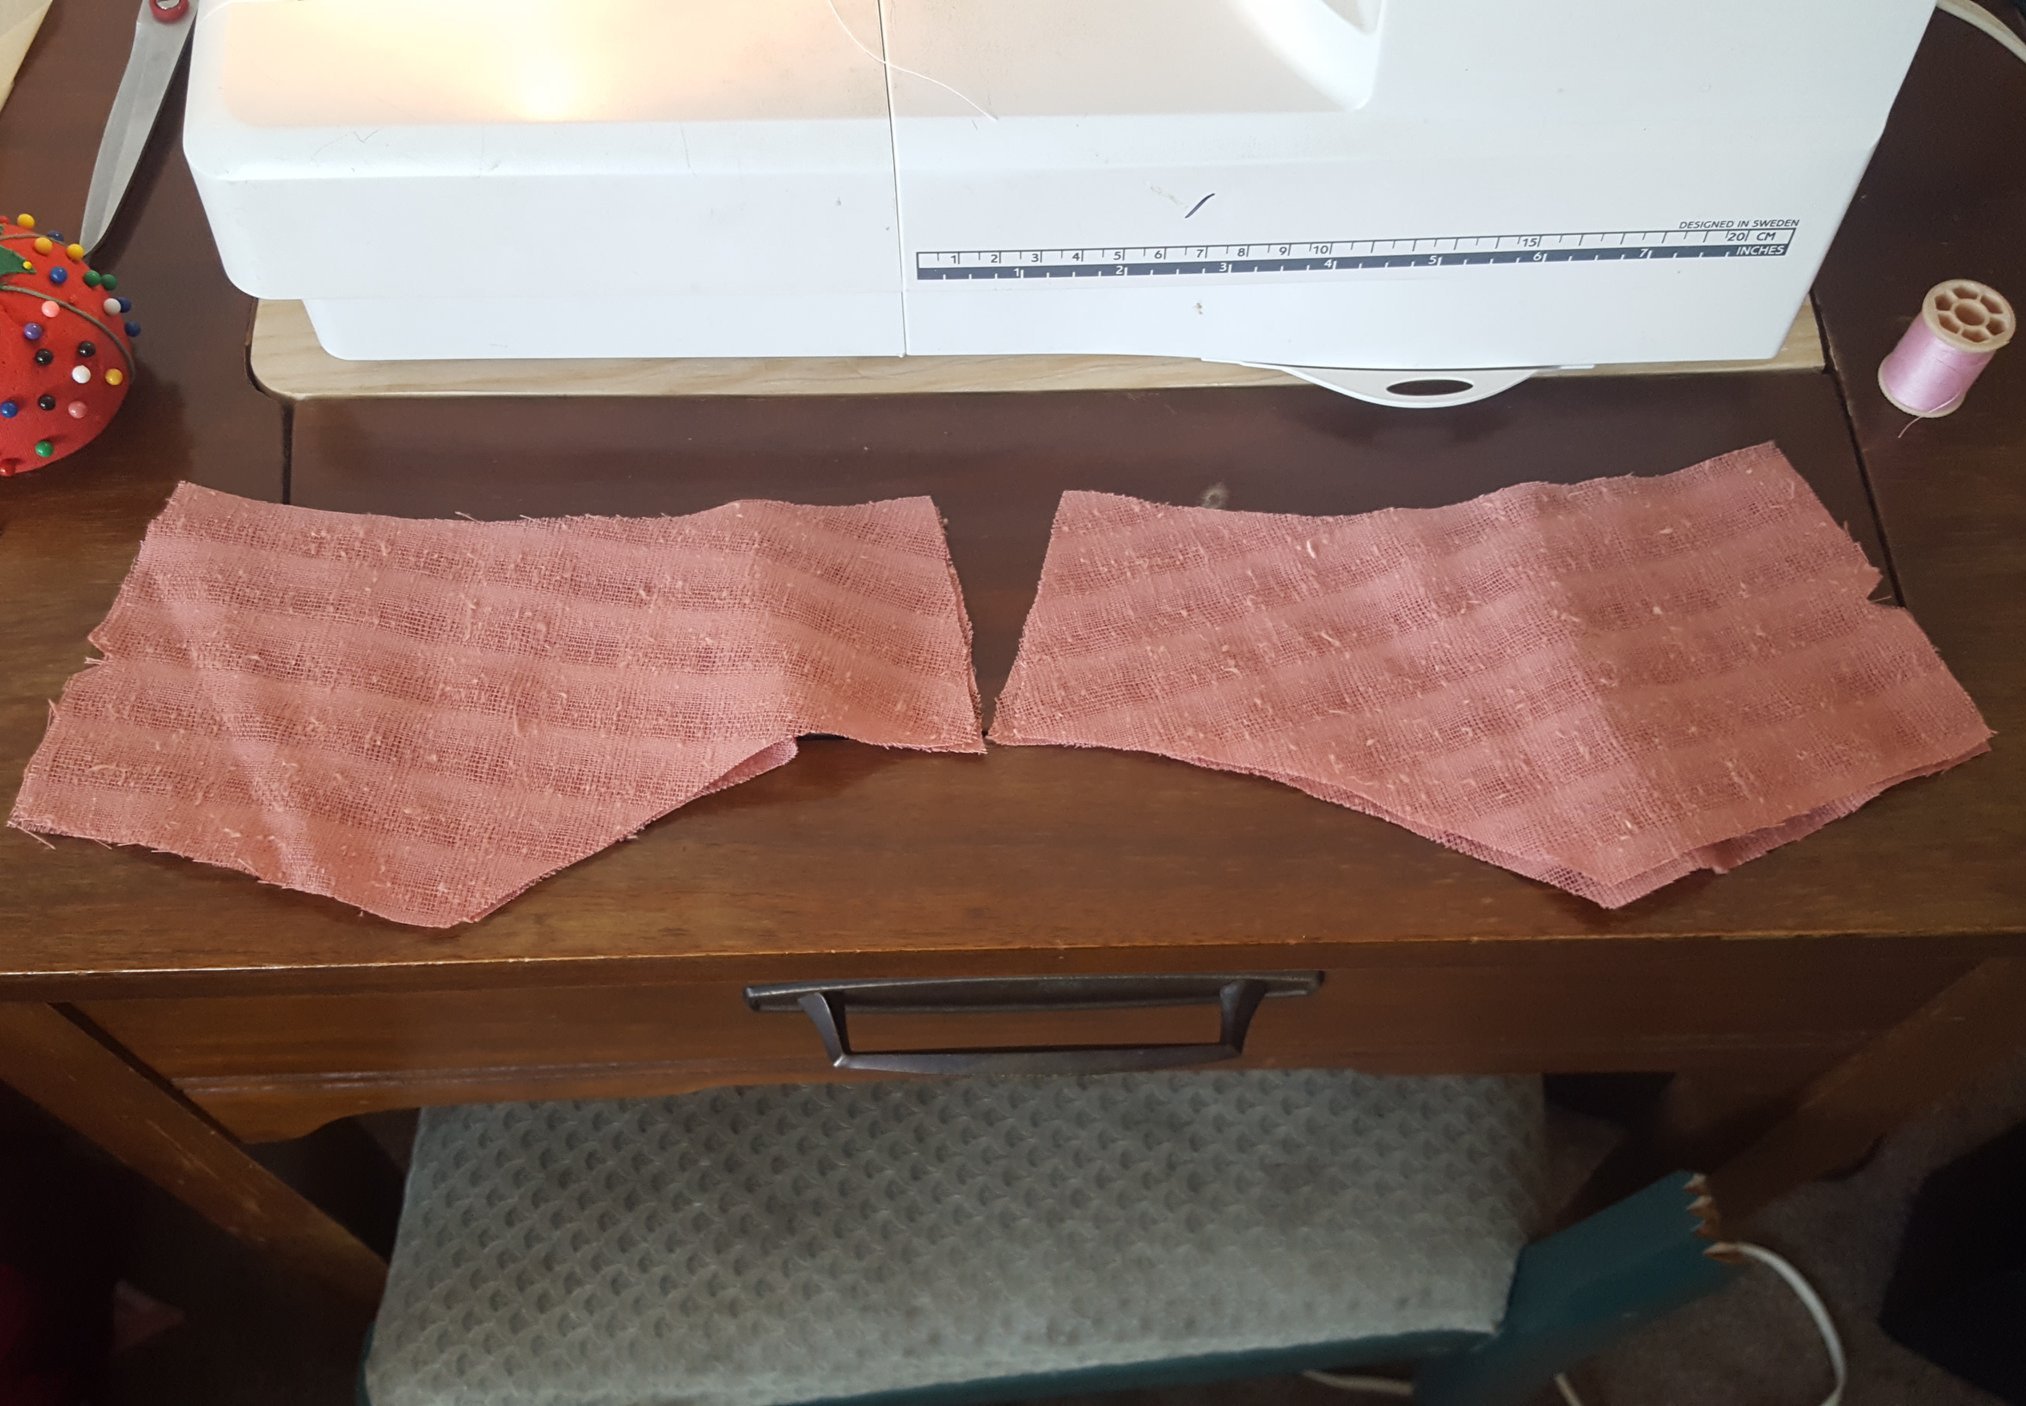
And that’s what the front of the bodice looked like I think.

Then the classic V-neck (don’t ask me why the little end tabs are there, I don’t know).
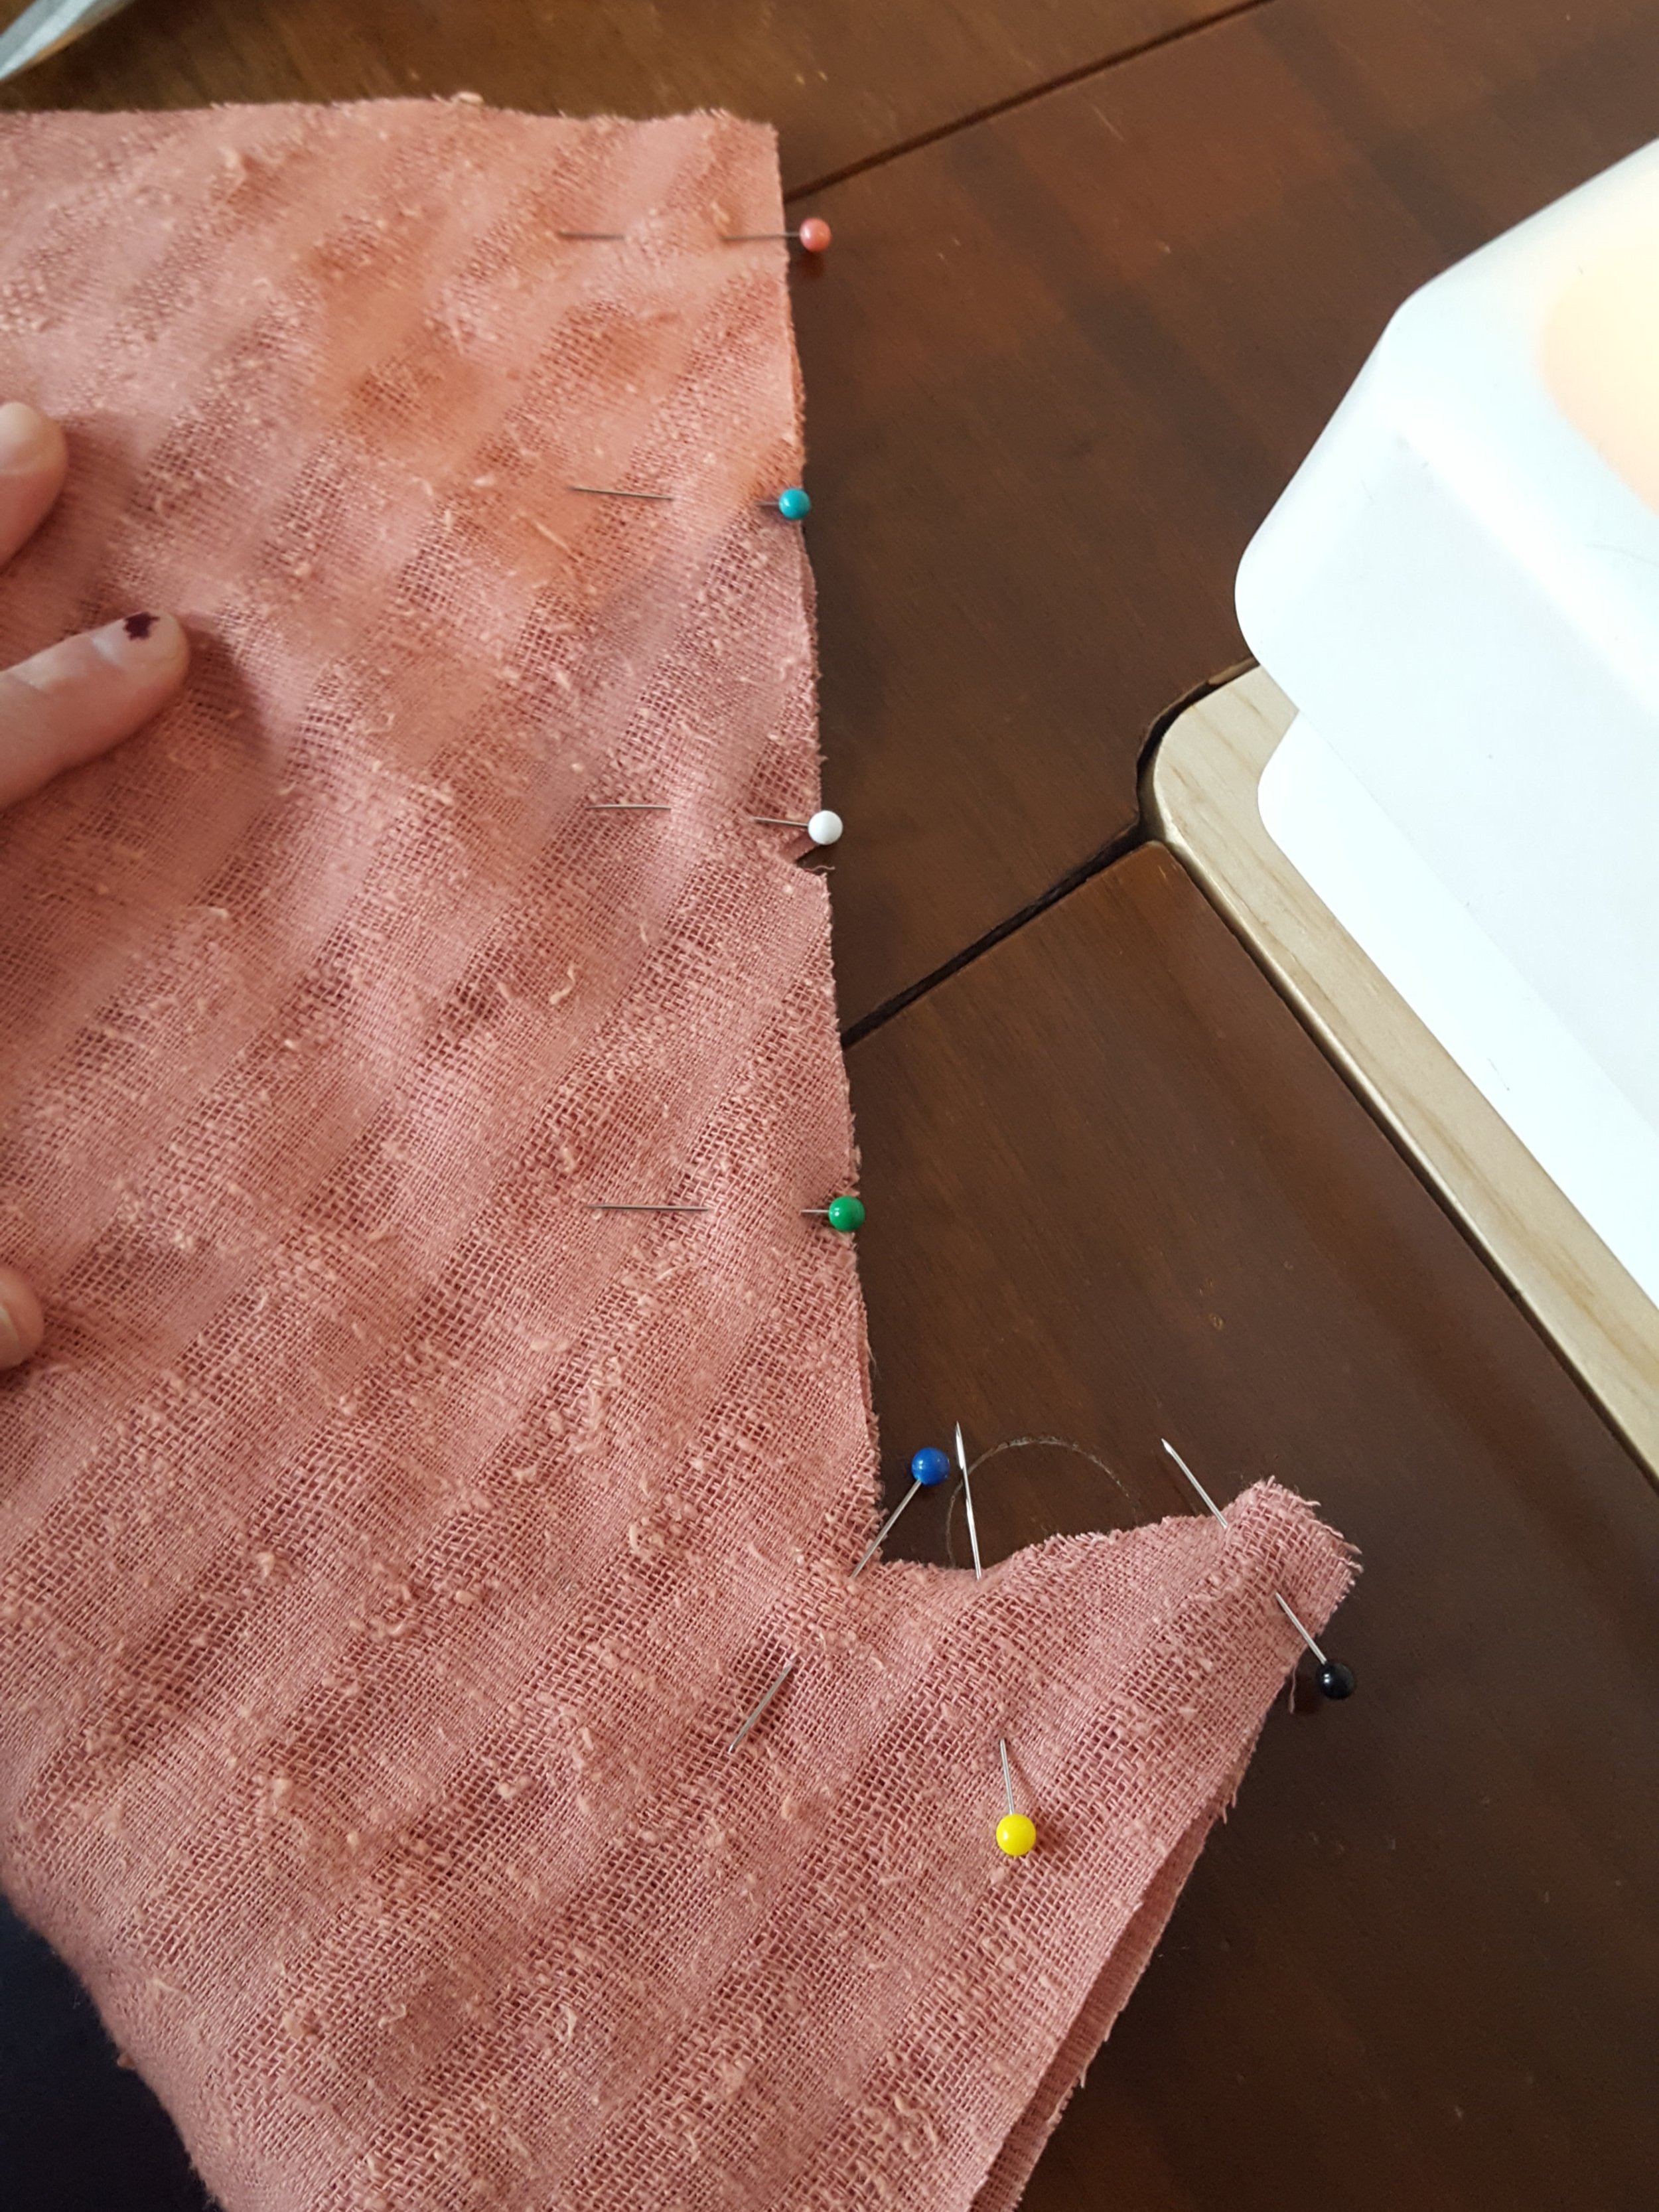
Next was the top shoulder seams.

Then I pinned the neckline down which was made easier with the tabby things there (I guess they did have a purpose. Who knew?).
Now for the skirt.
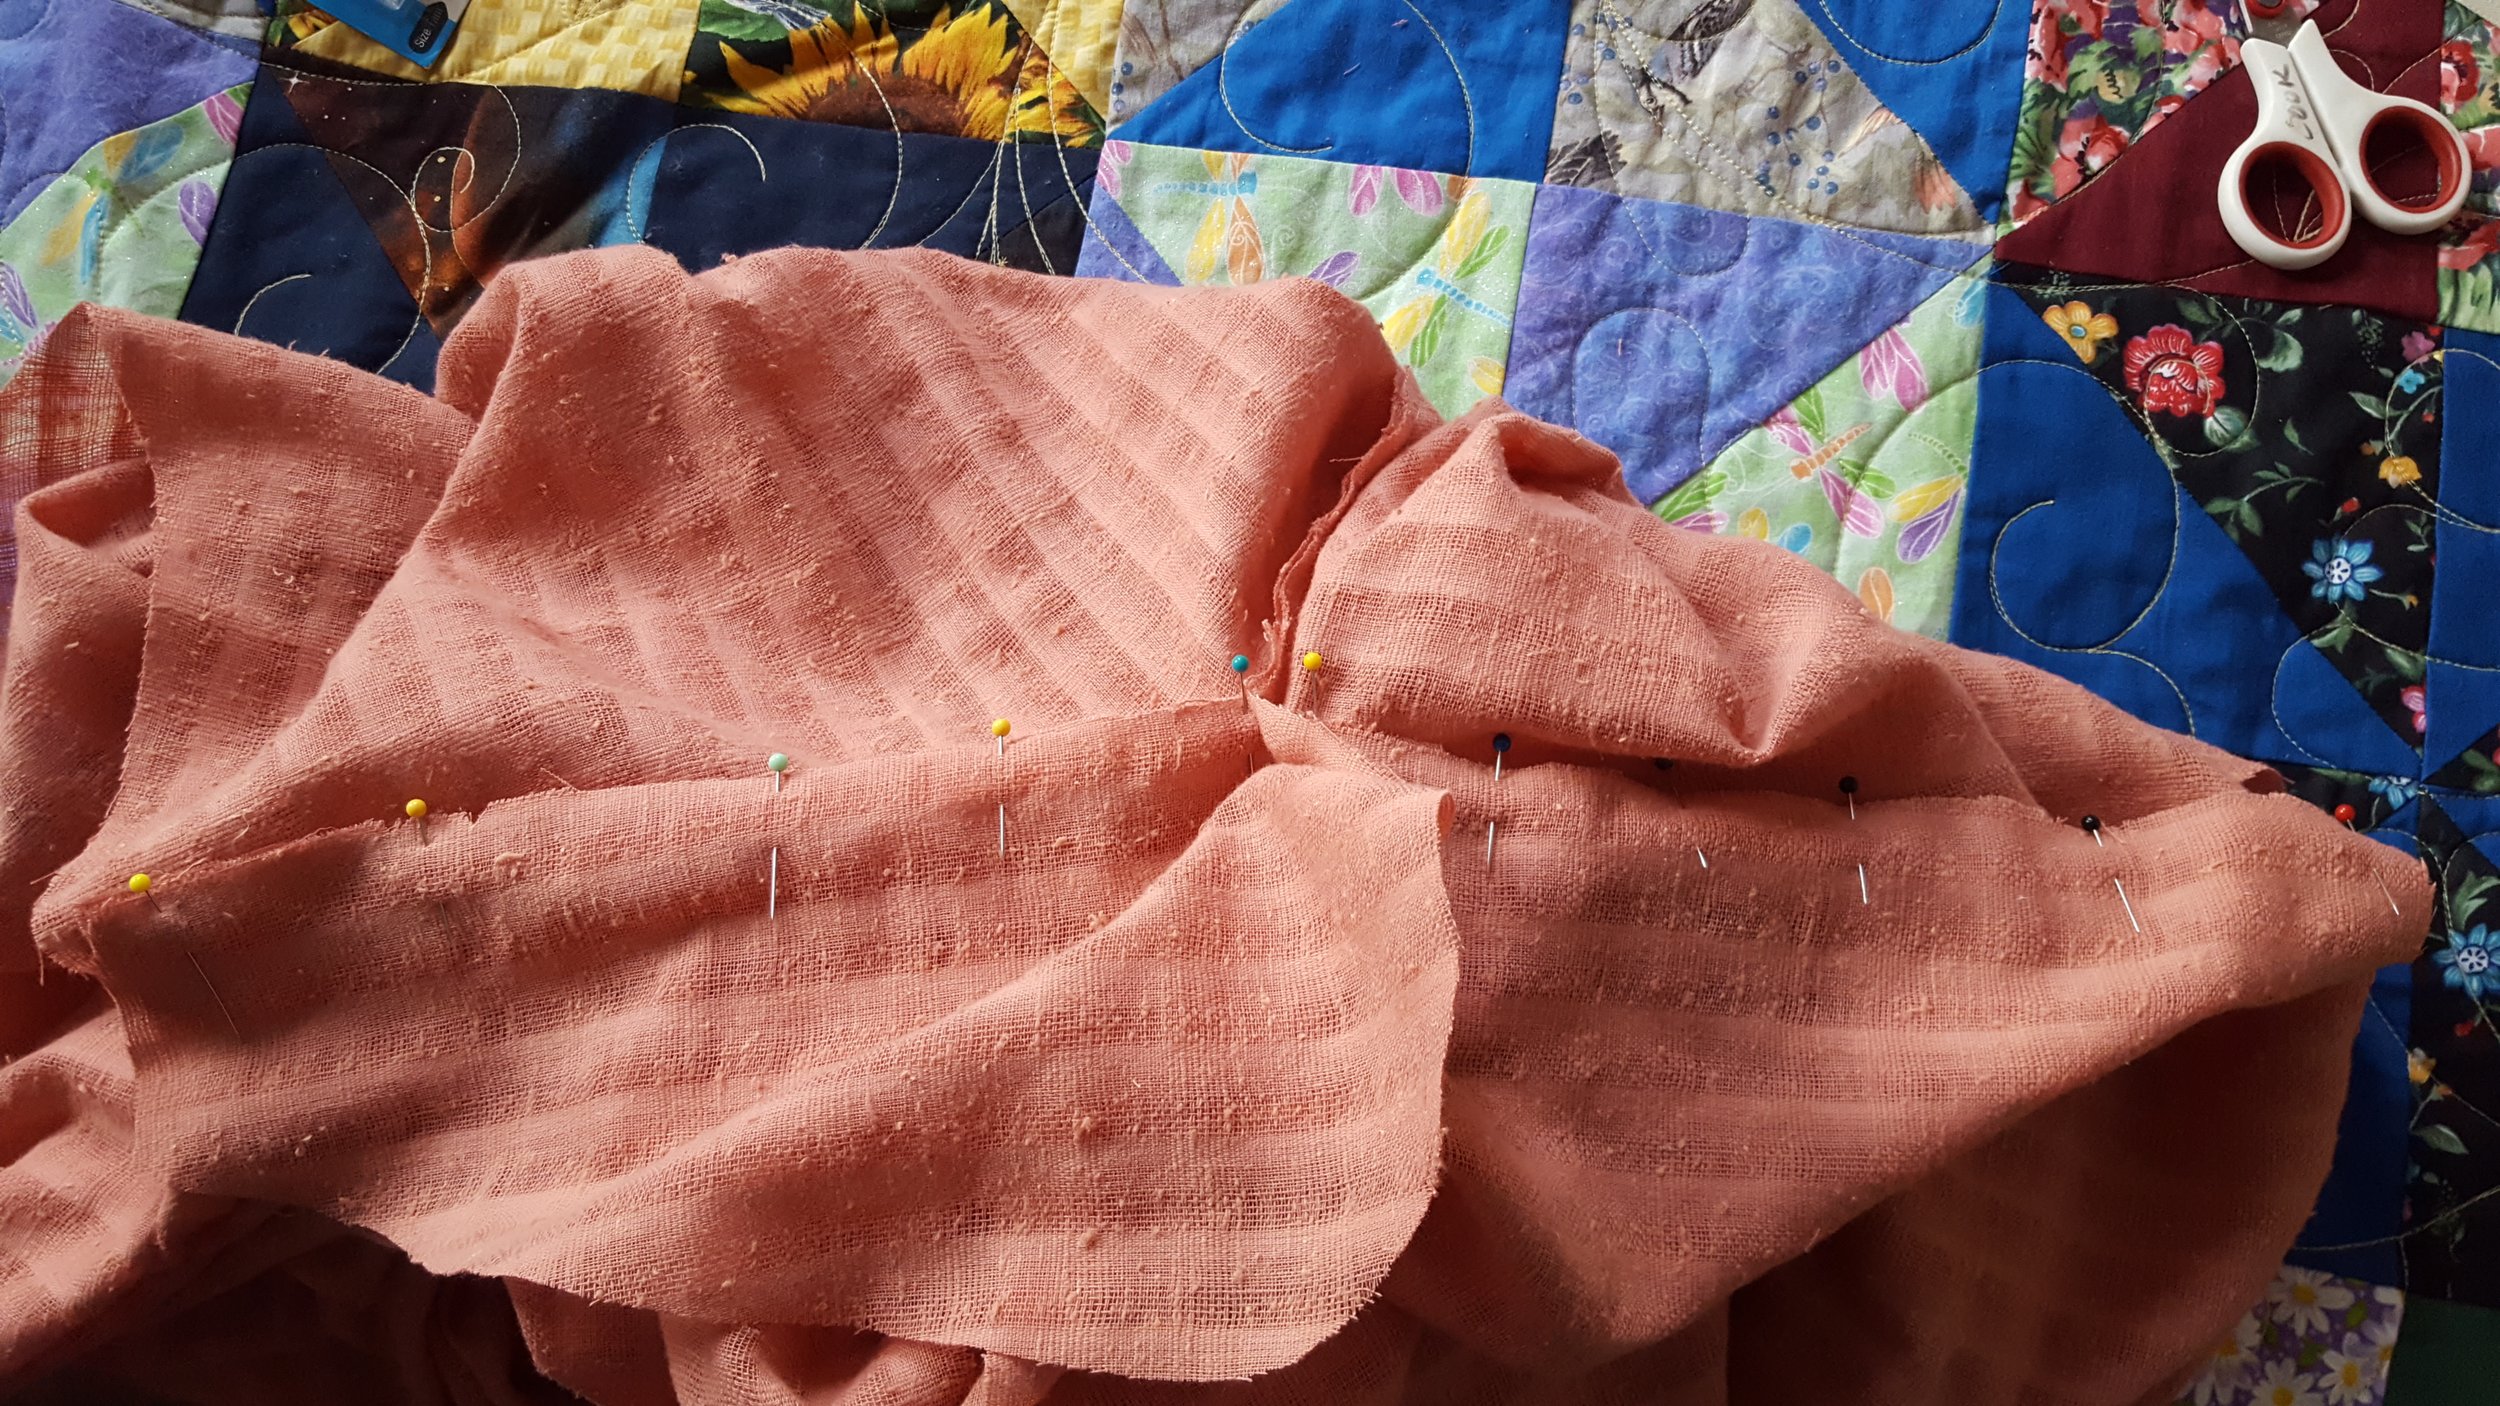

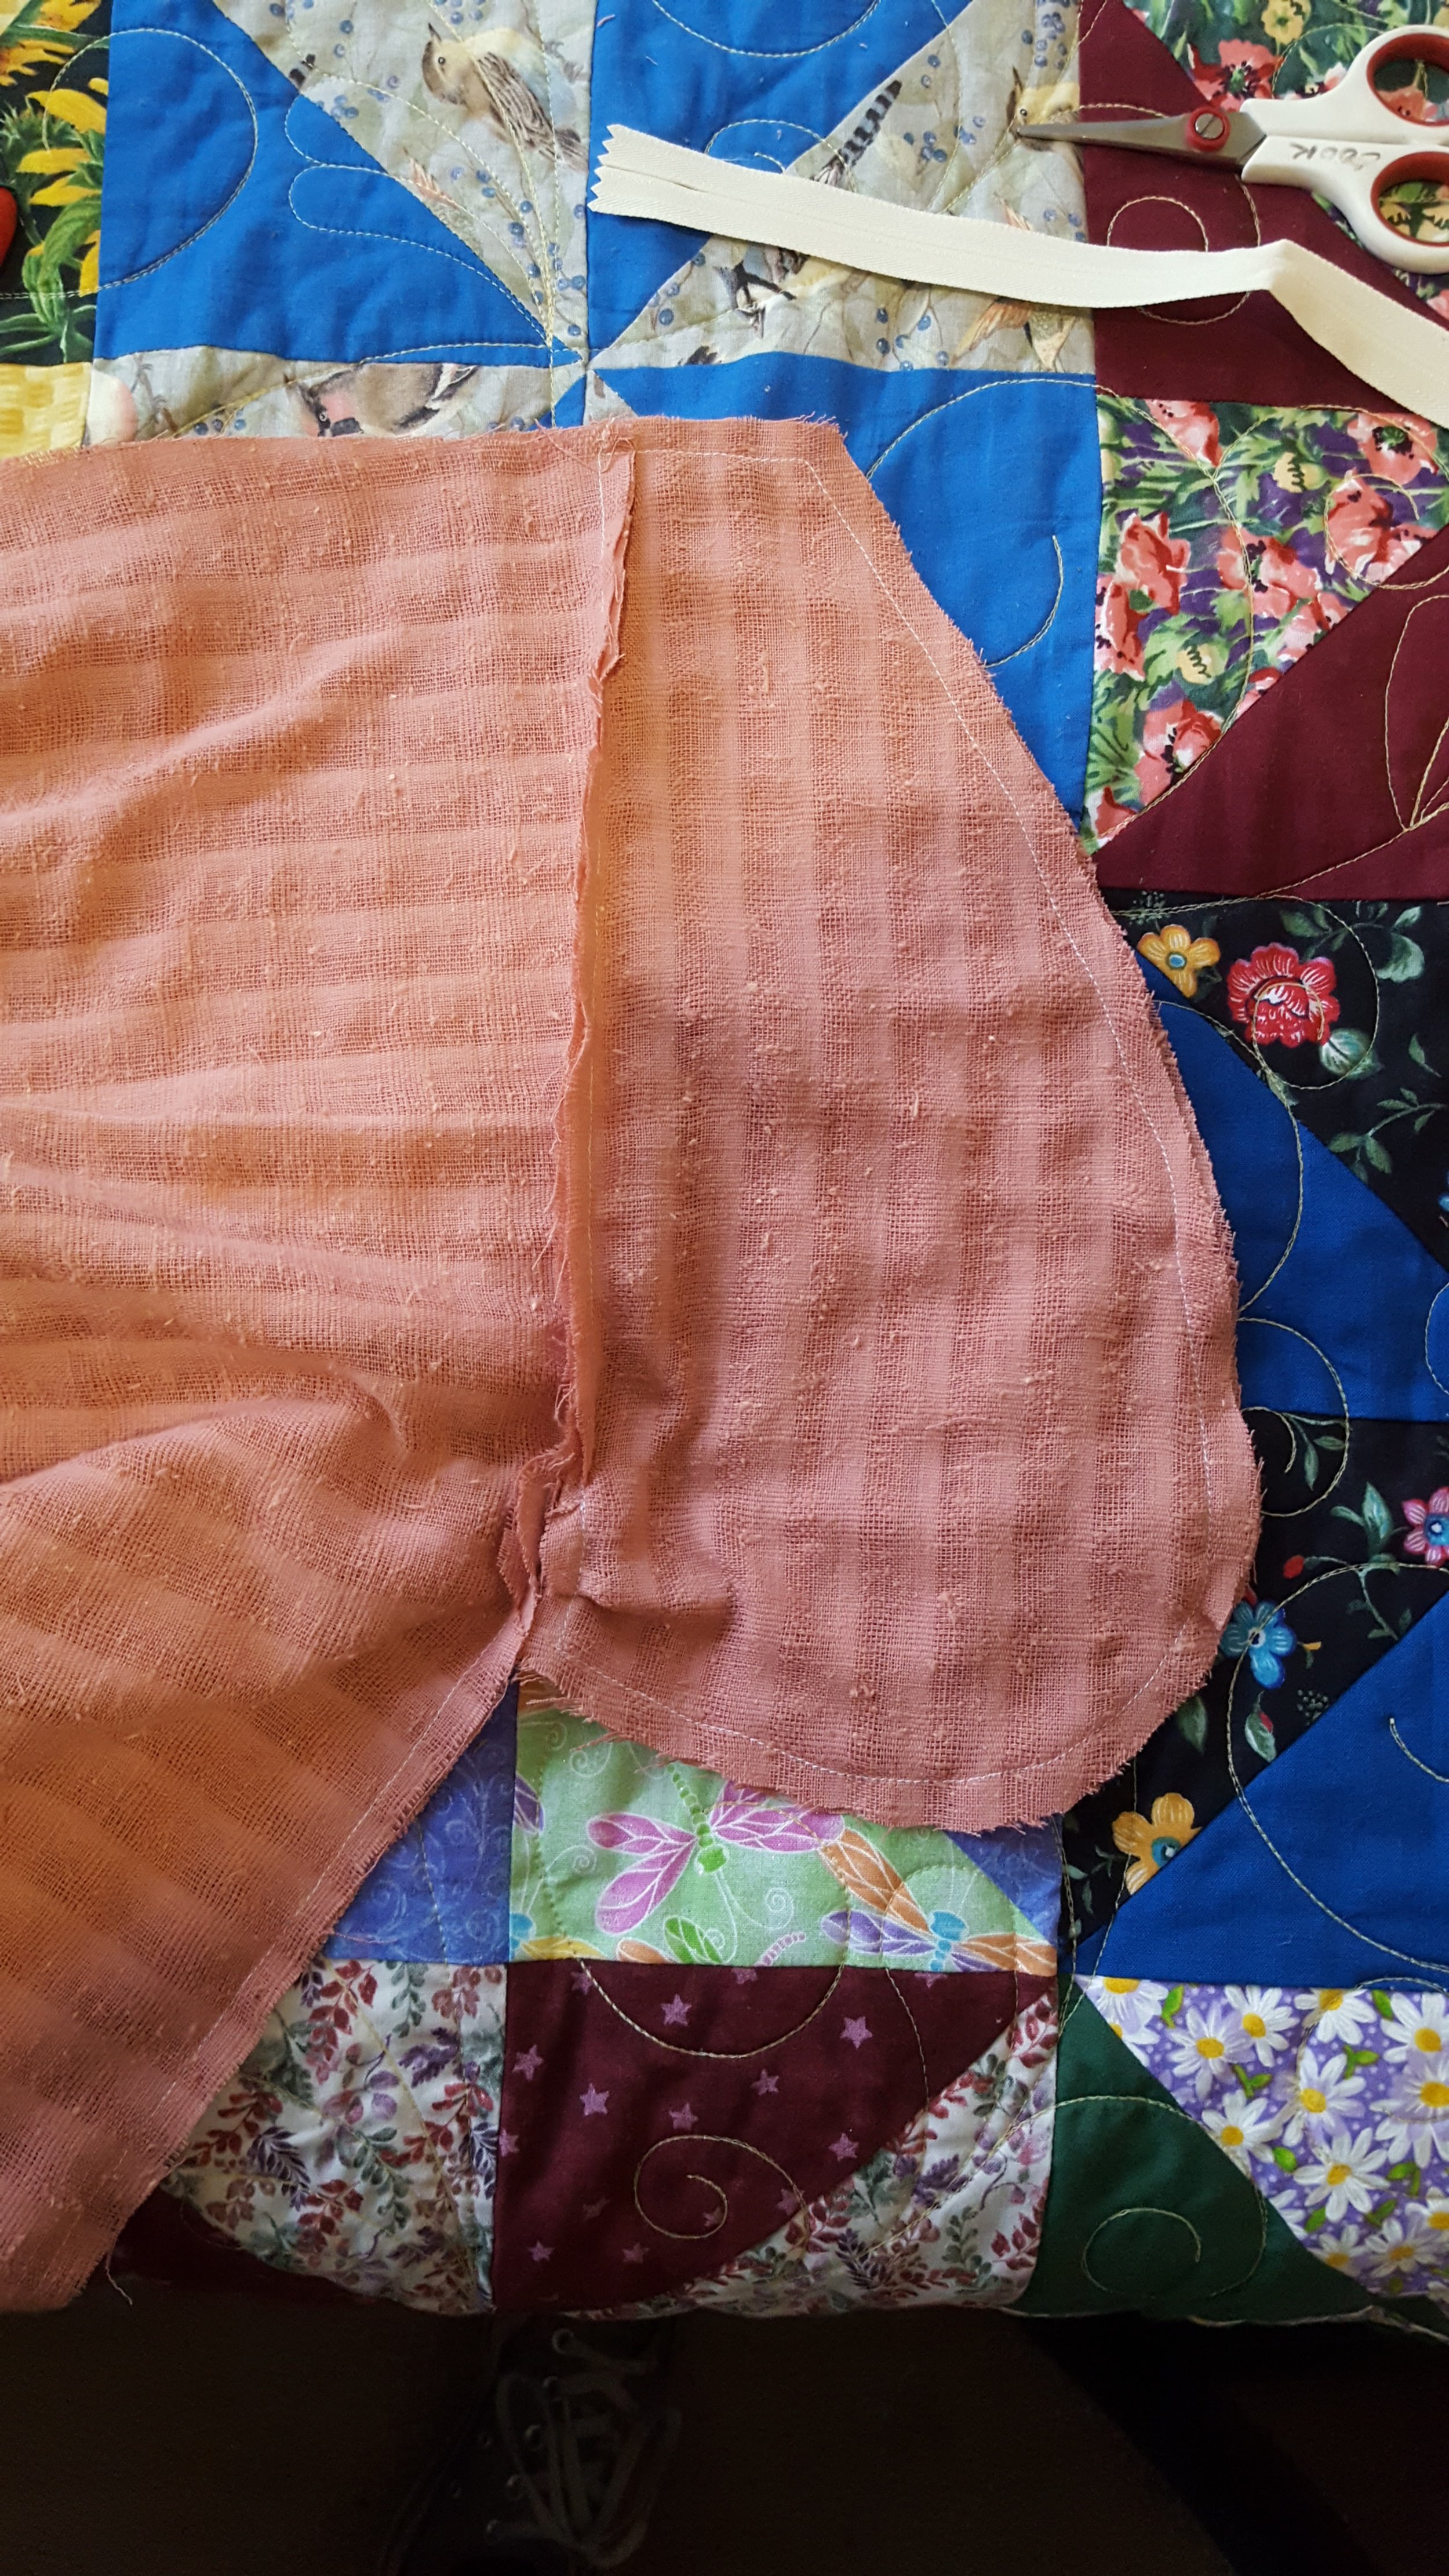
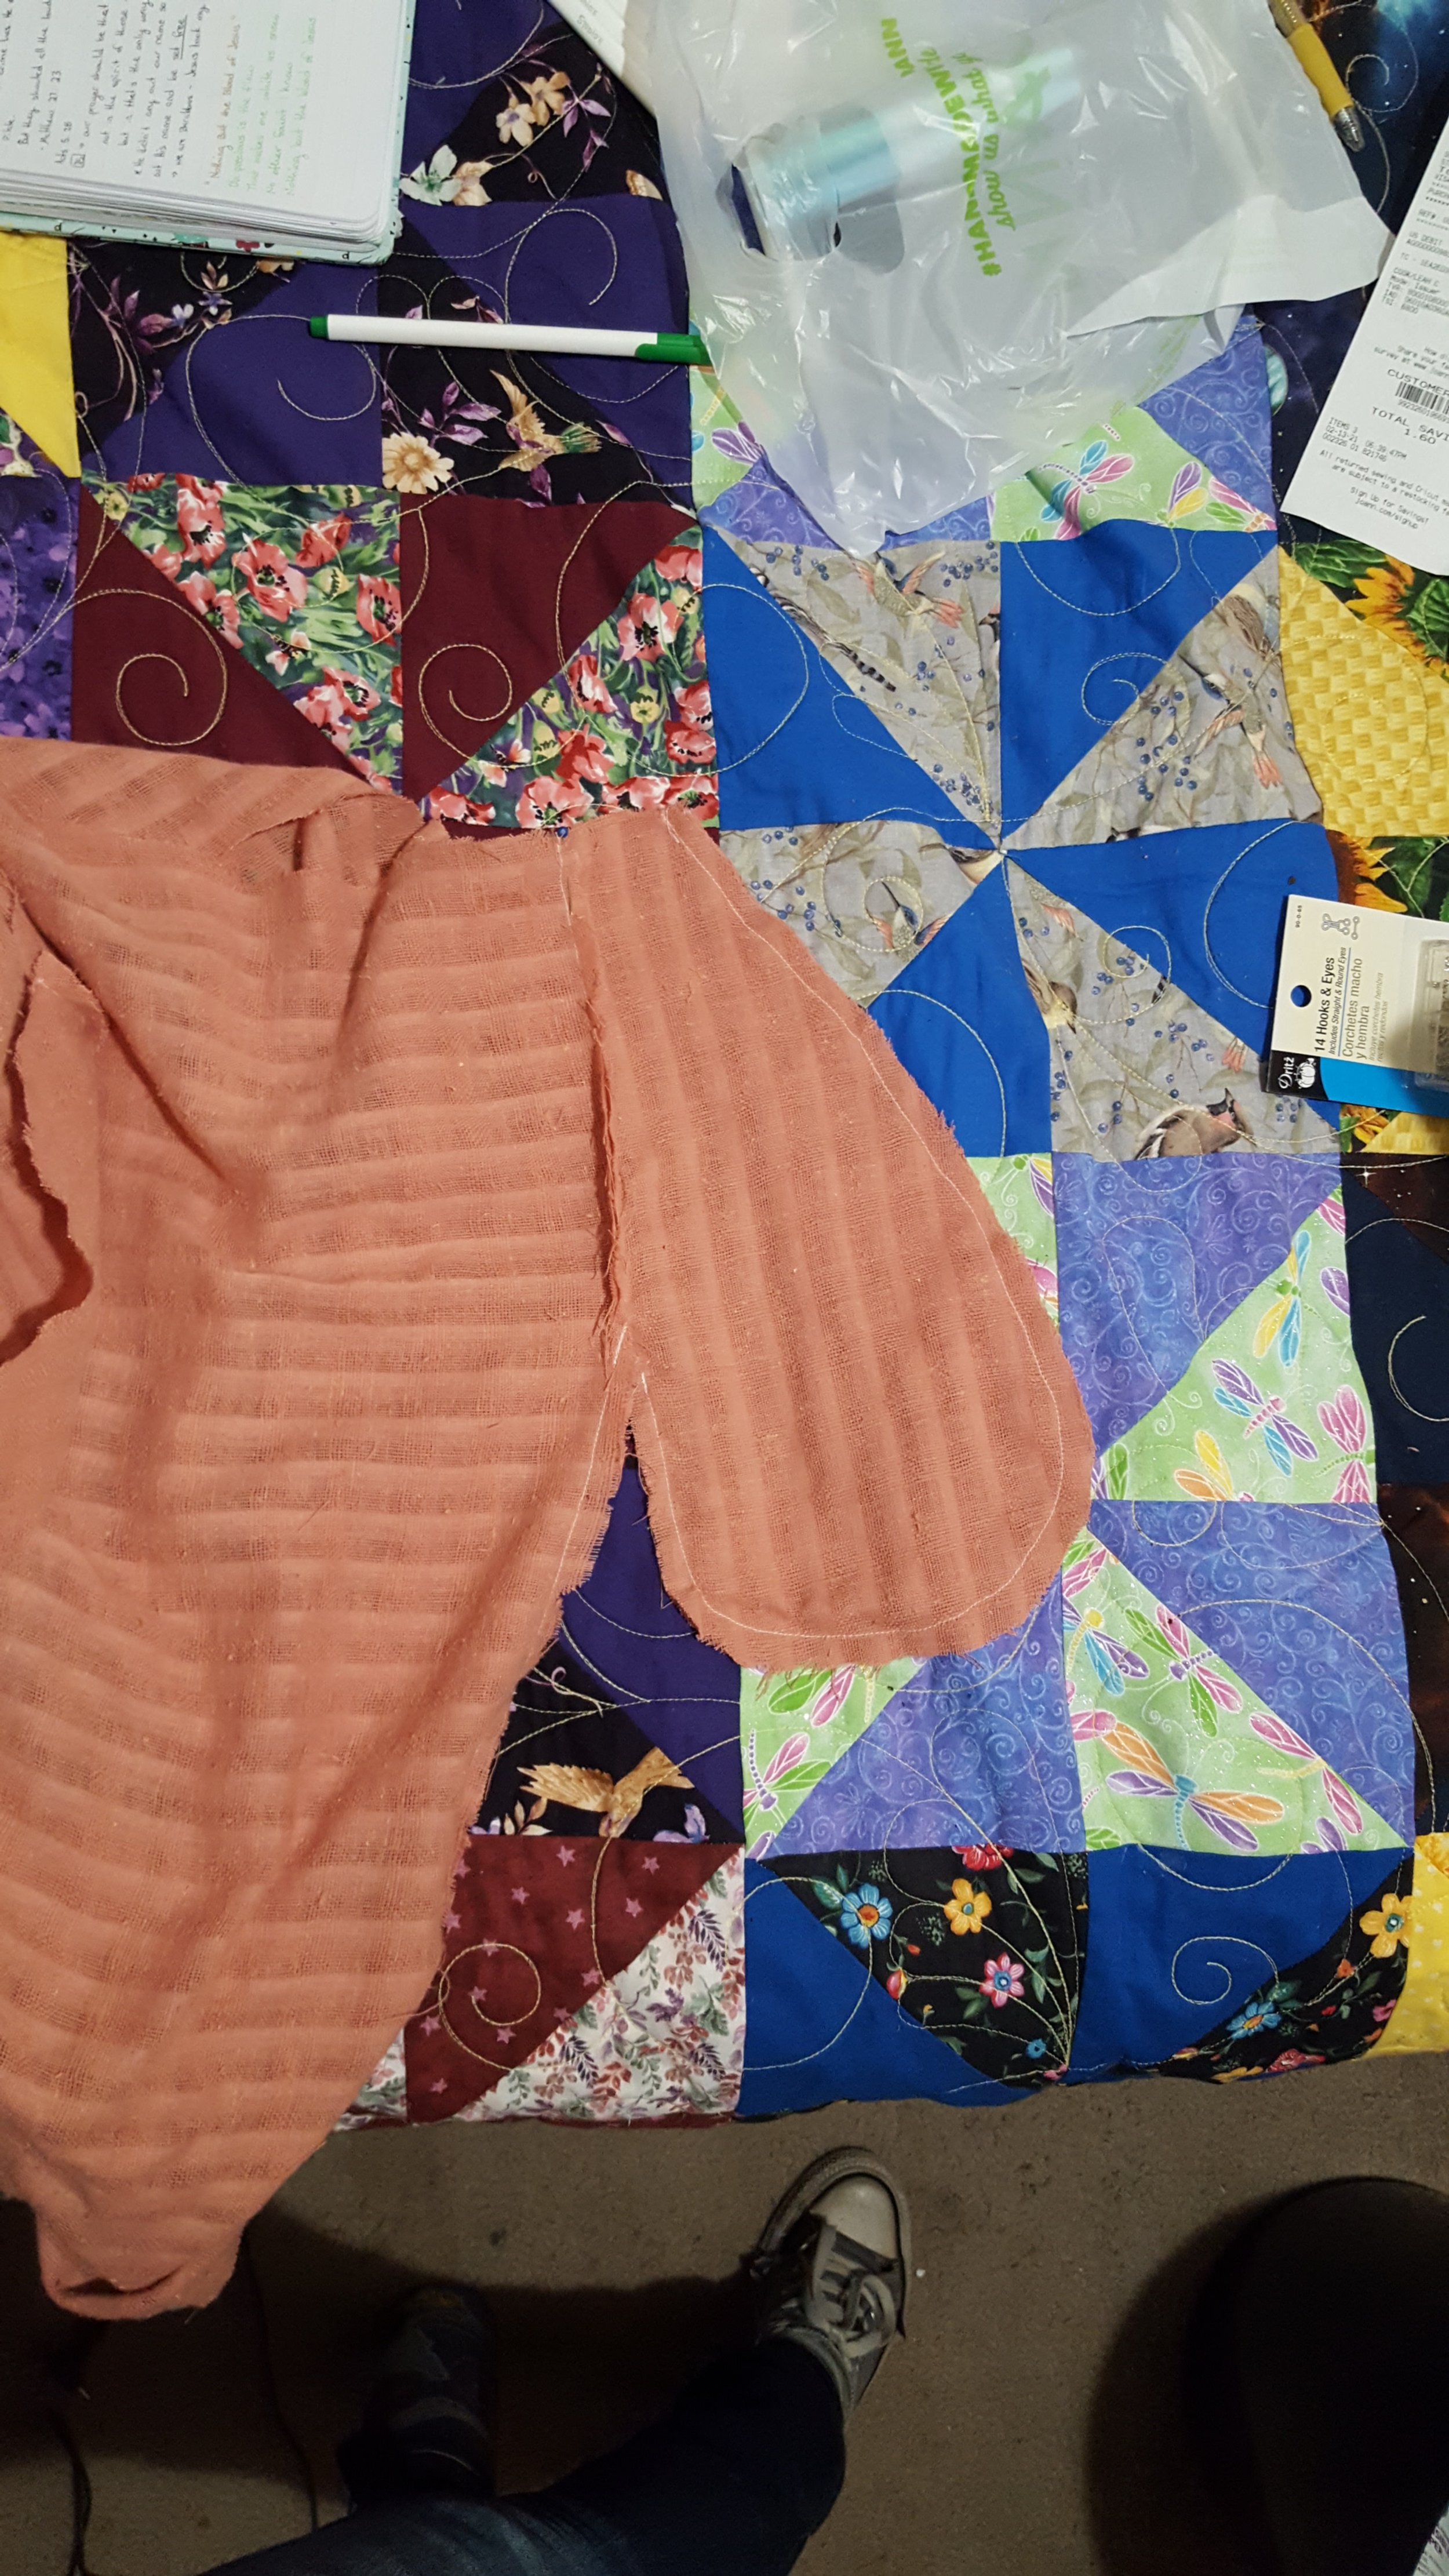
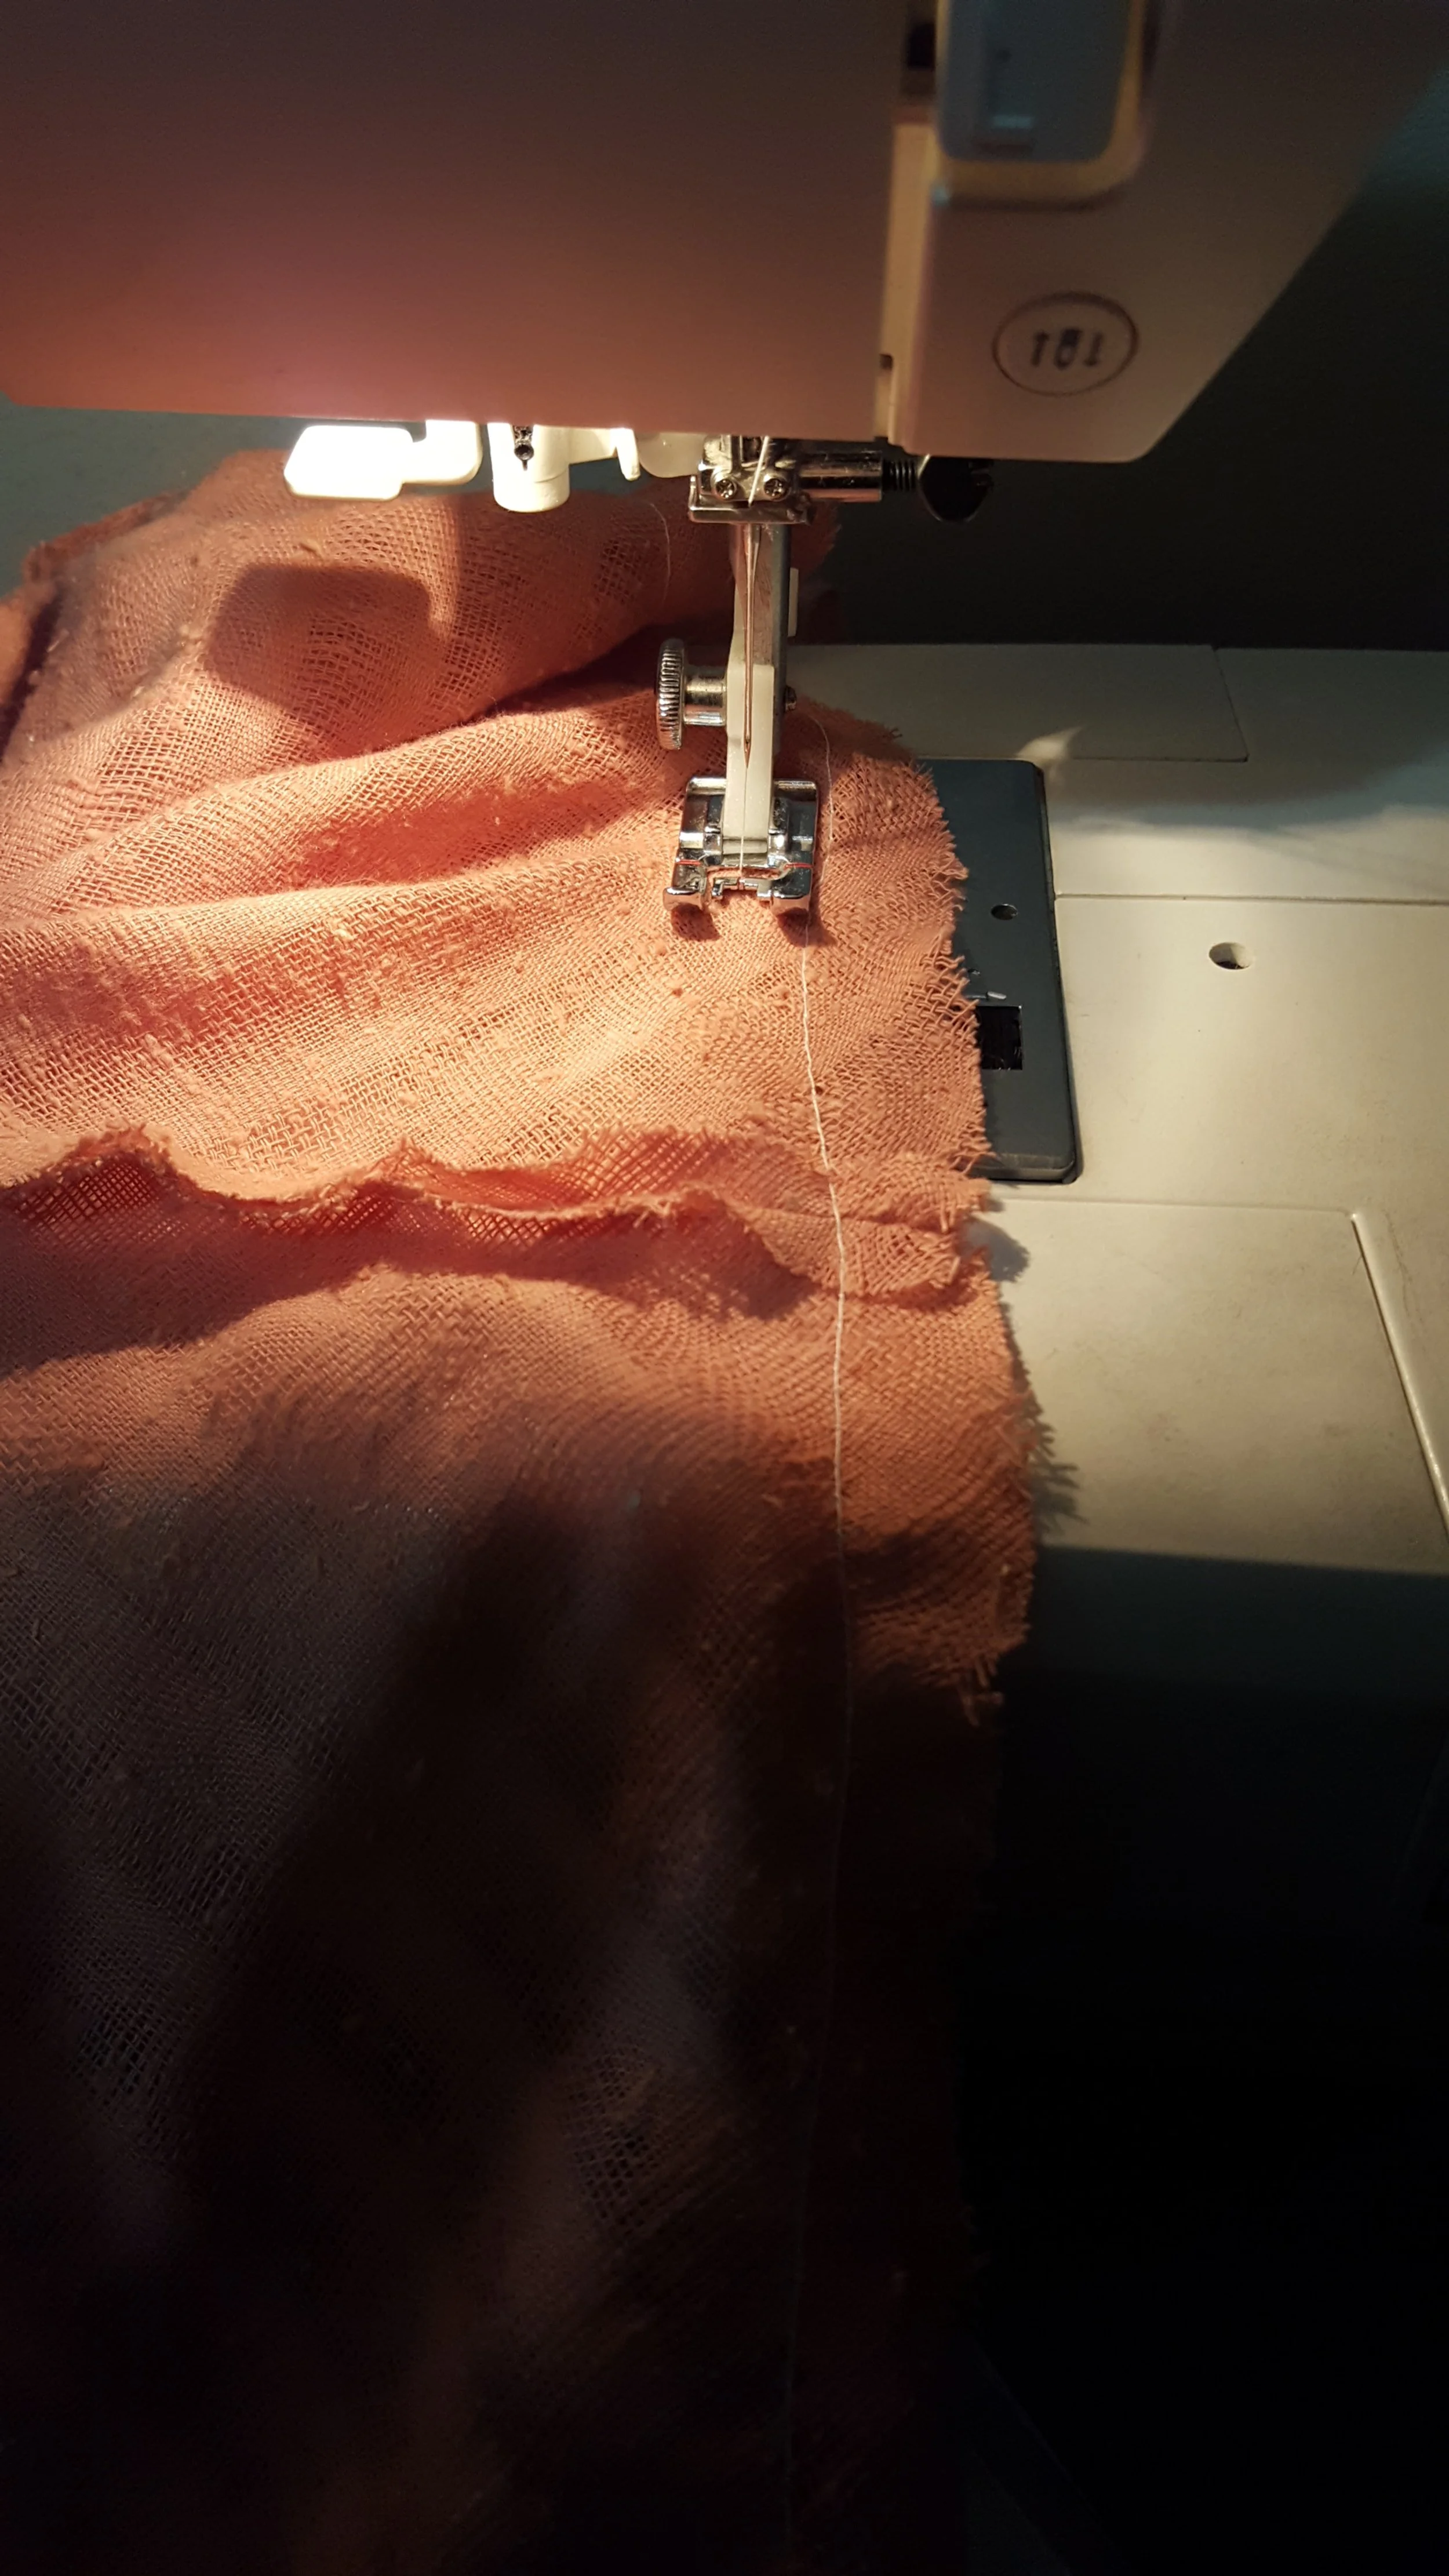

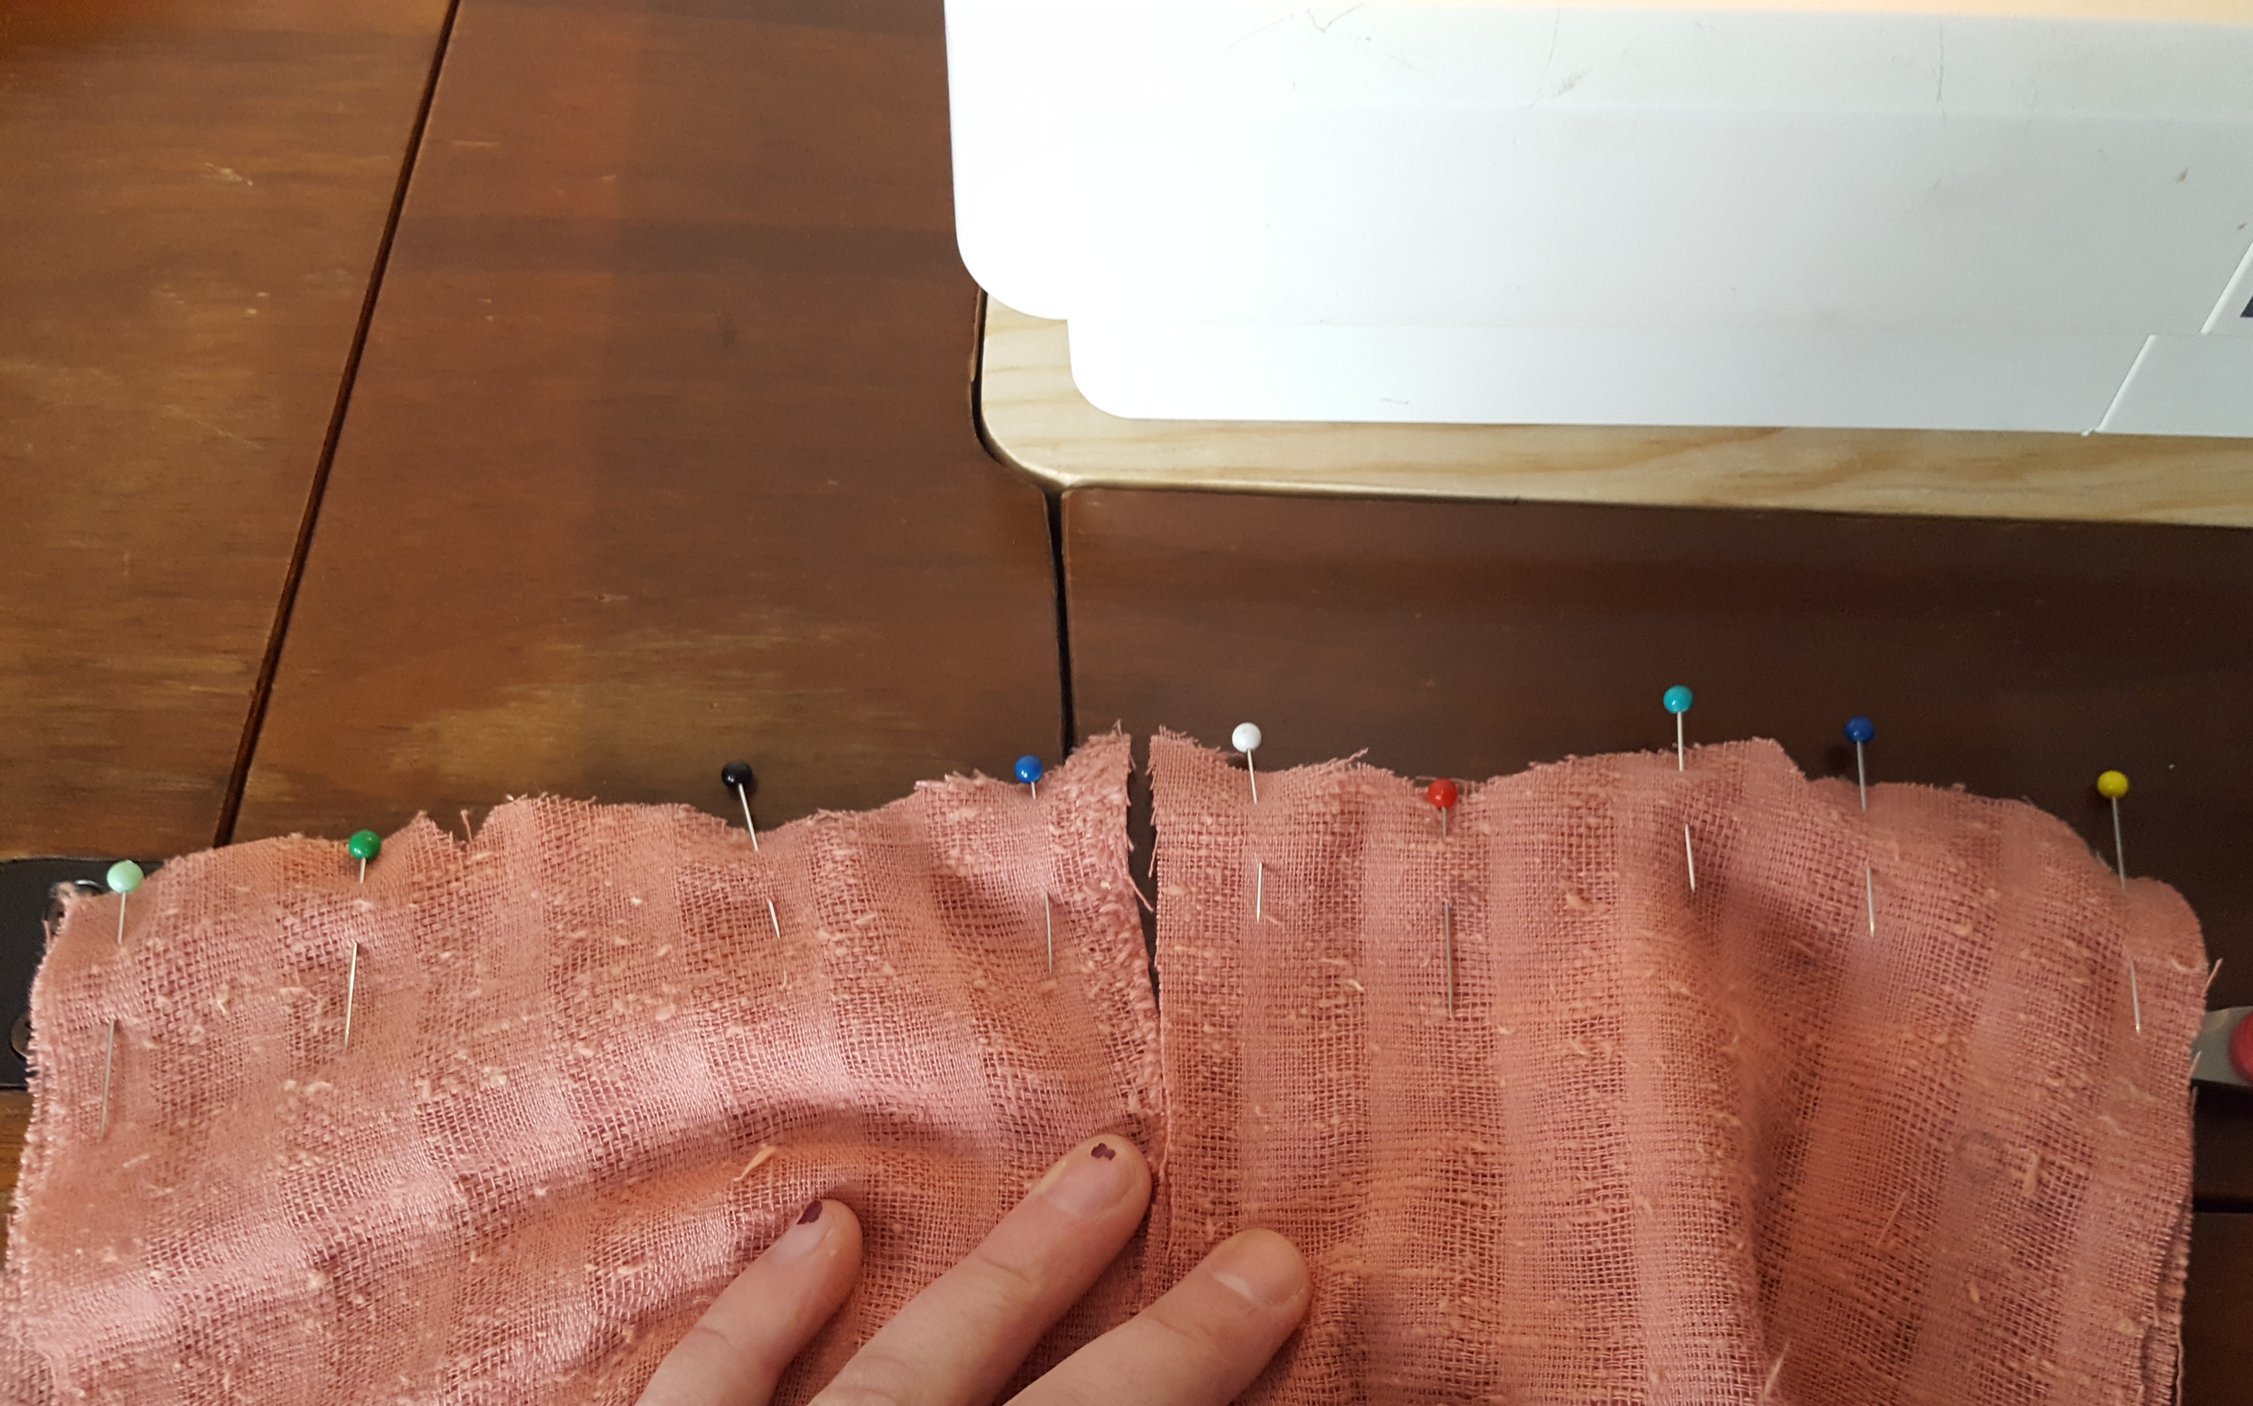
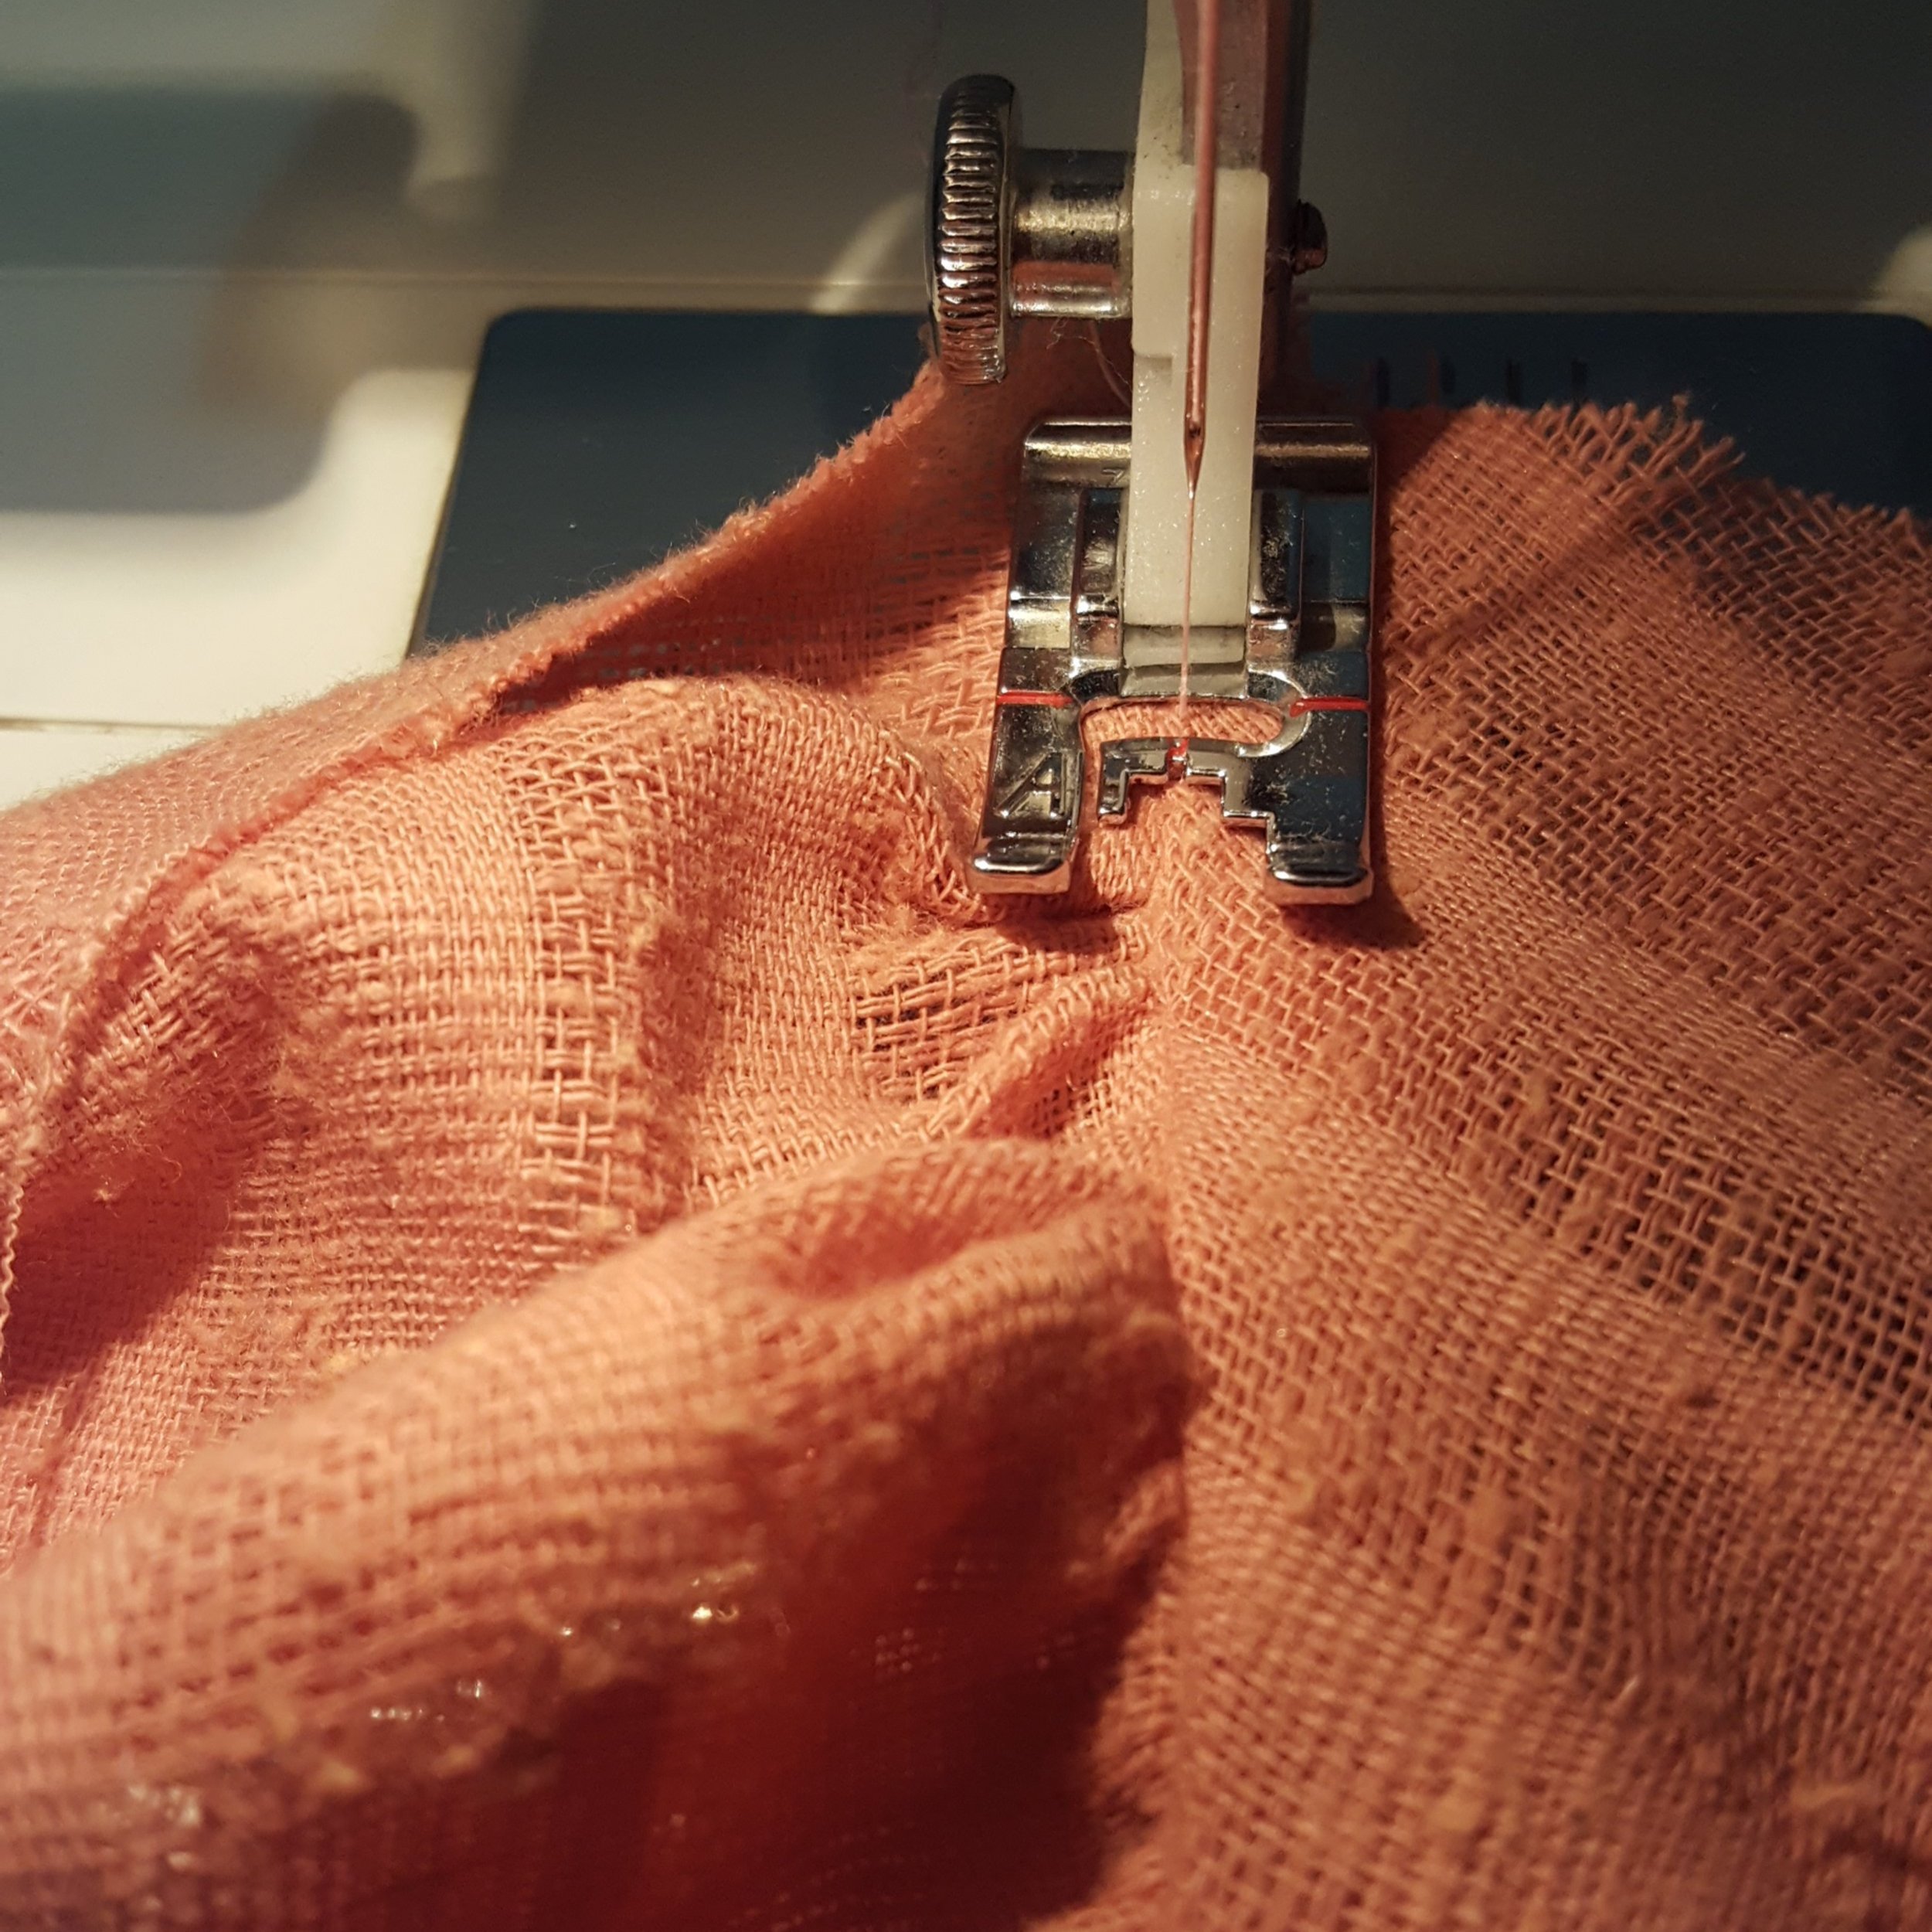
Side seams were sewn, pockets were added, and ruffles were gathered.
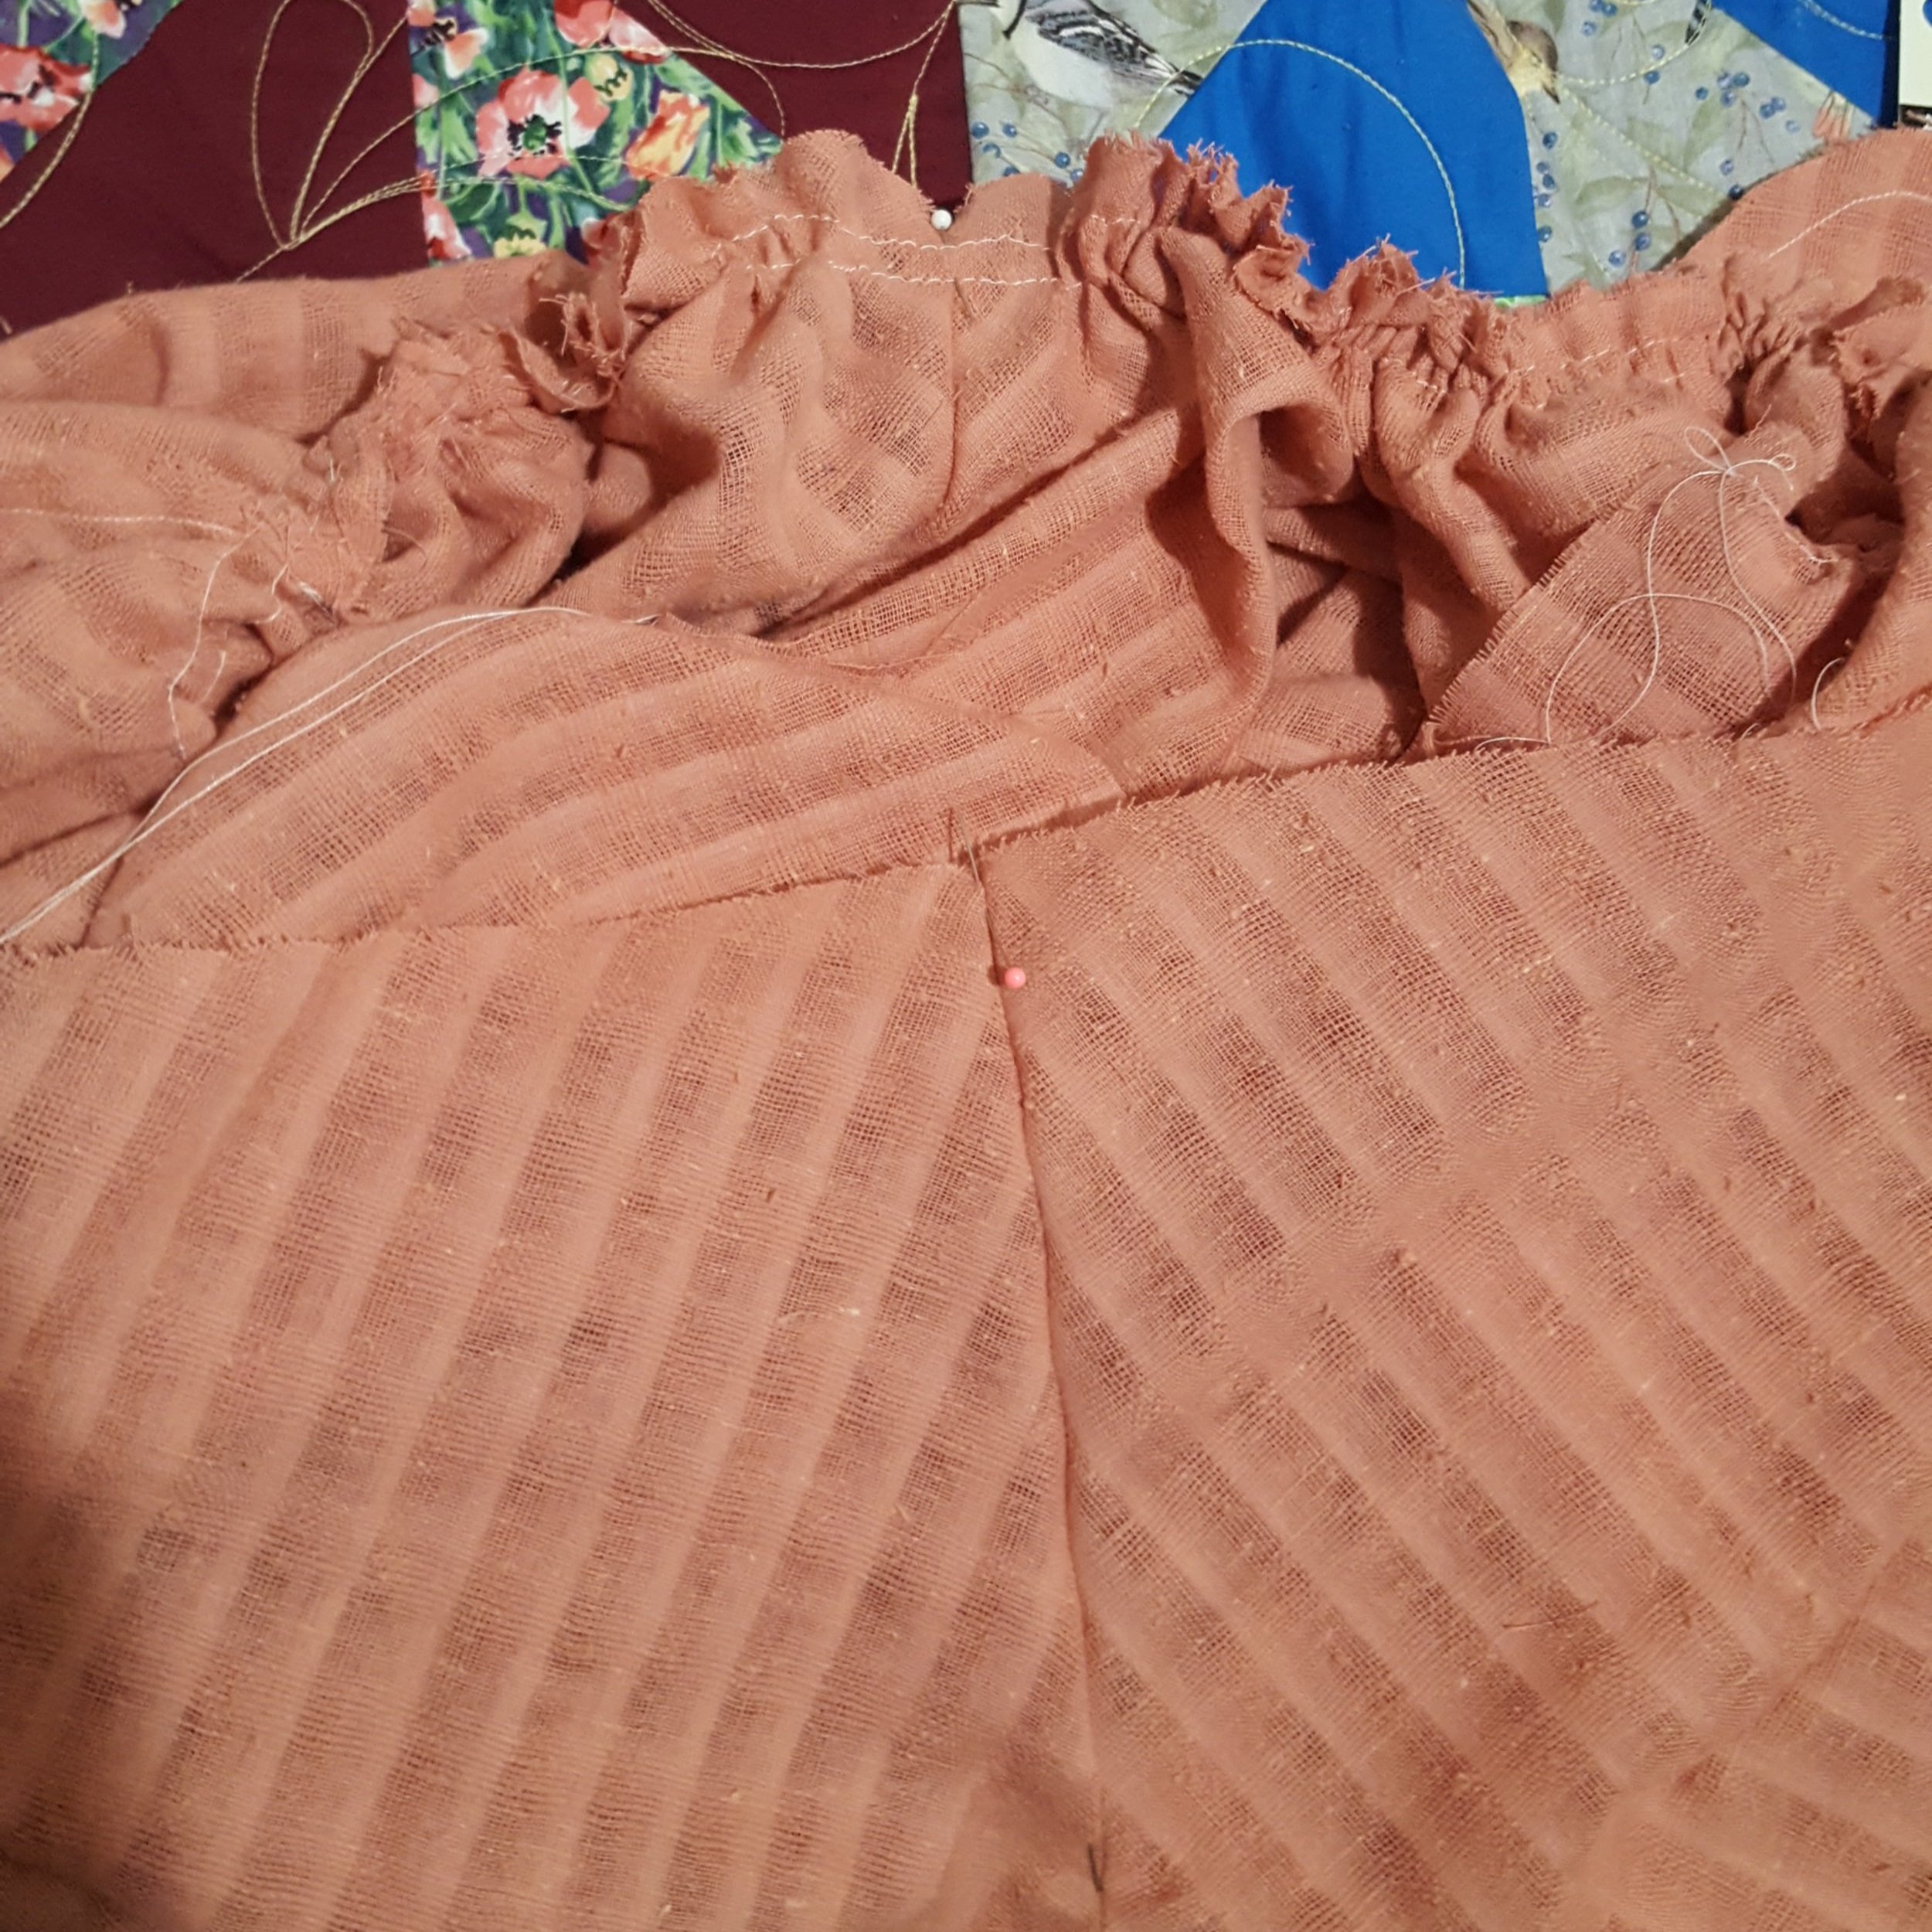
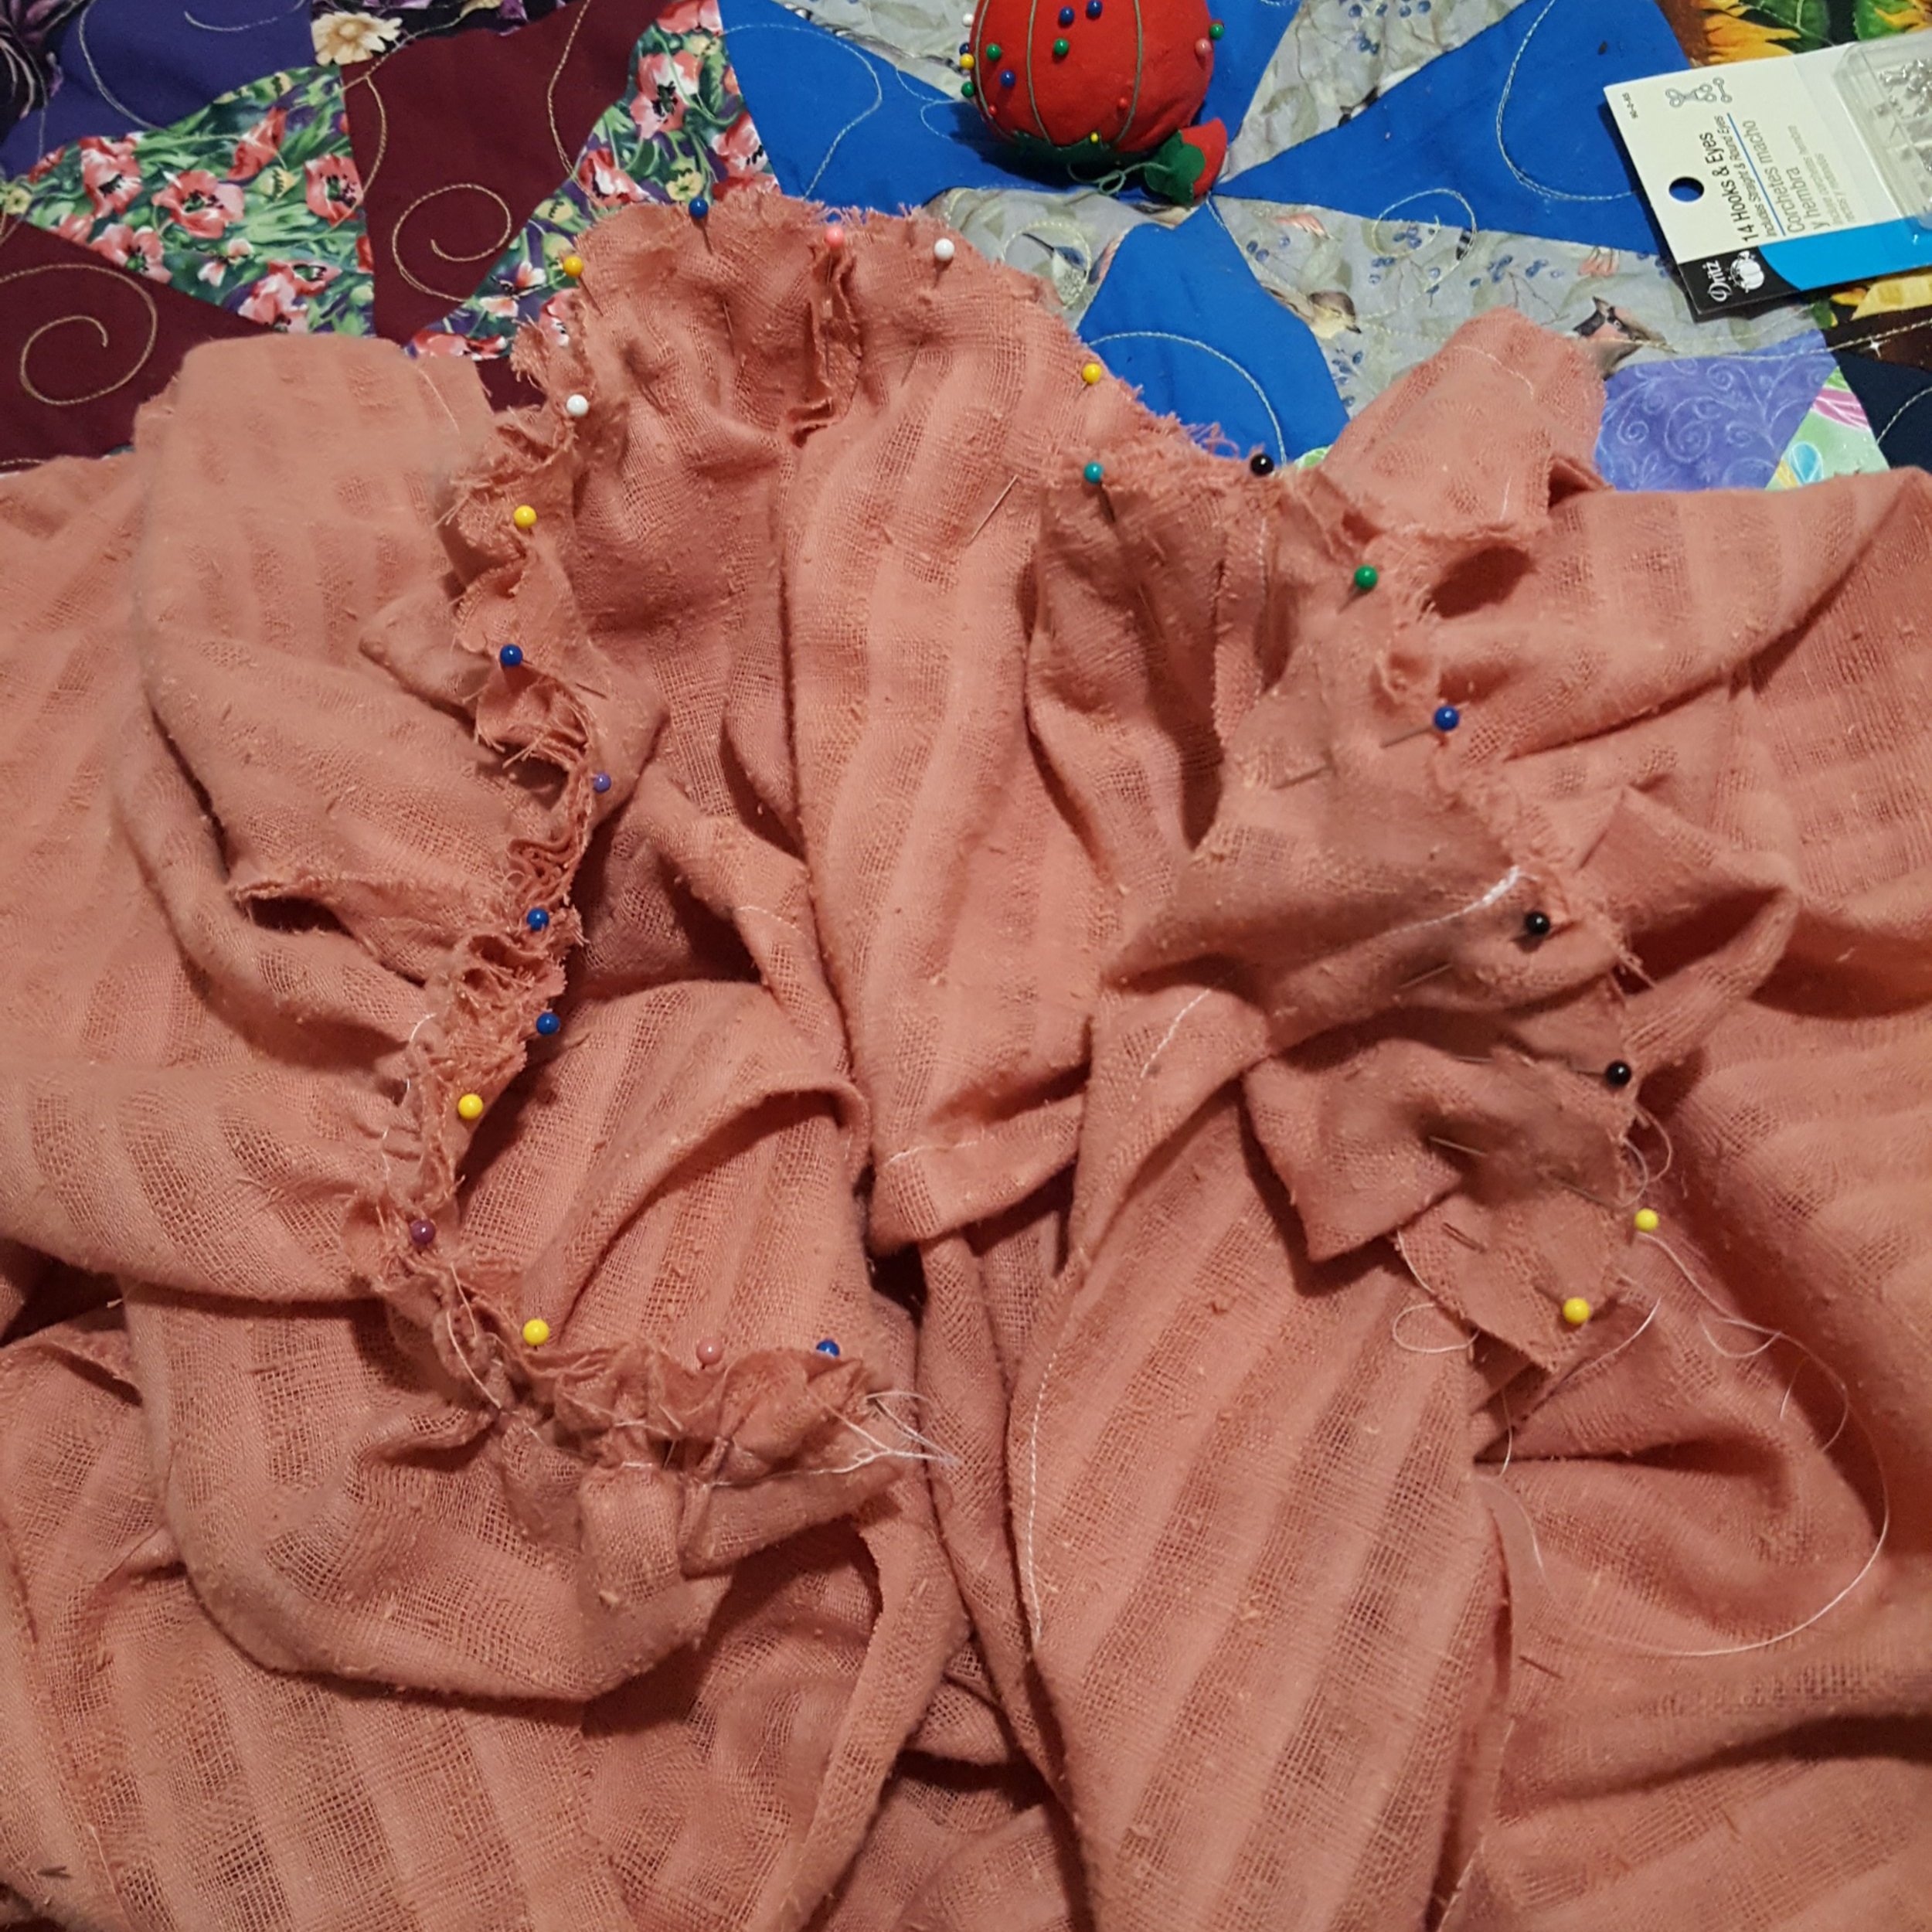

Then I pinned the center of the bodice to the center of the skirt, pinned it so it fit, sewed around, pulled out the gather threads, and top stitched the waistline (an added step I regret doing for the record).

Then I tired it on to make sure everything fit as it was supposed to and did an impromptu photo shoot in my hallway. That accounts for the poor picture quality. Also, at this point that neckline was held by pins which were stabbing me every time I moved.
At this point it looked great. It was all down hill from, well, not this point yet.
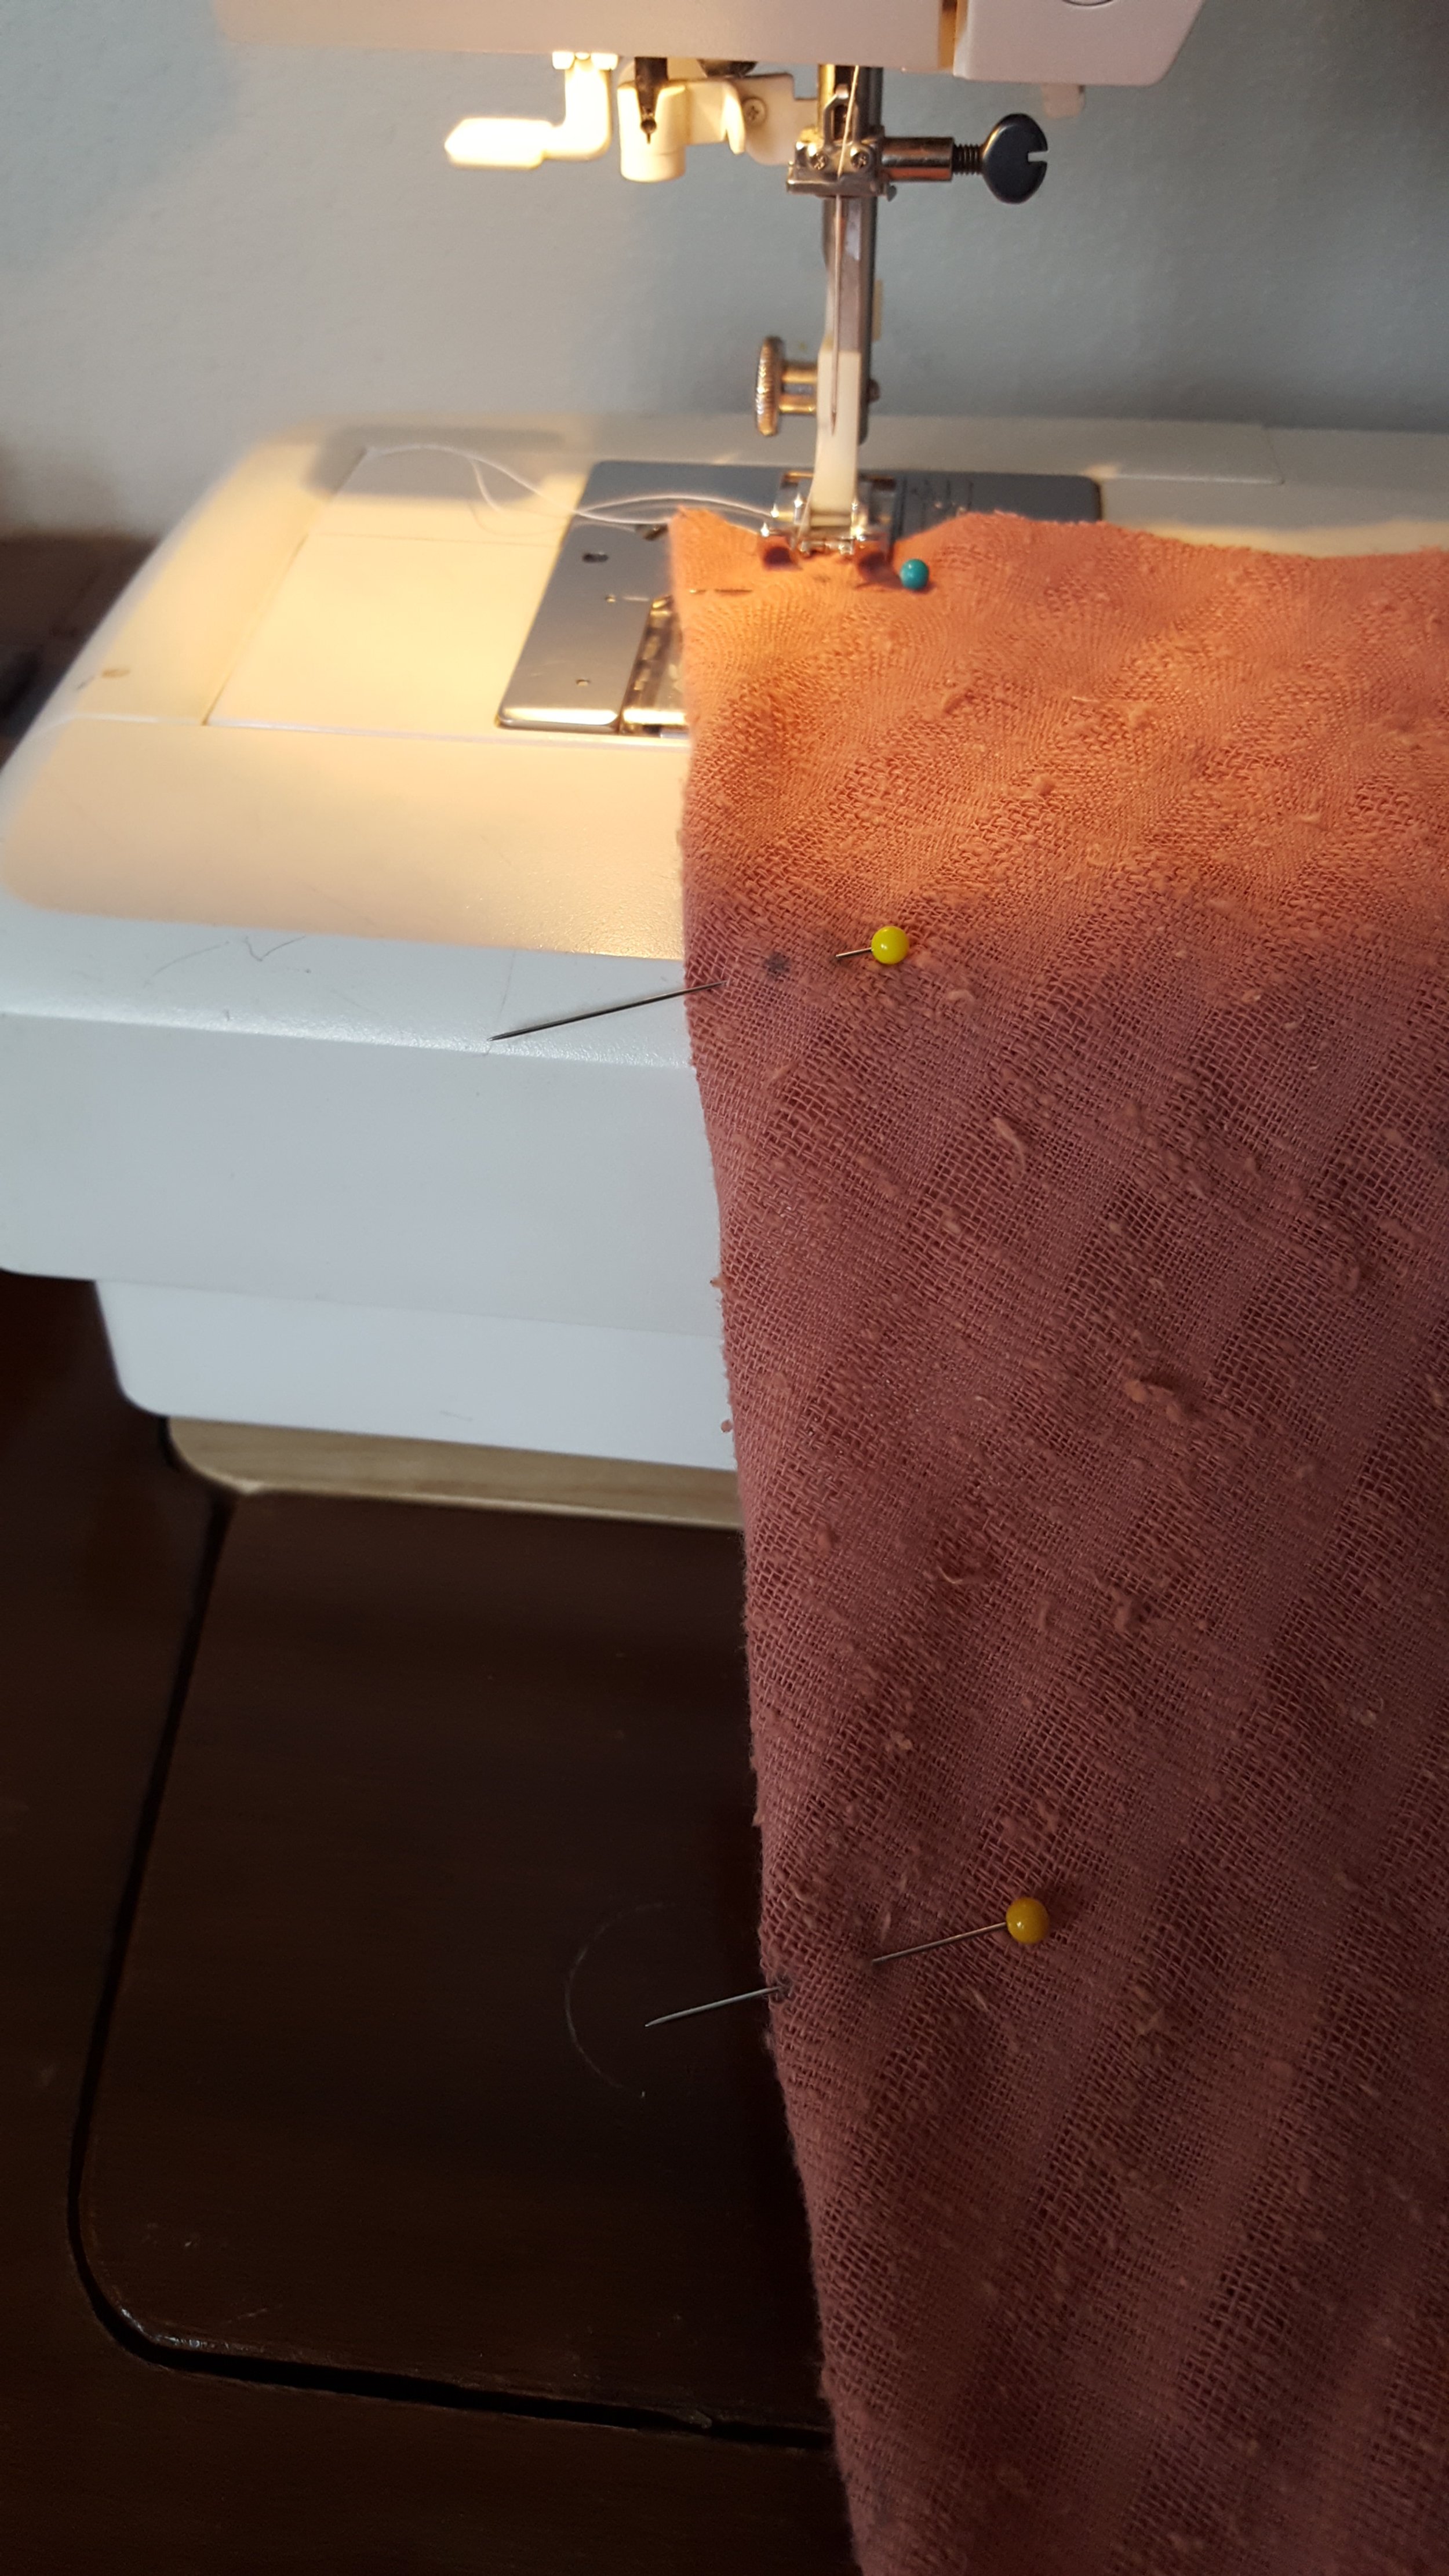
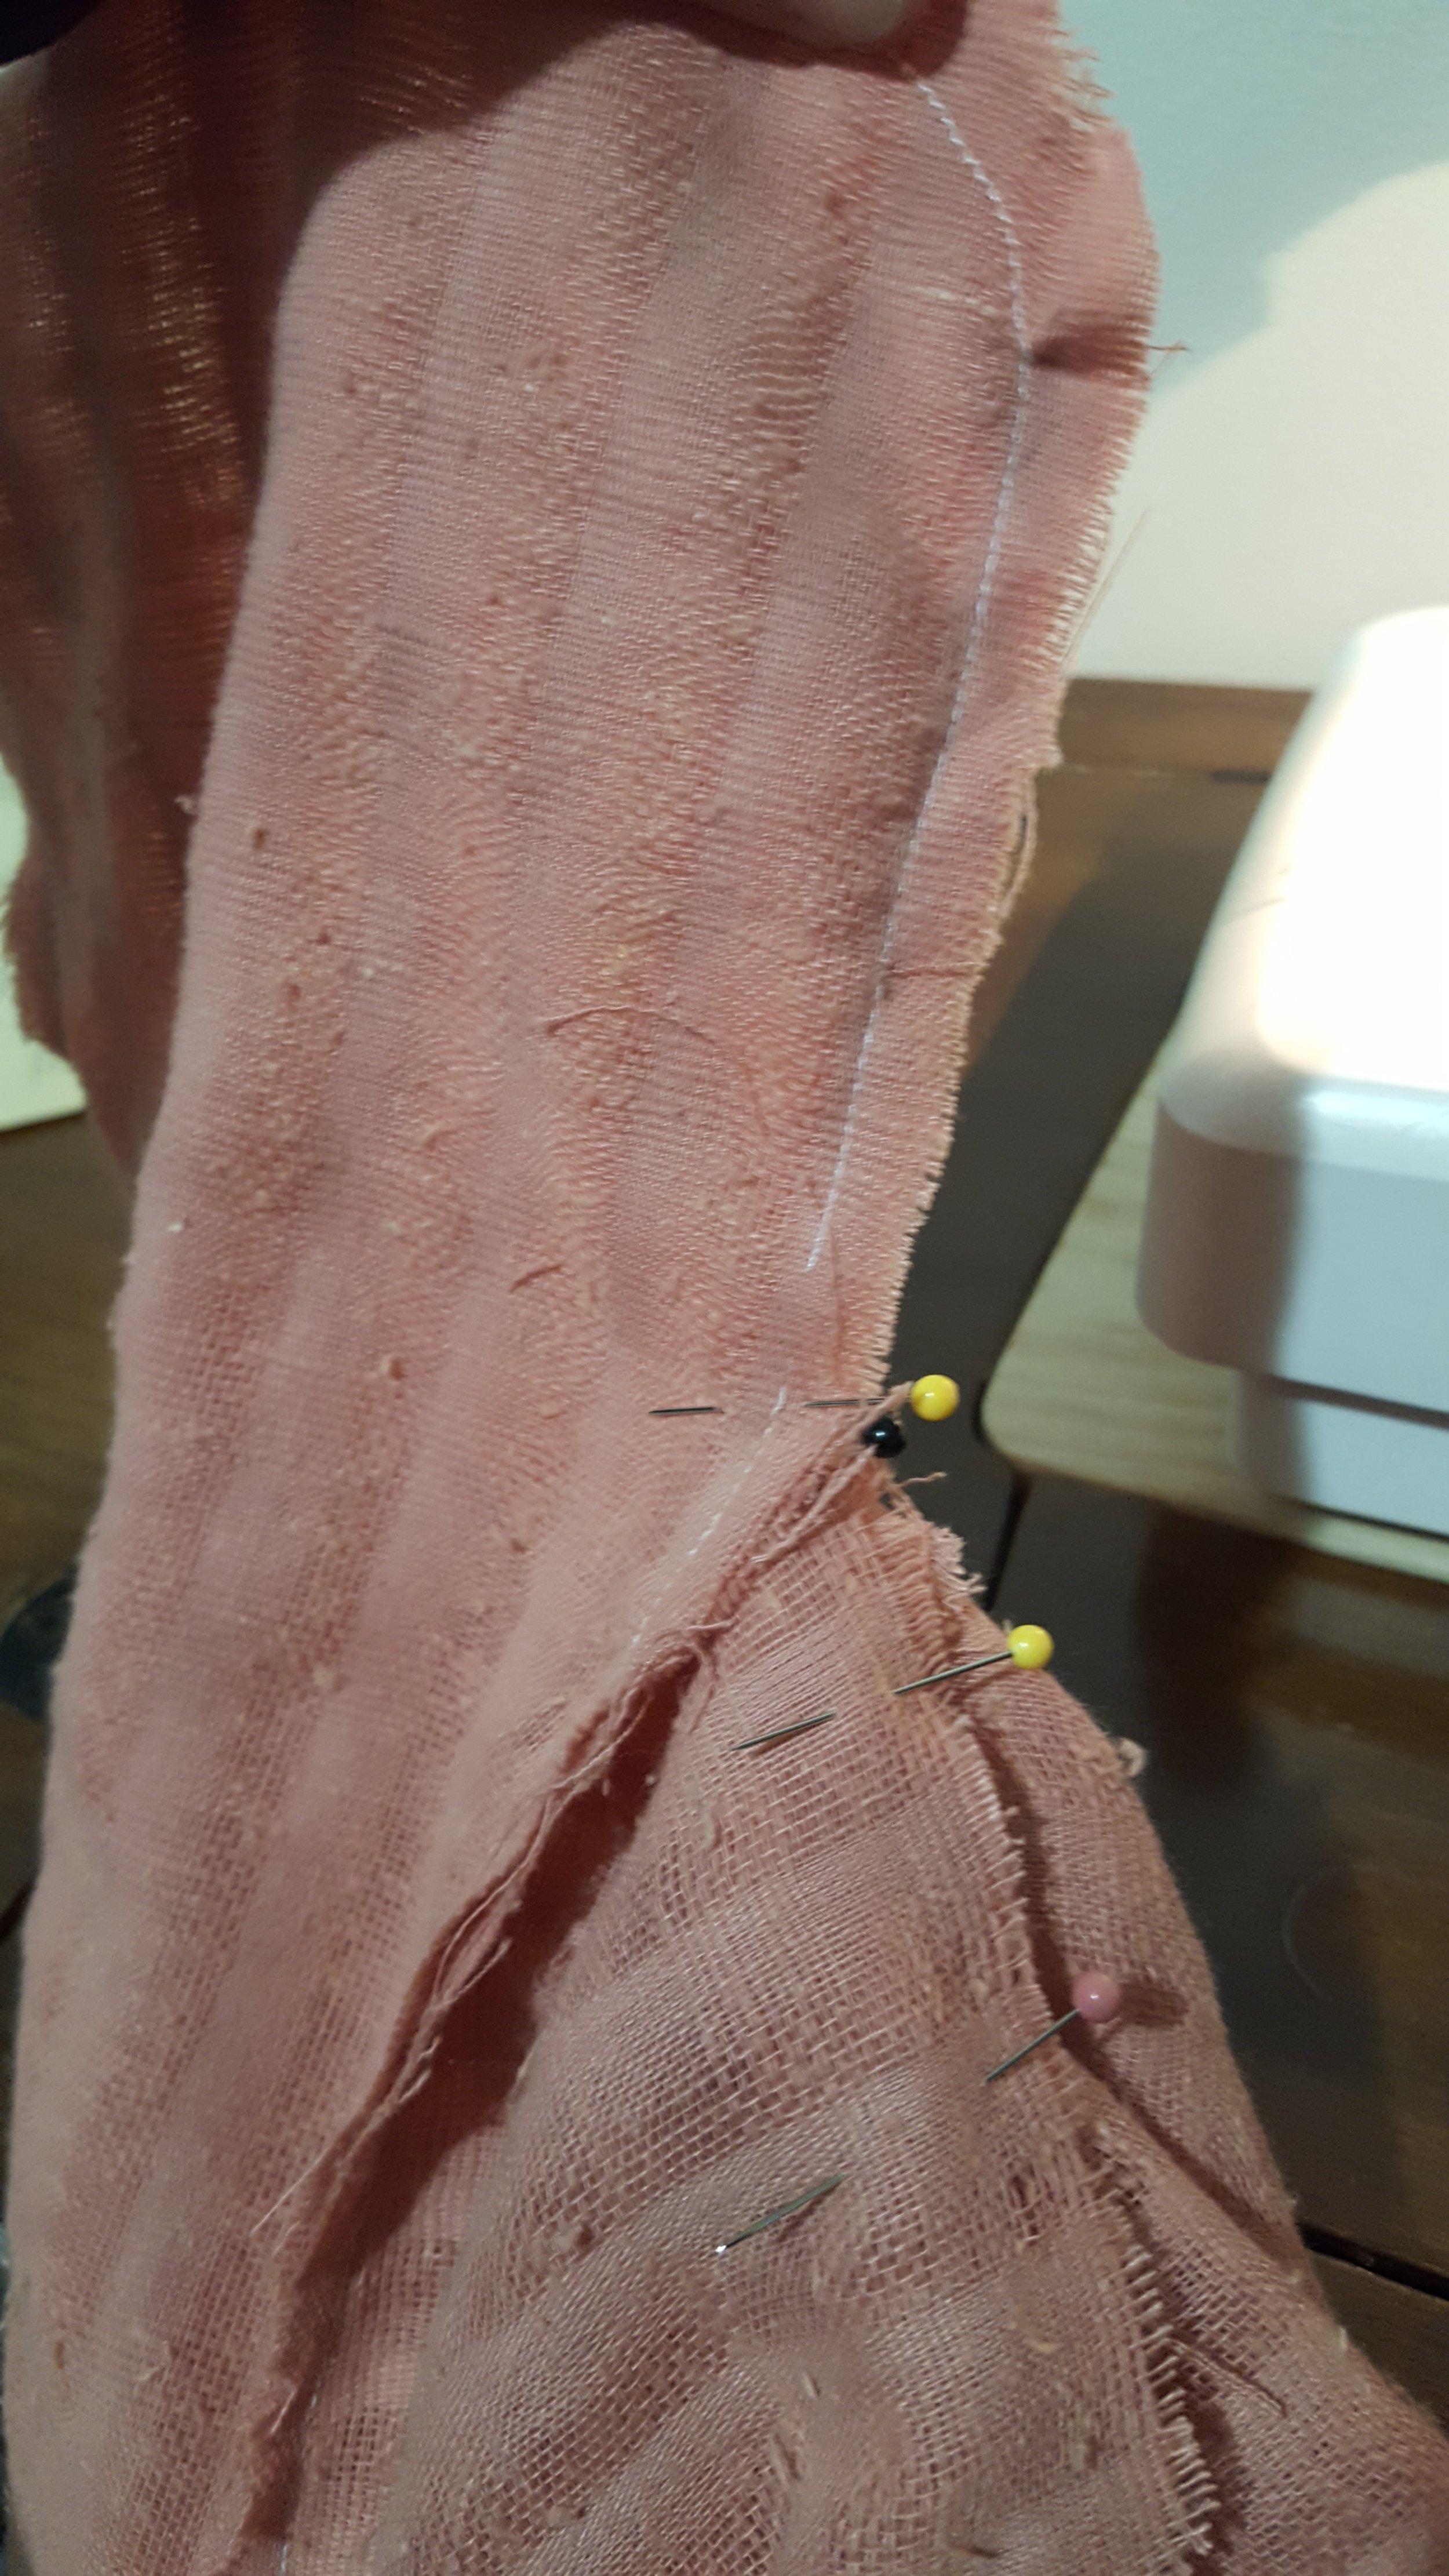
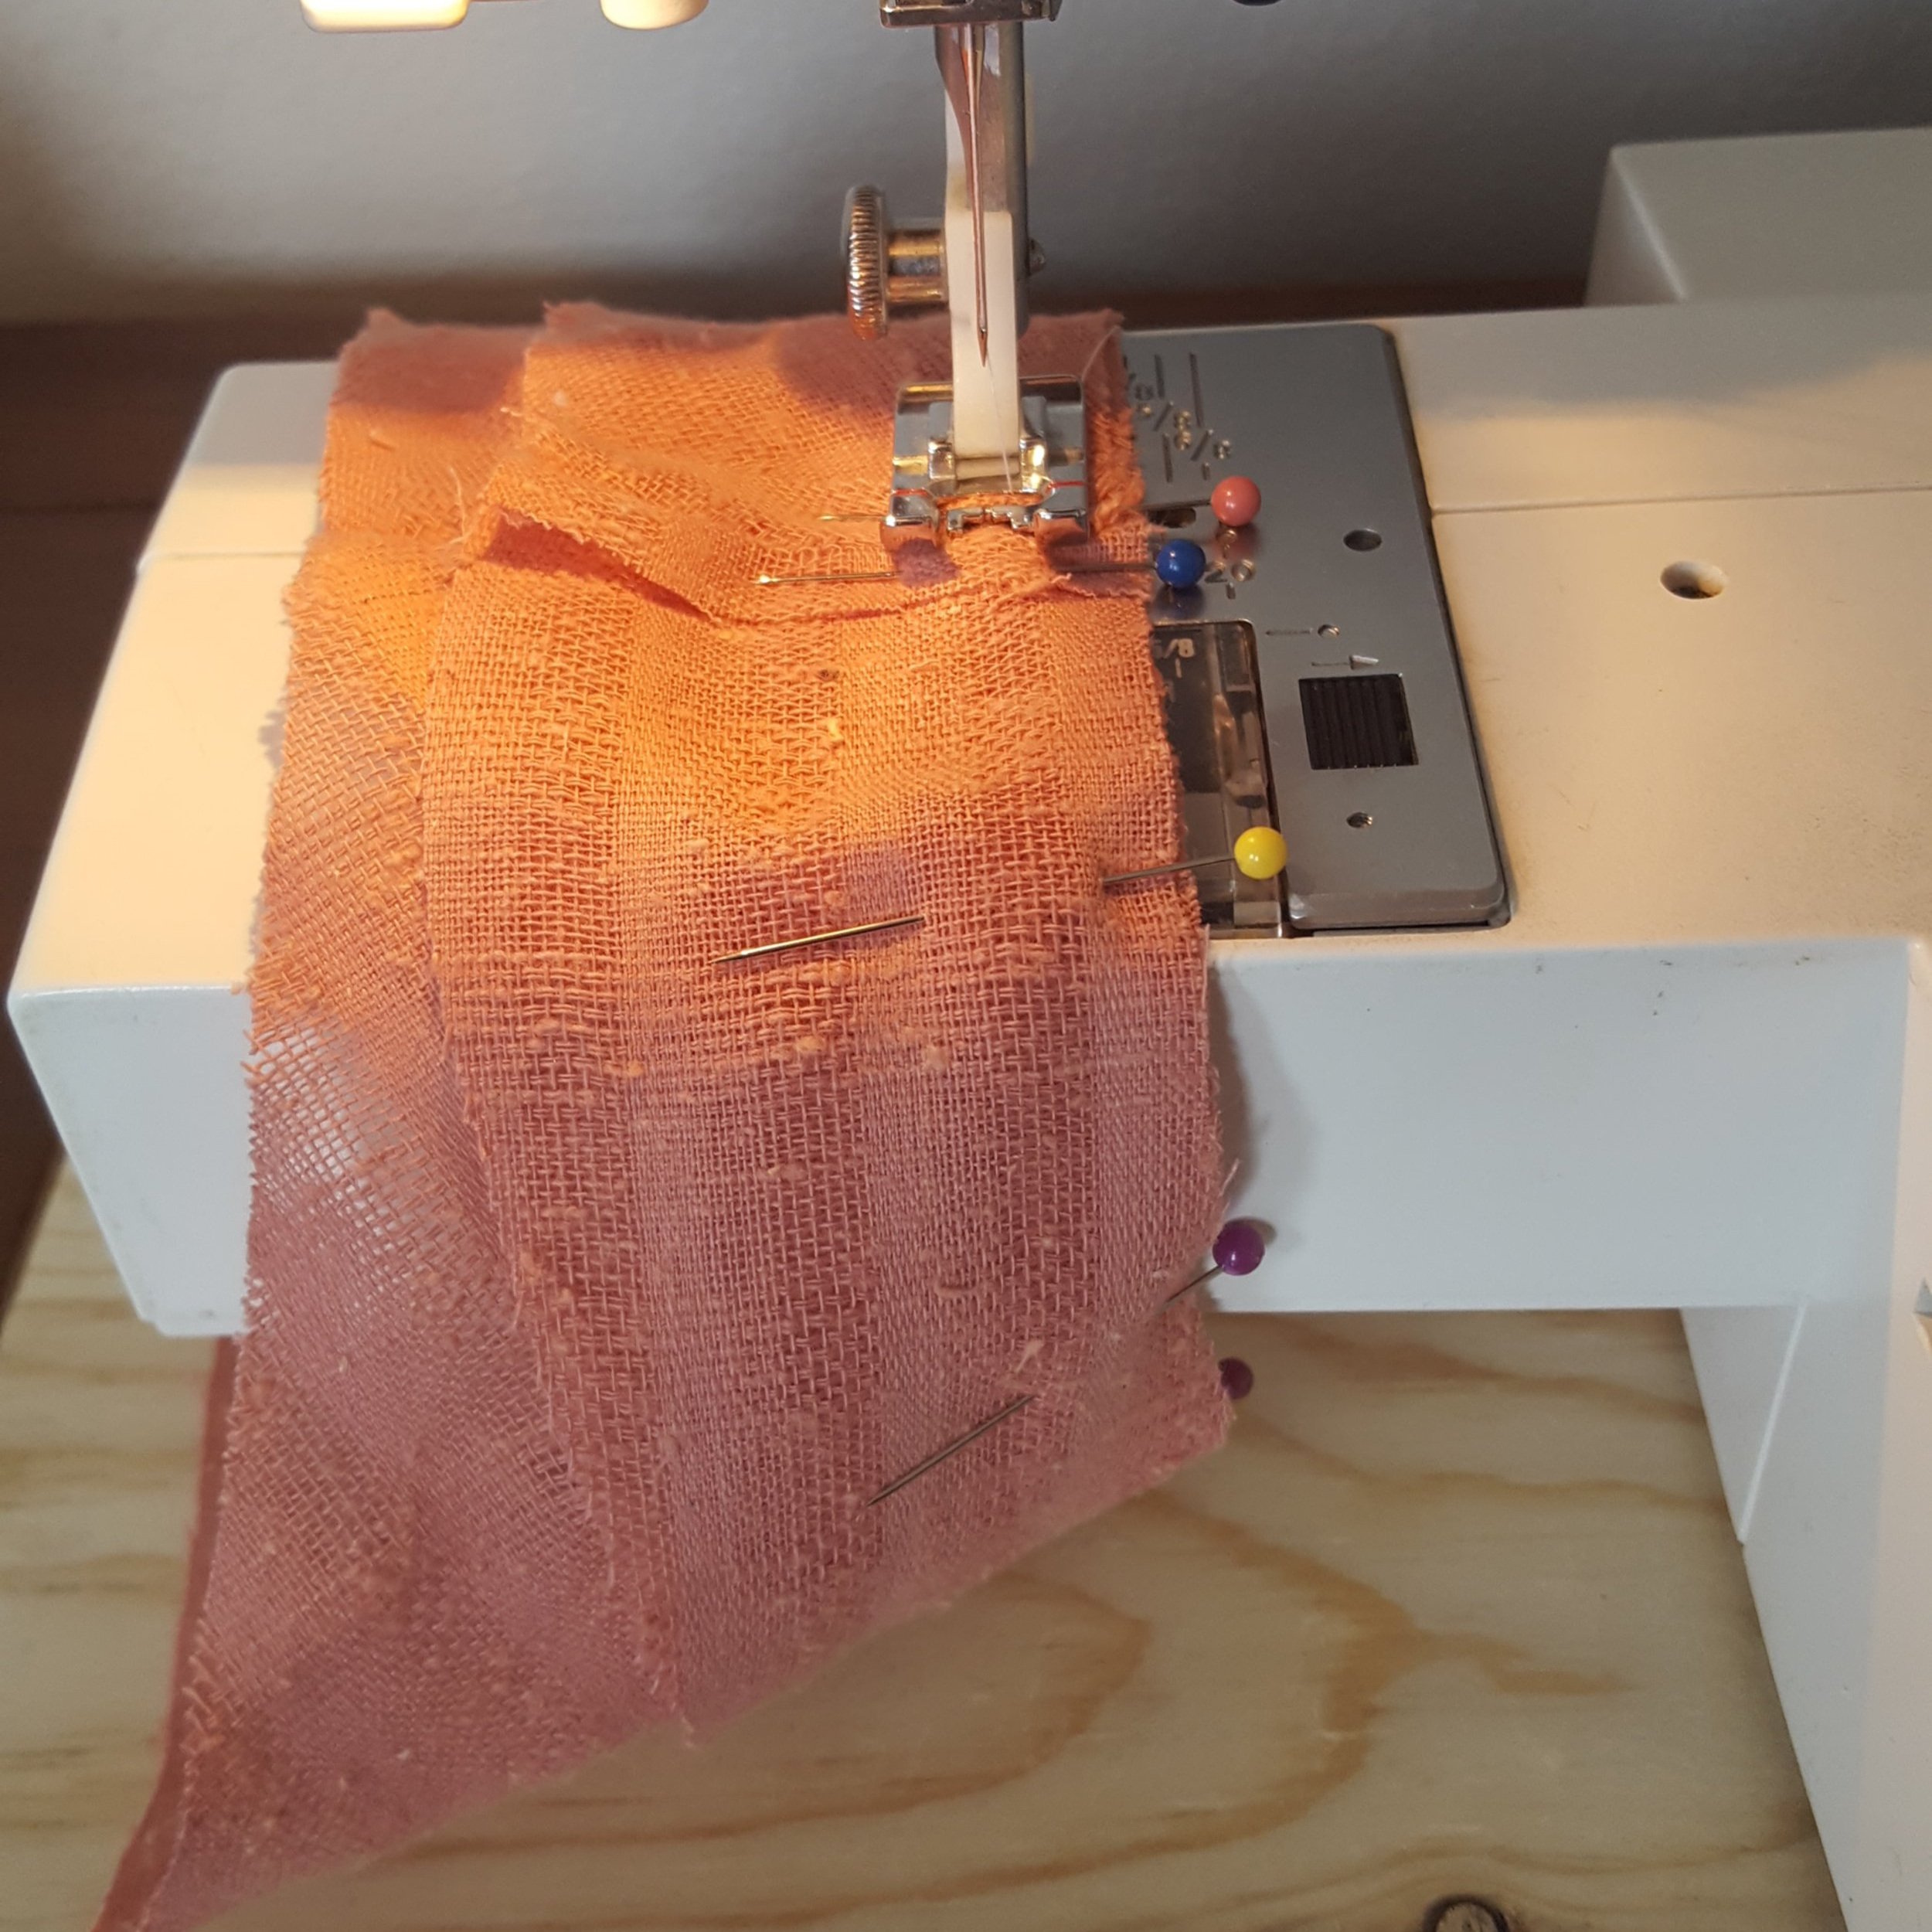
Then came the dreaded zipper. I am awful at sewing zippers by machine, mainly because I lost the specific zipper sewing foot and I try to do it with a normal one and then it just gets all messed up. Especially with fabric as strange as this I wanted to make sure I didn’t mess up. Thus, I found a hand sewing method and, let me tell ya, I will never go back to the machine method again.
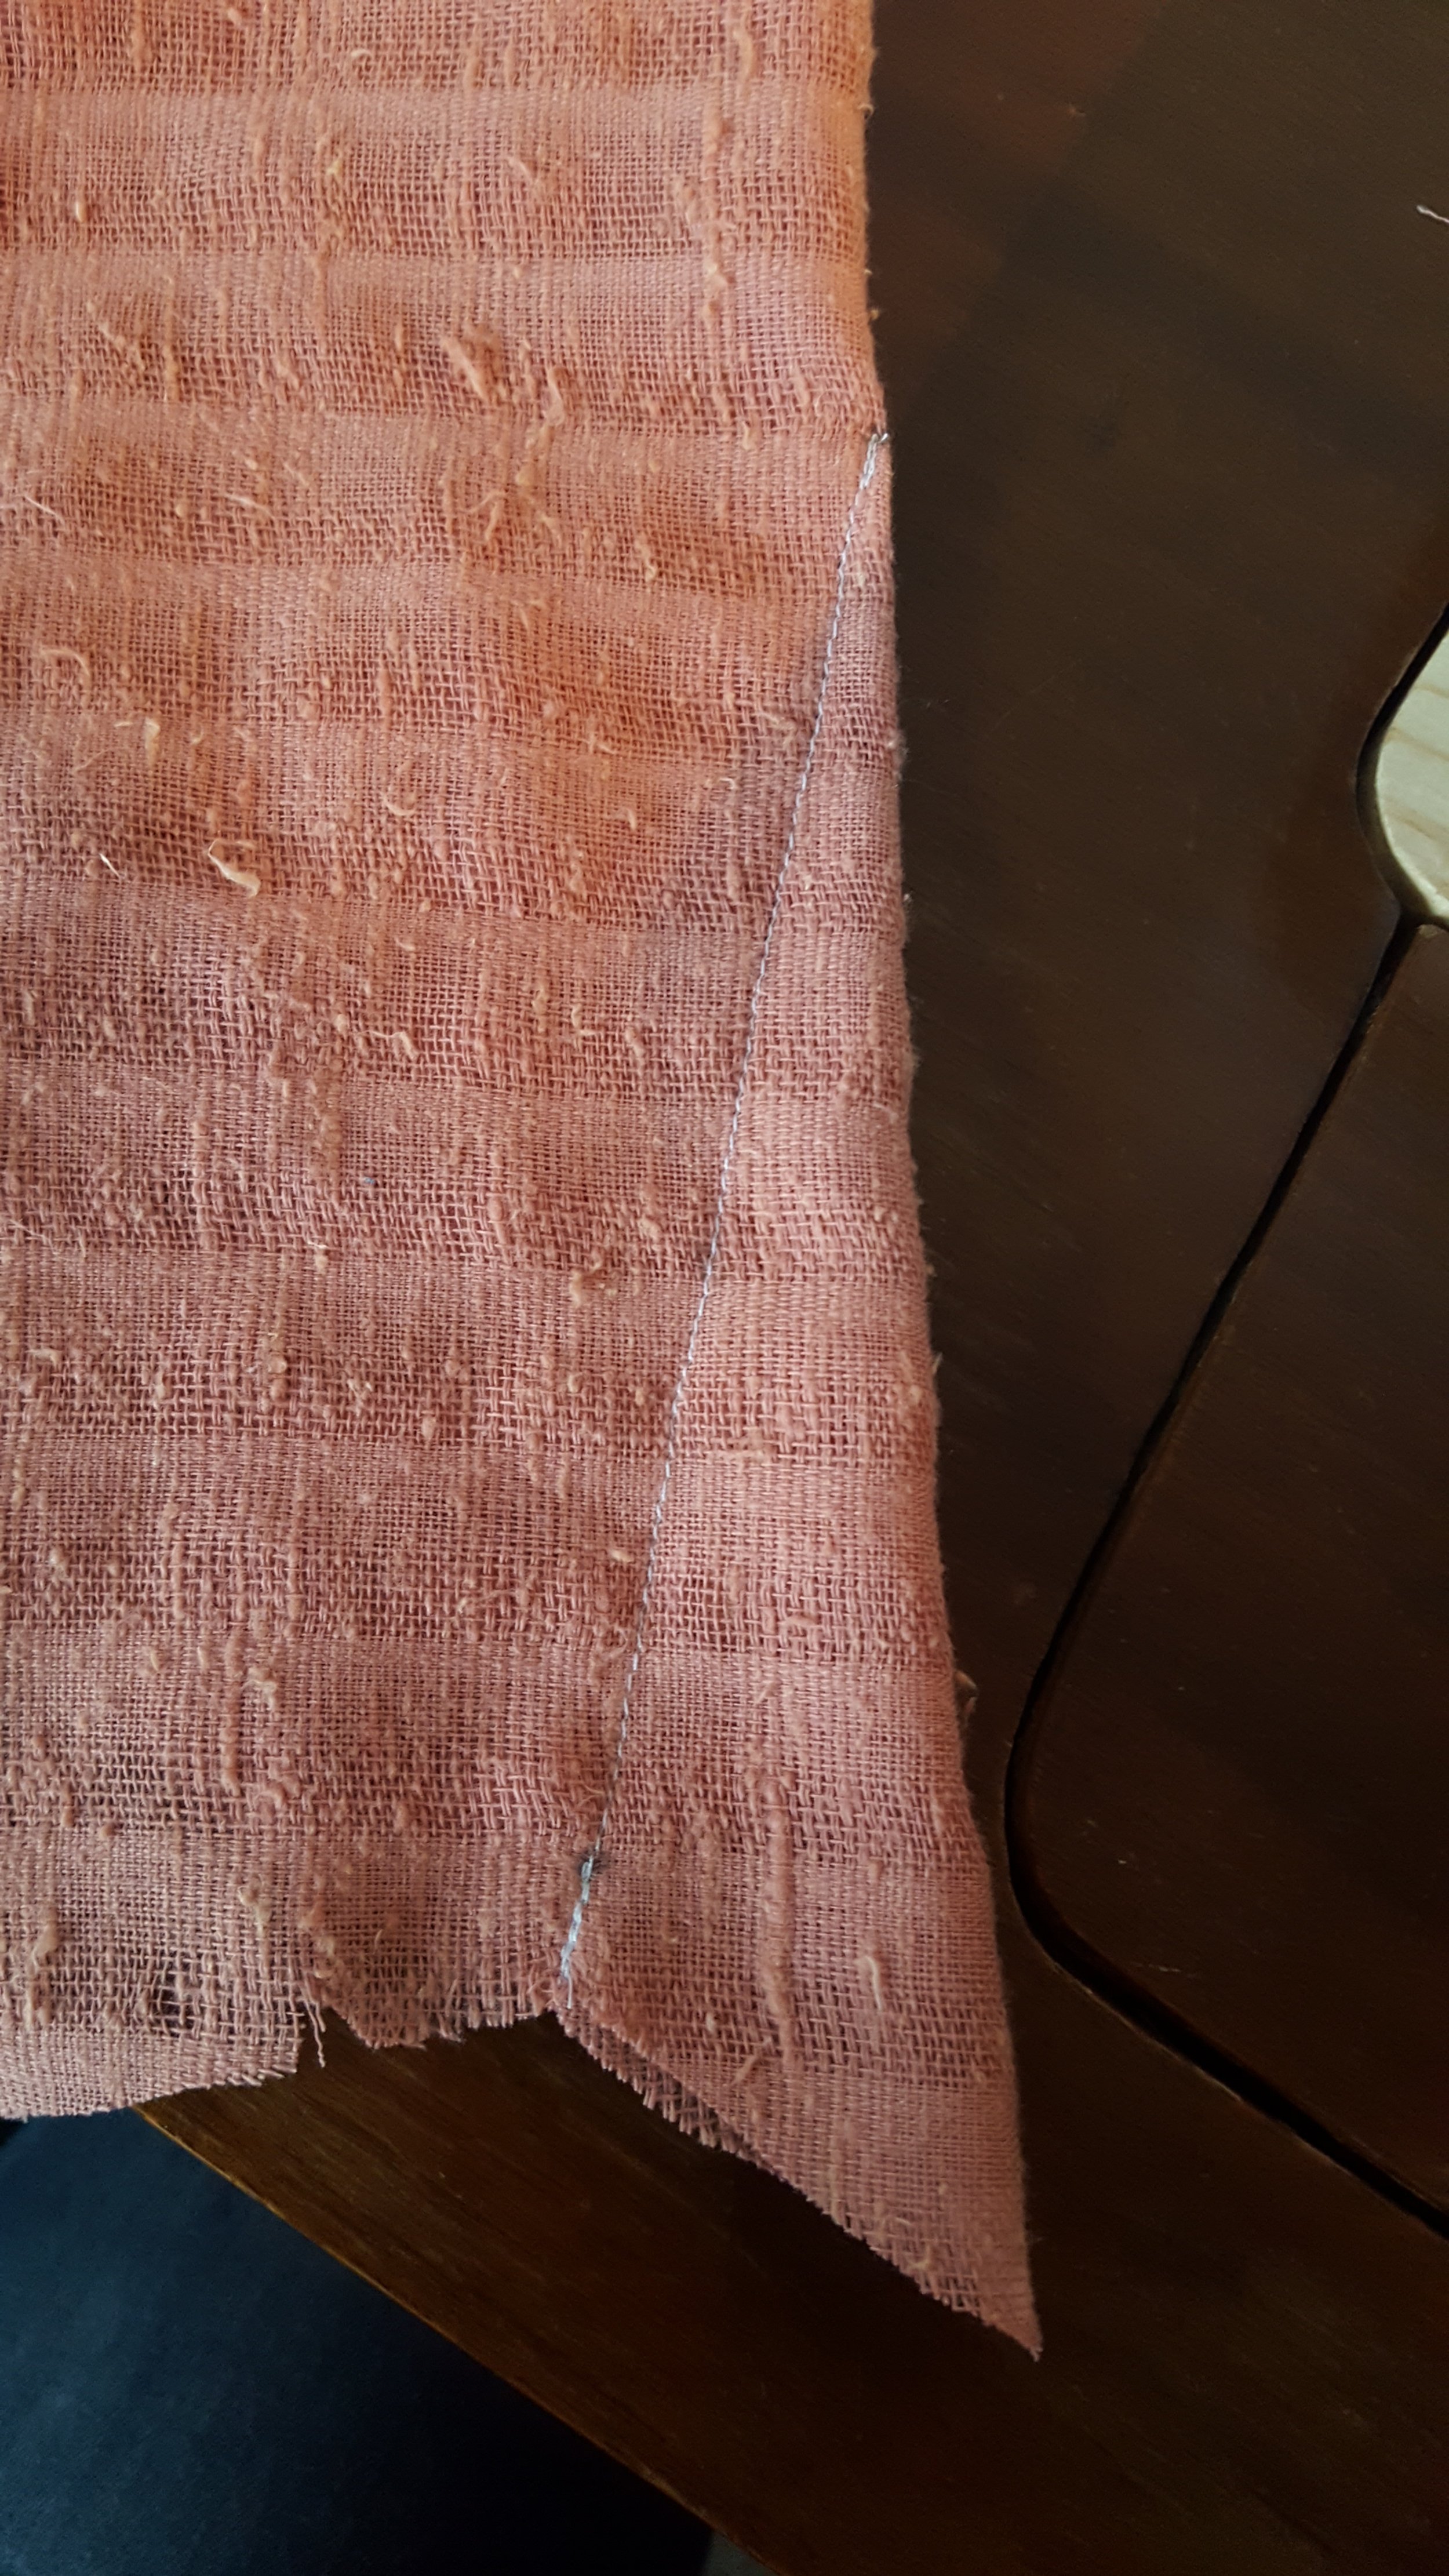
Oh right, first I evened up the skirt hem.

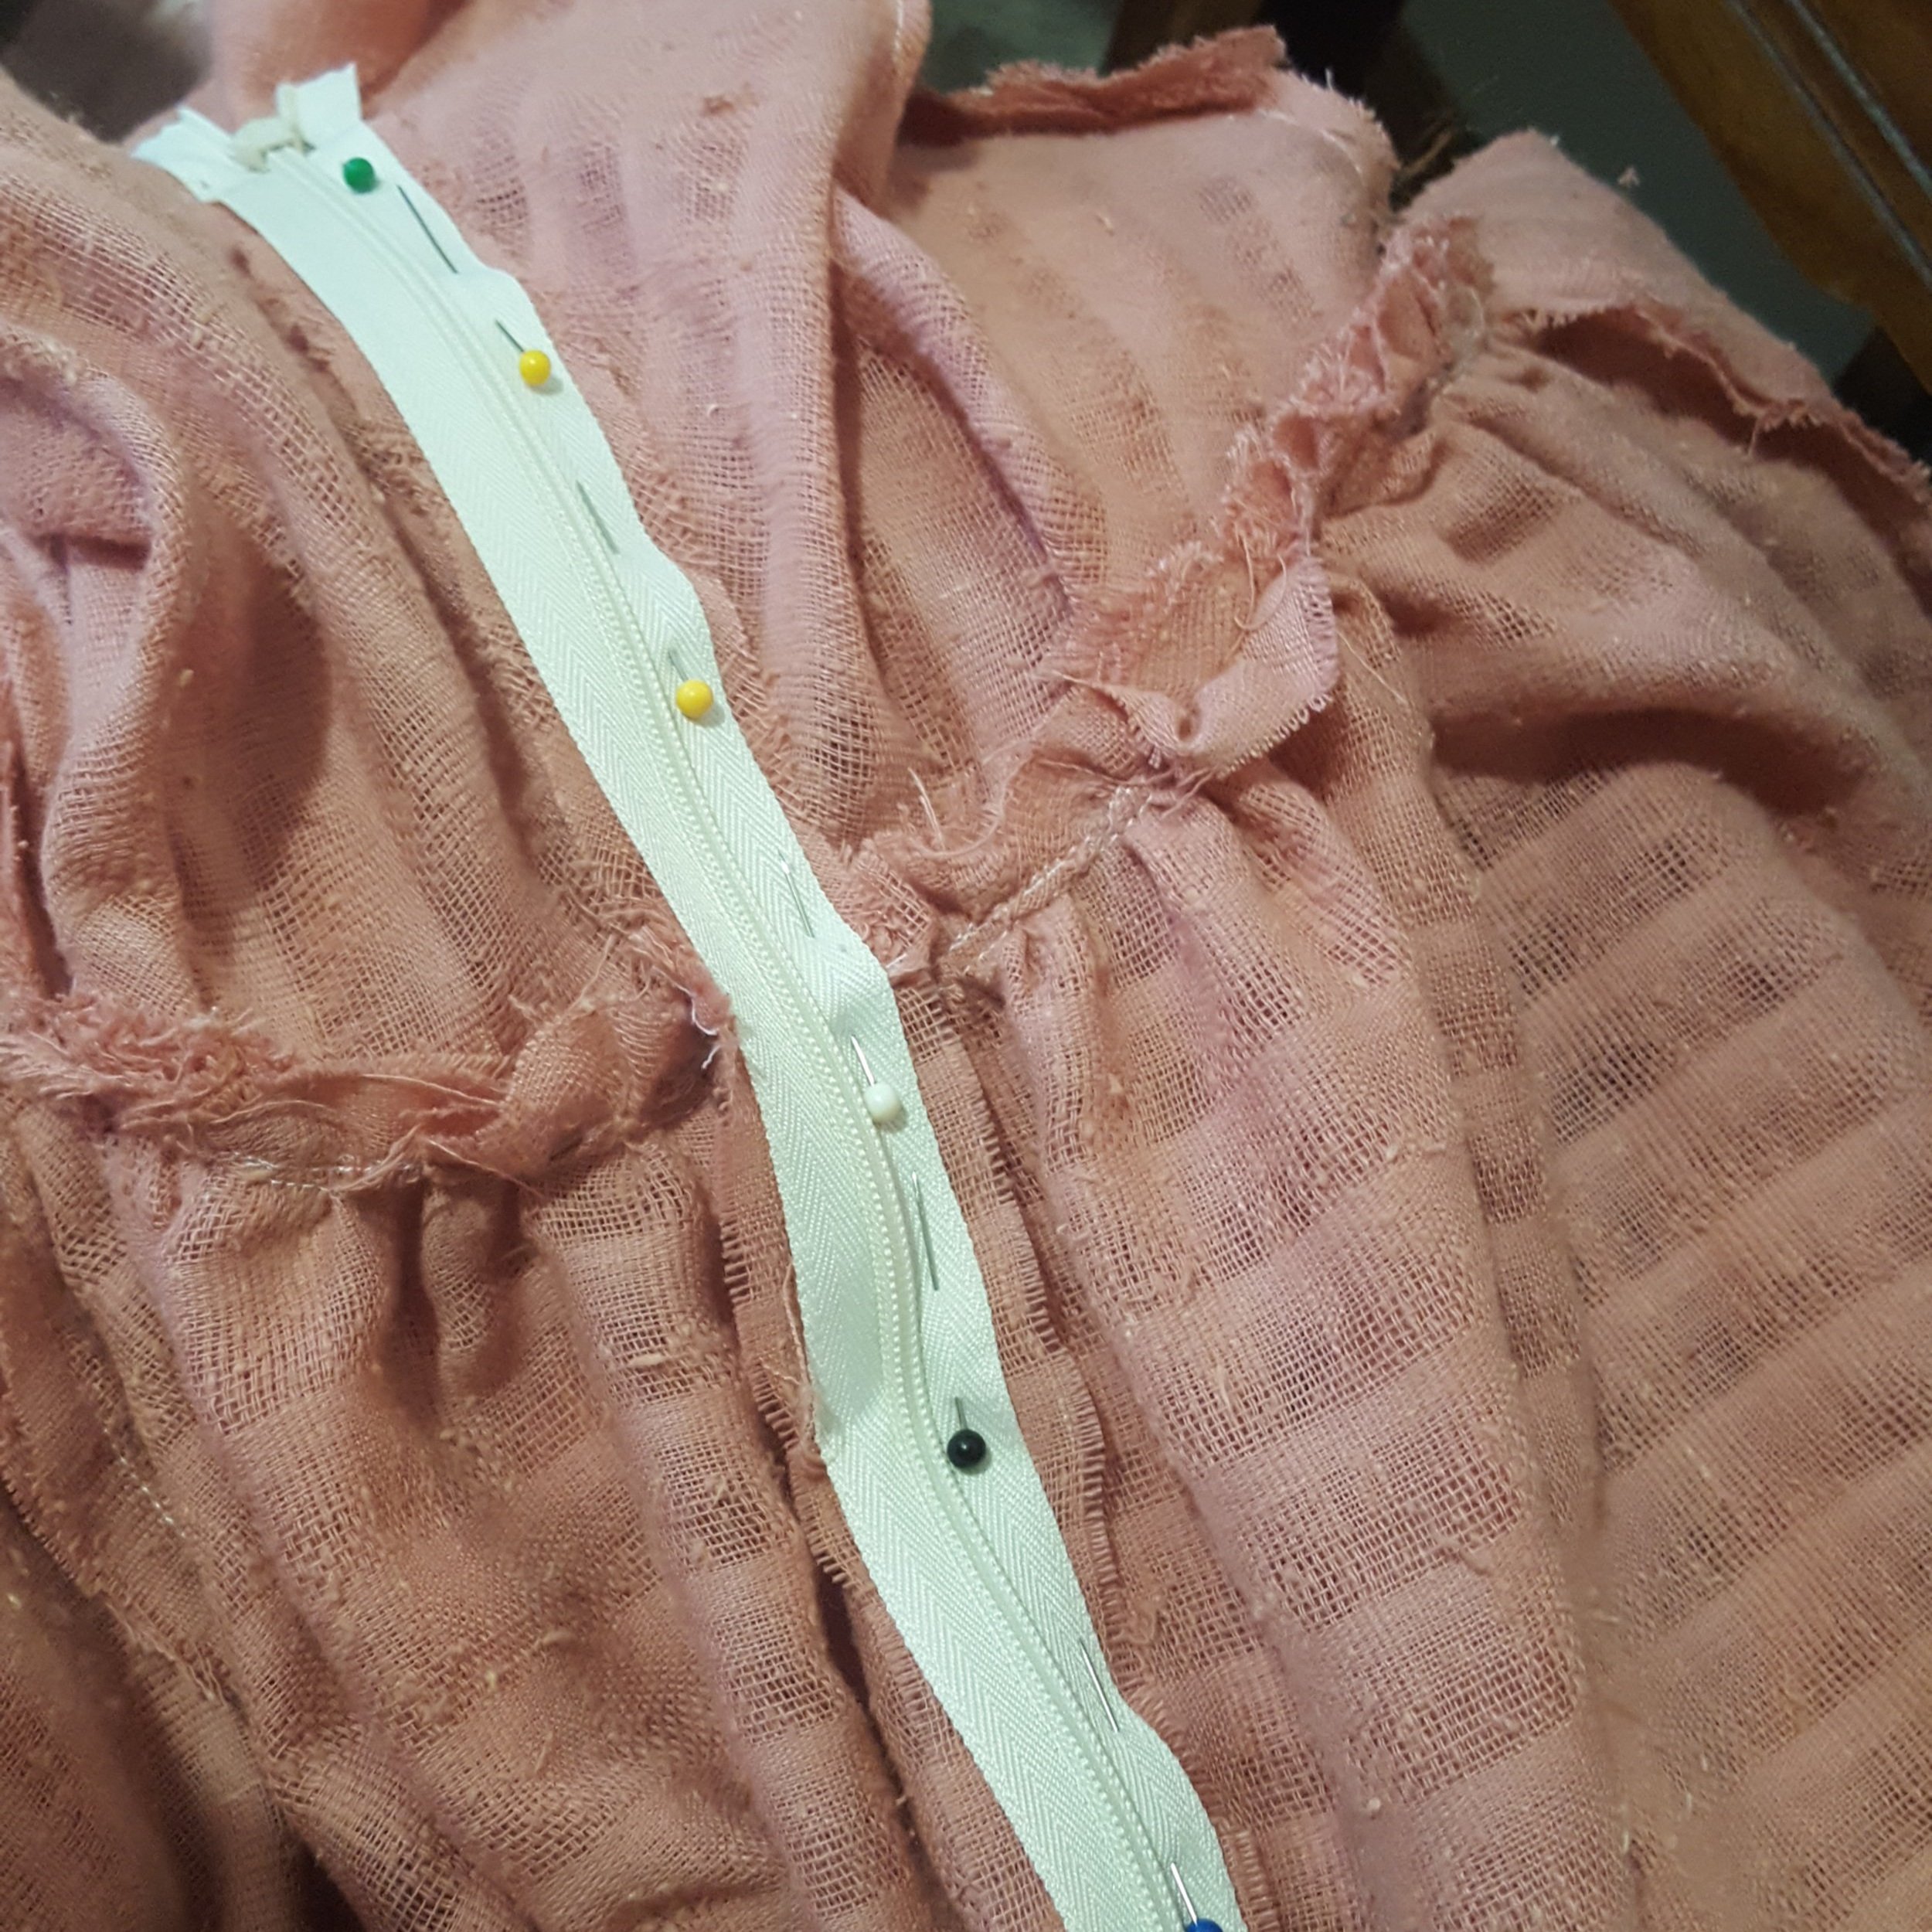
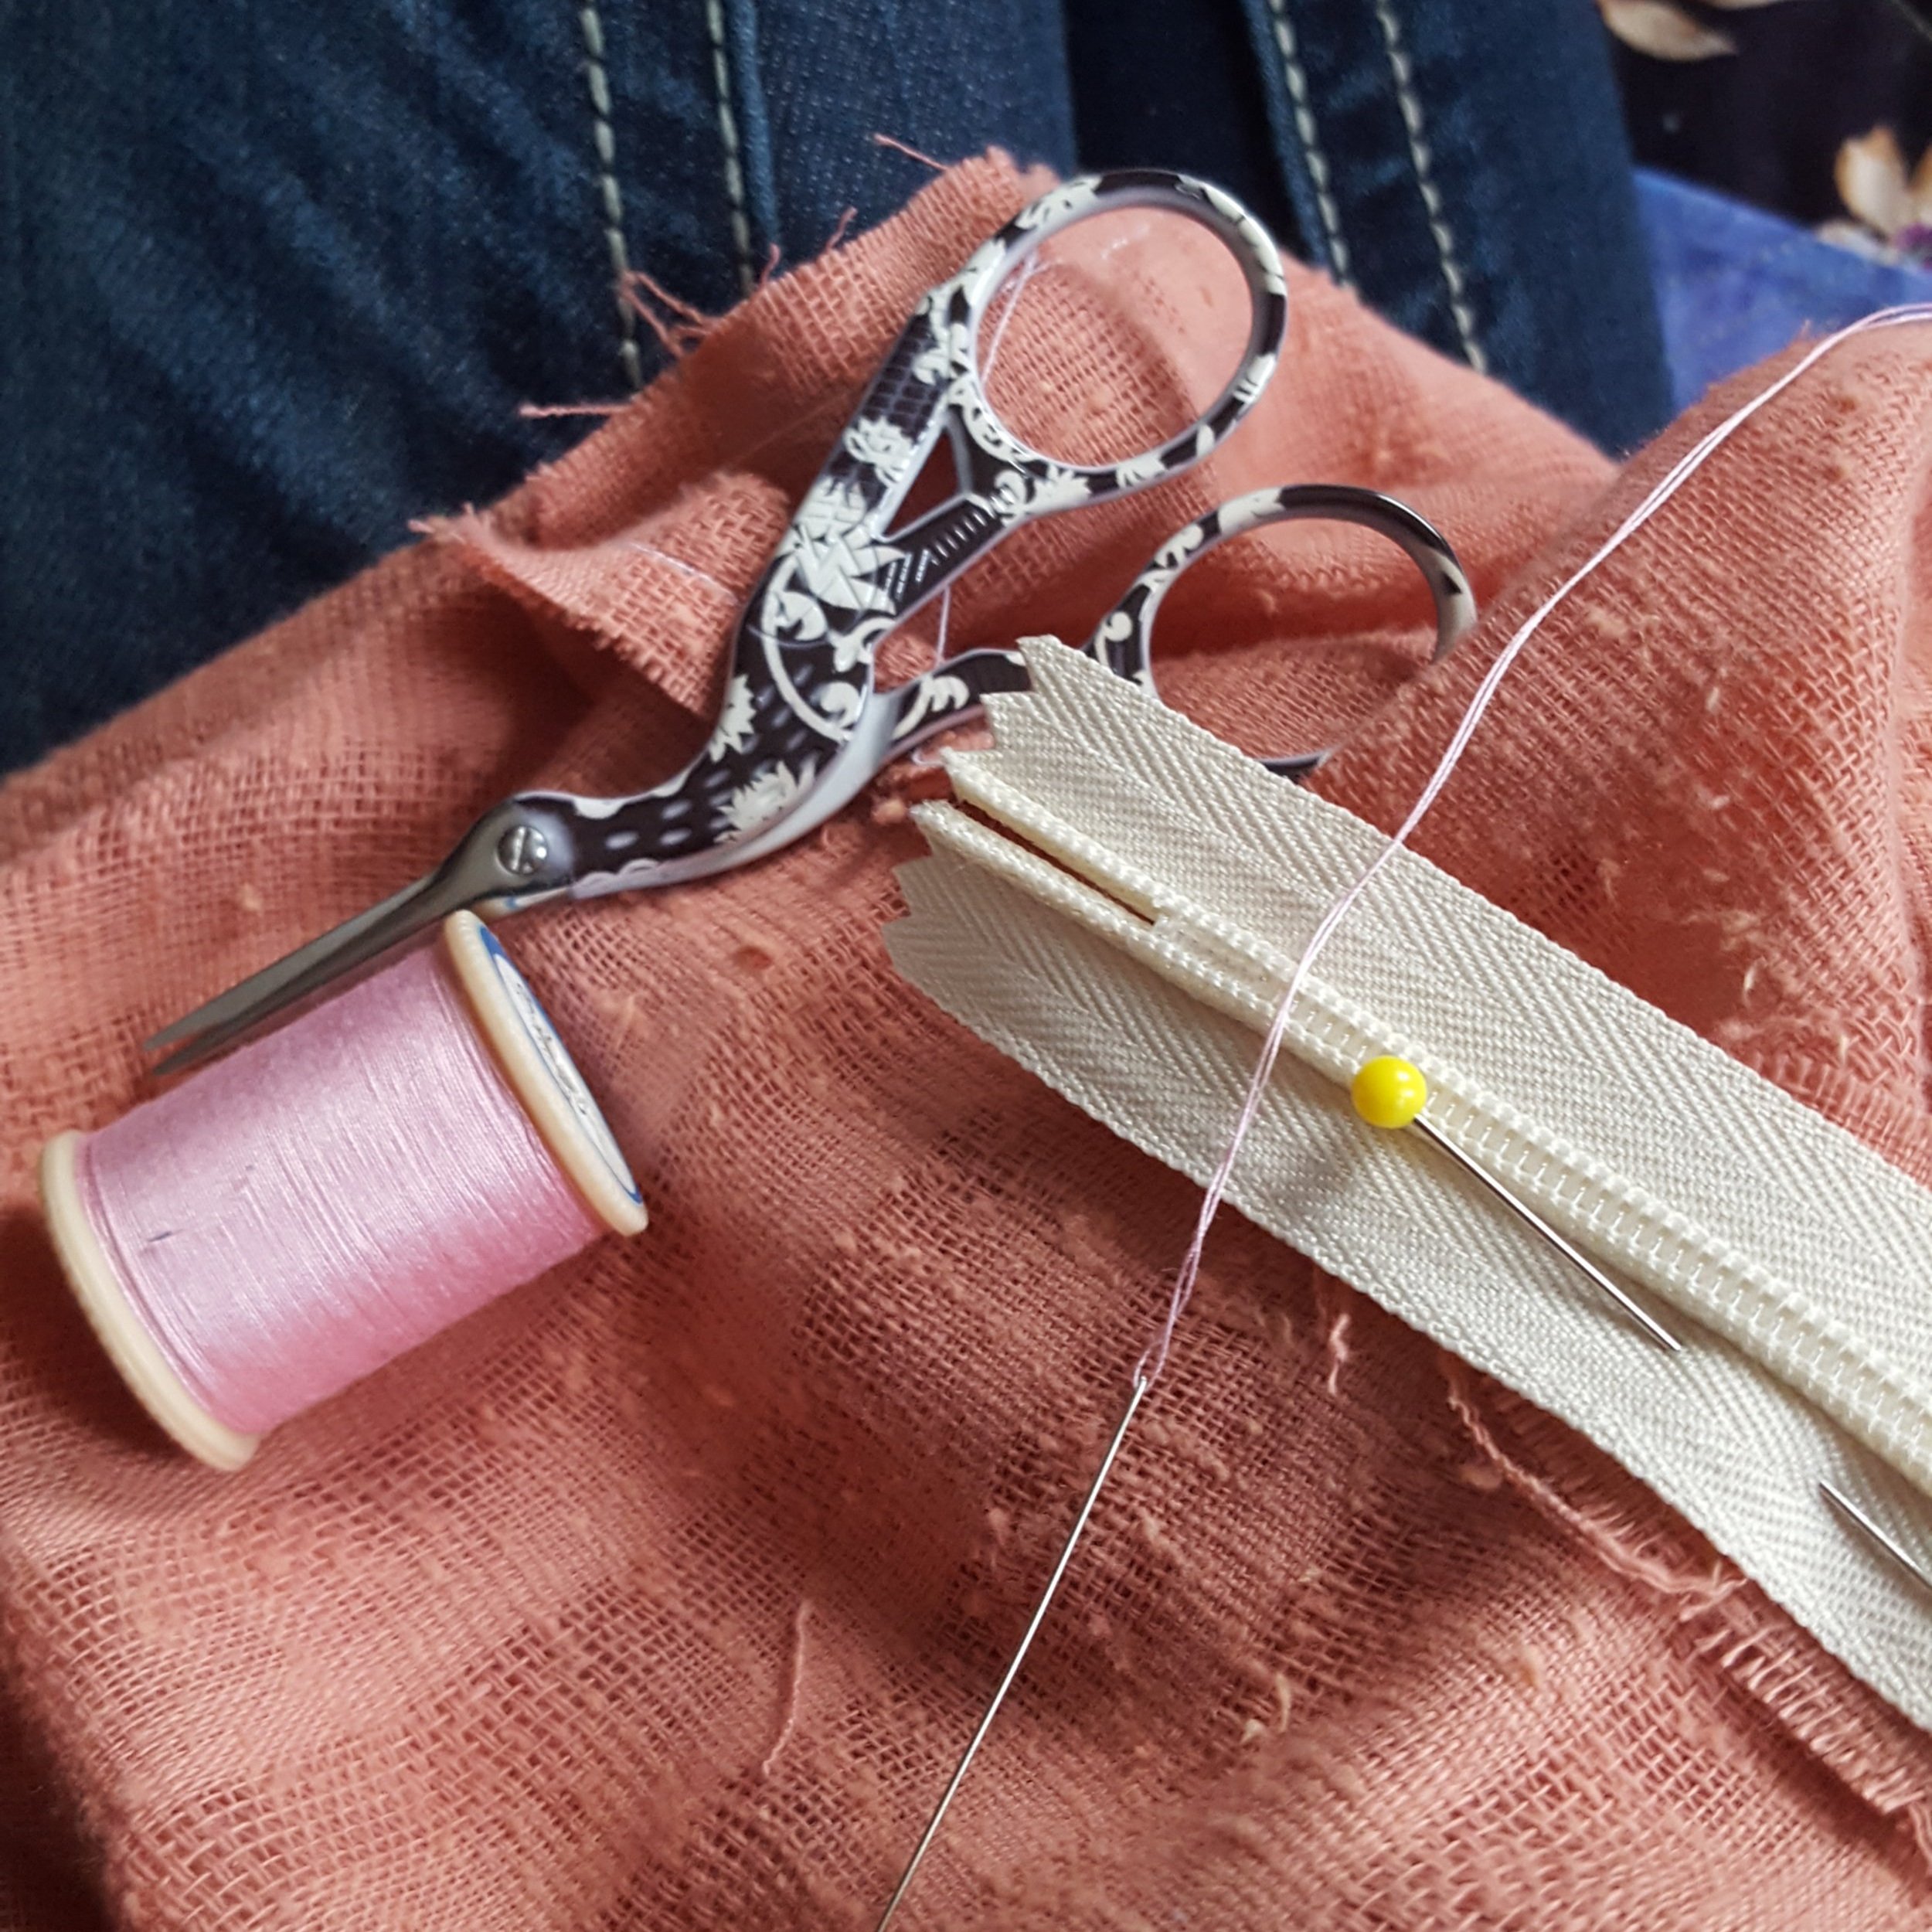
Then I stitched the back up, pinned the zipper, and sewed it in somehow (I know I said it was way better than using my sewing machine, but I legitimately don’t remember how I did it).
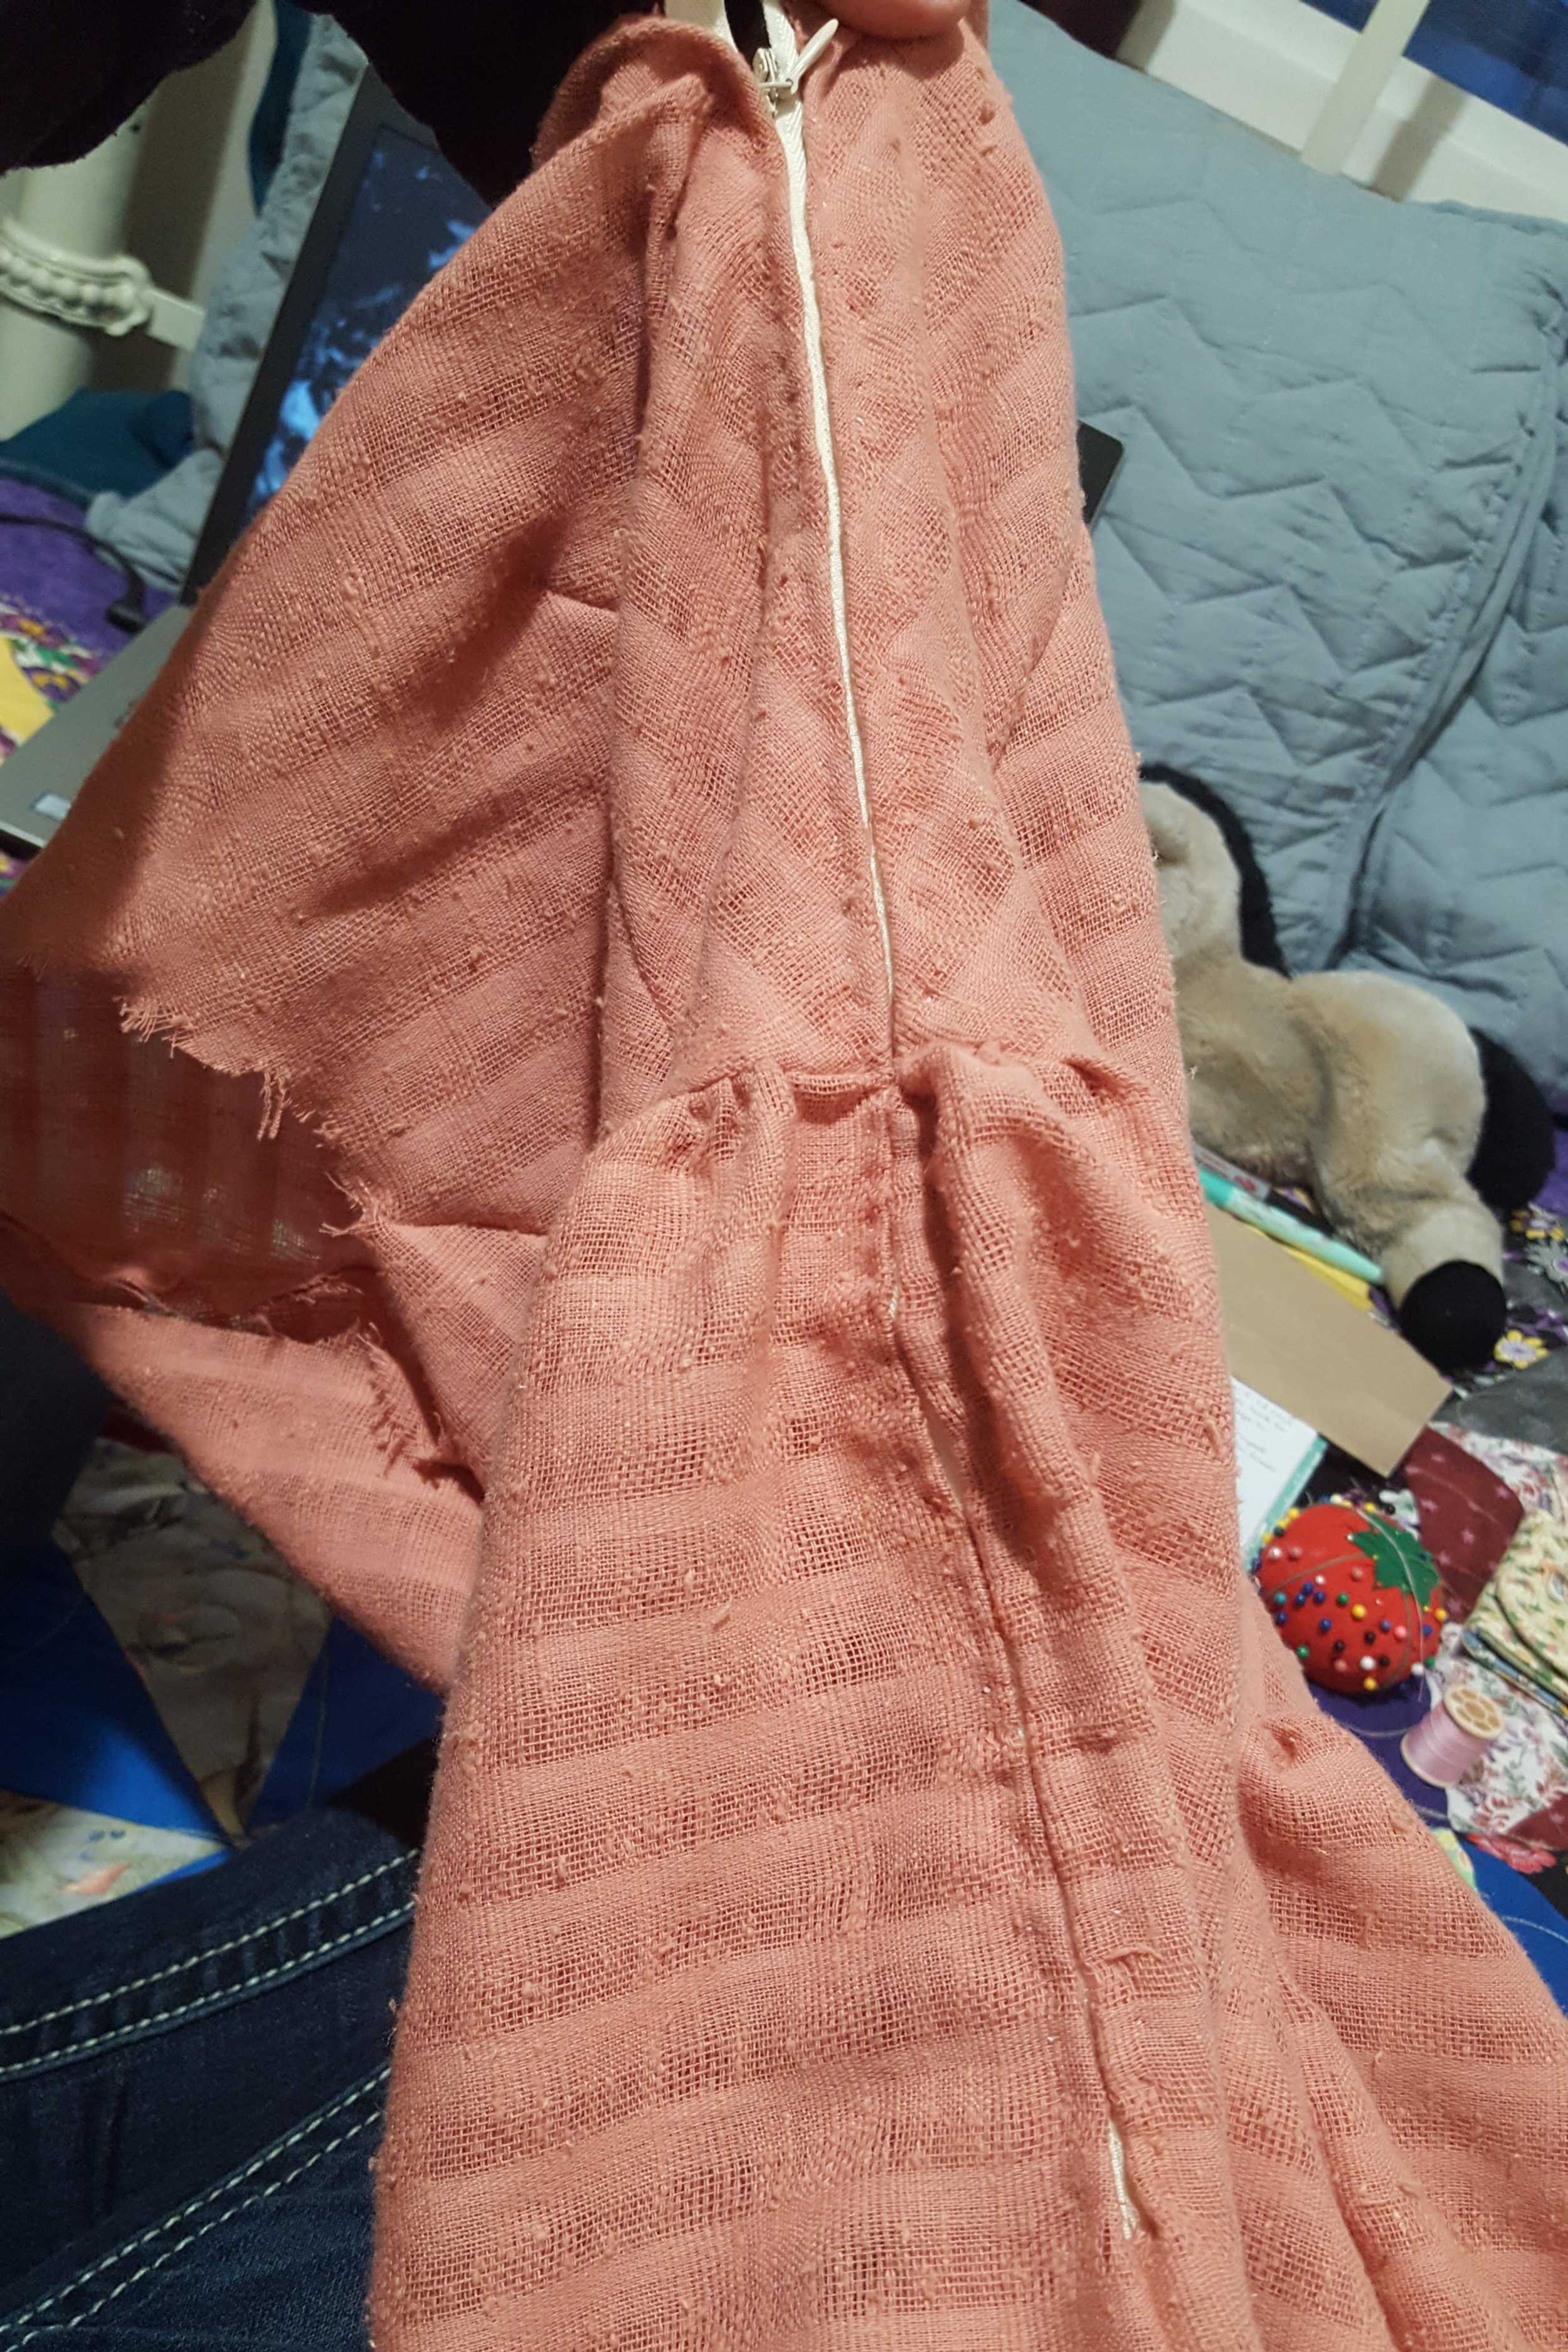
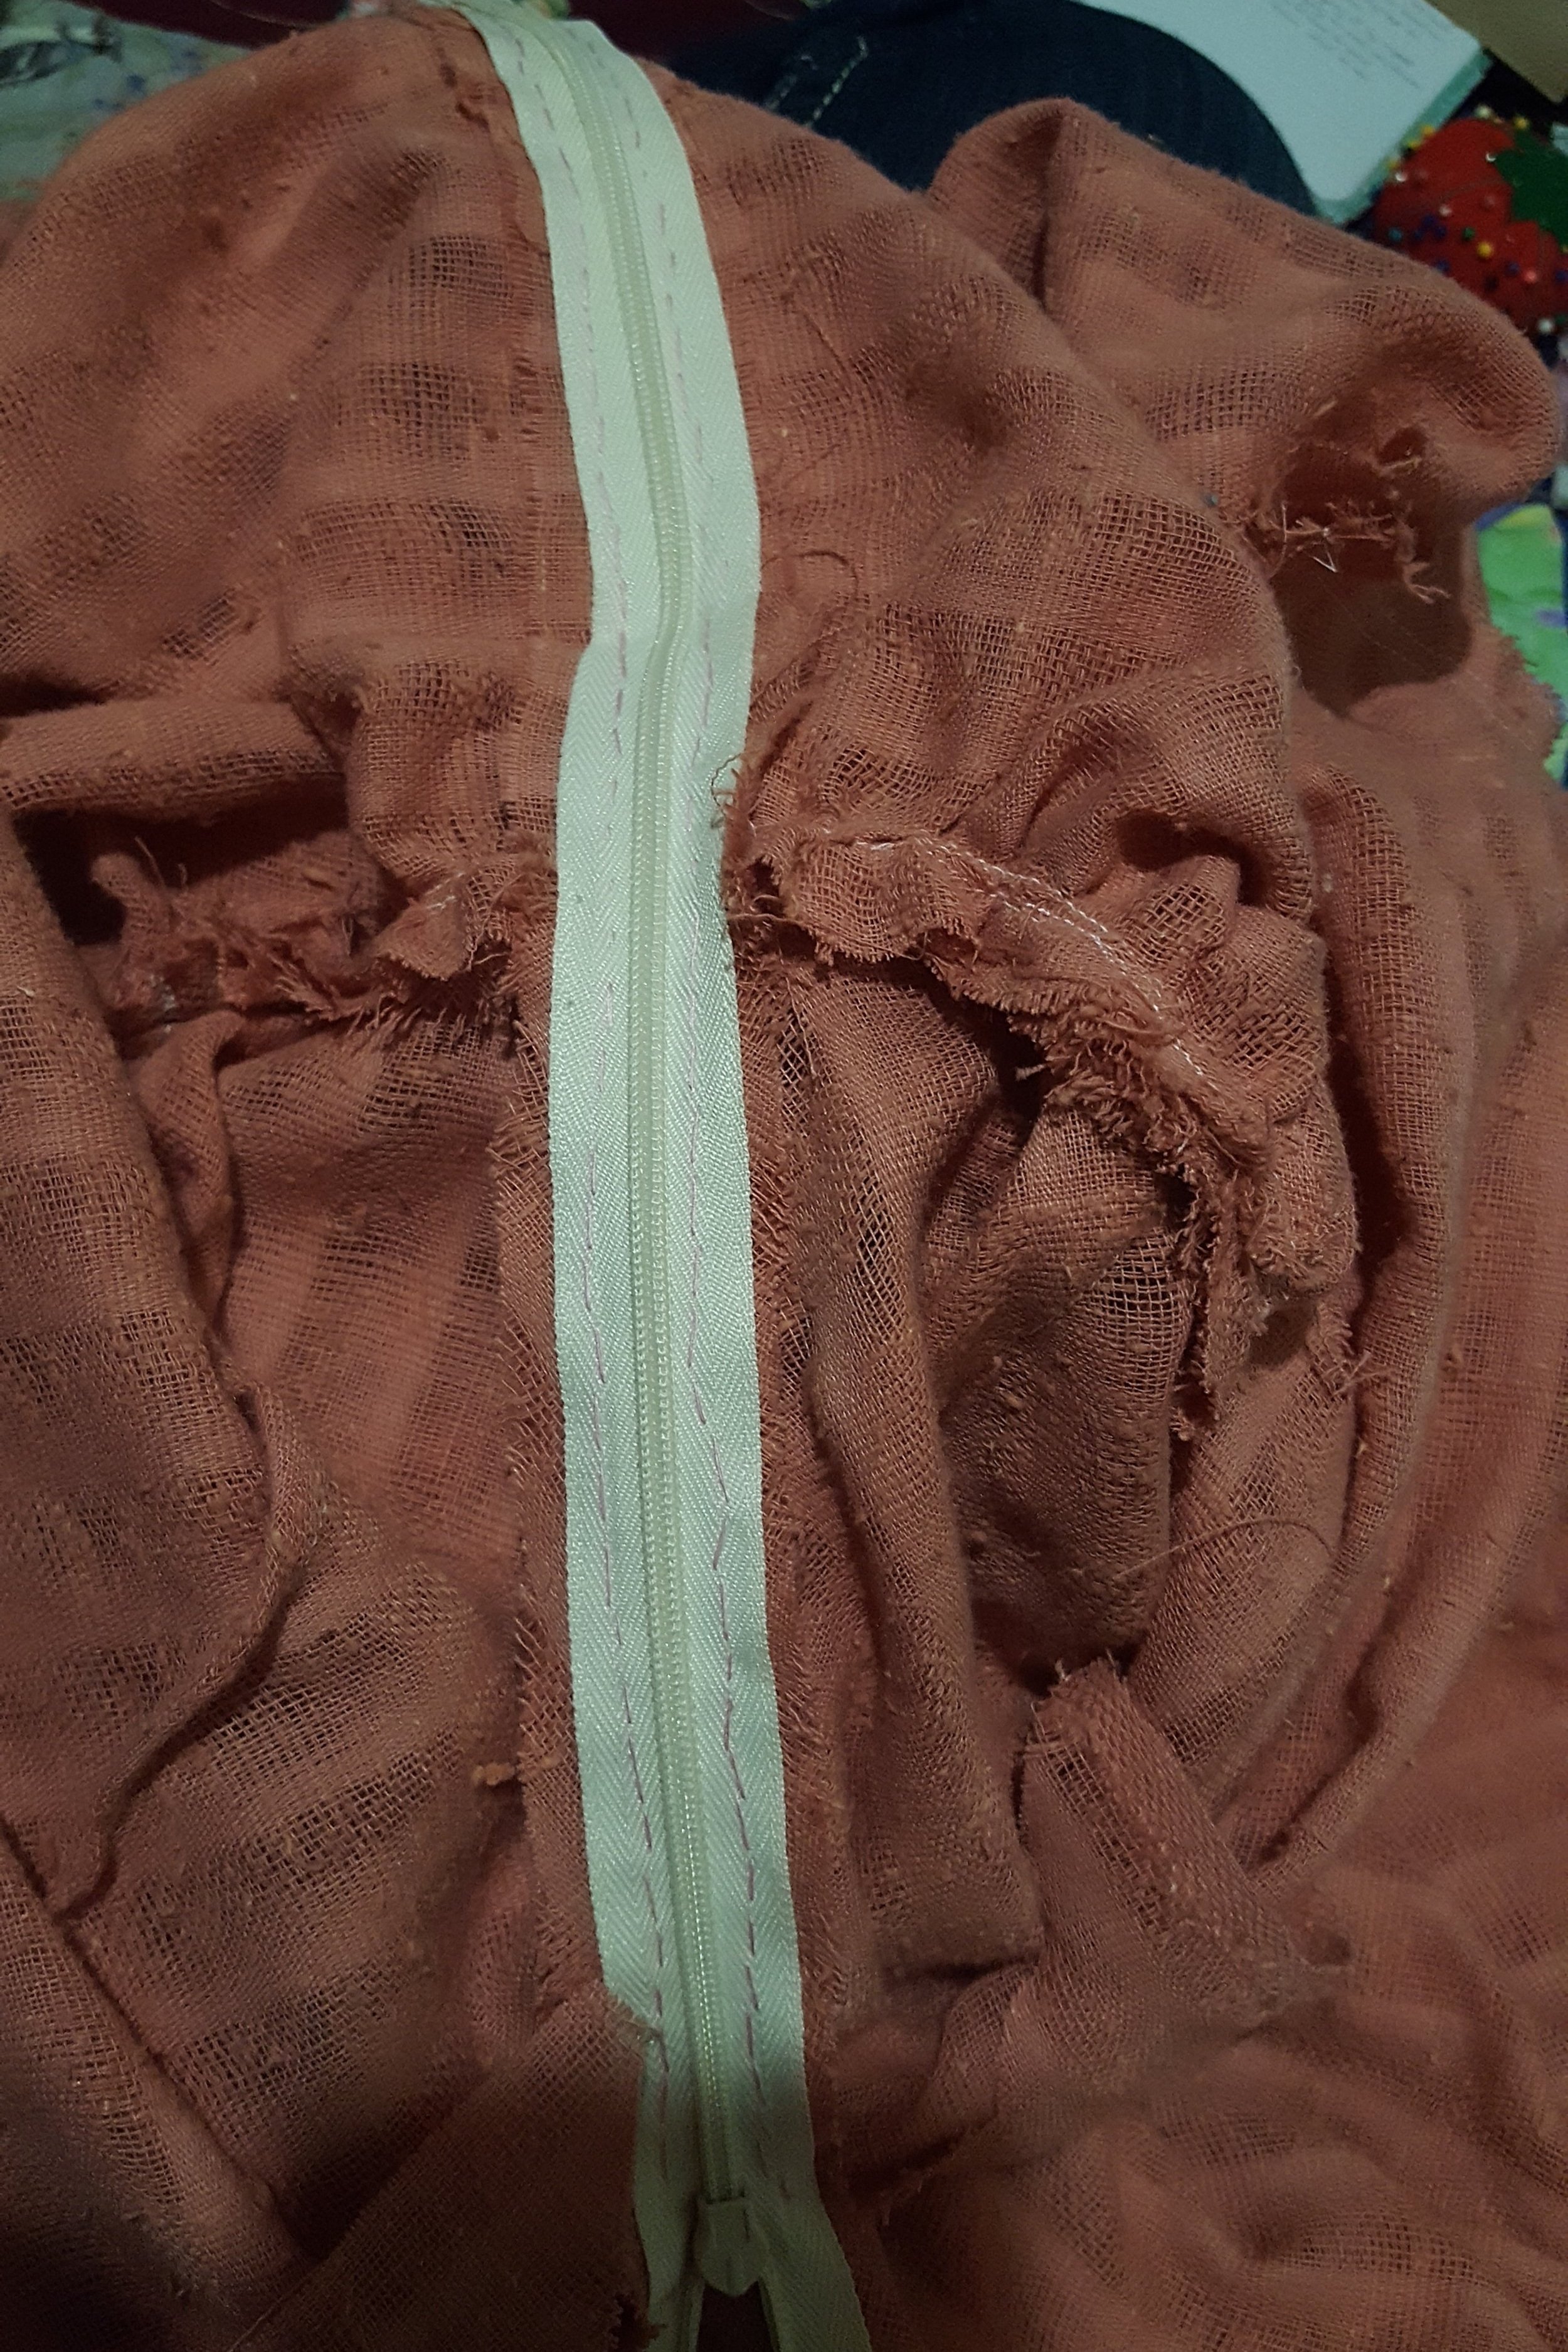
See, it turned out pretty amazing though, so I will be doing that again. As I remember it didn’t take me that long either.
The sleeves.

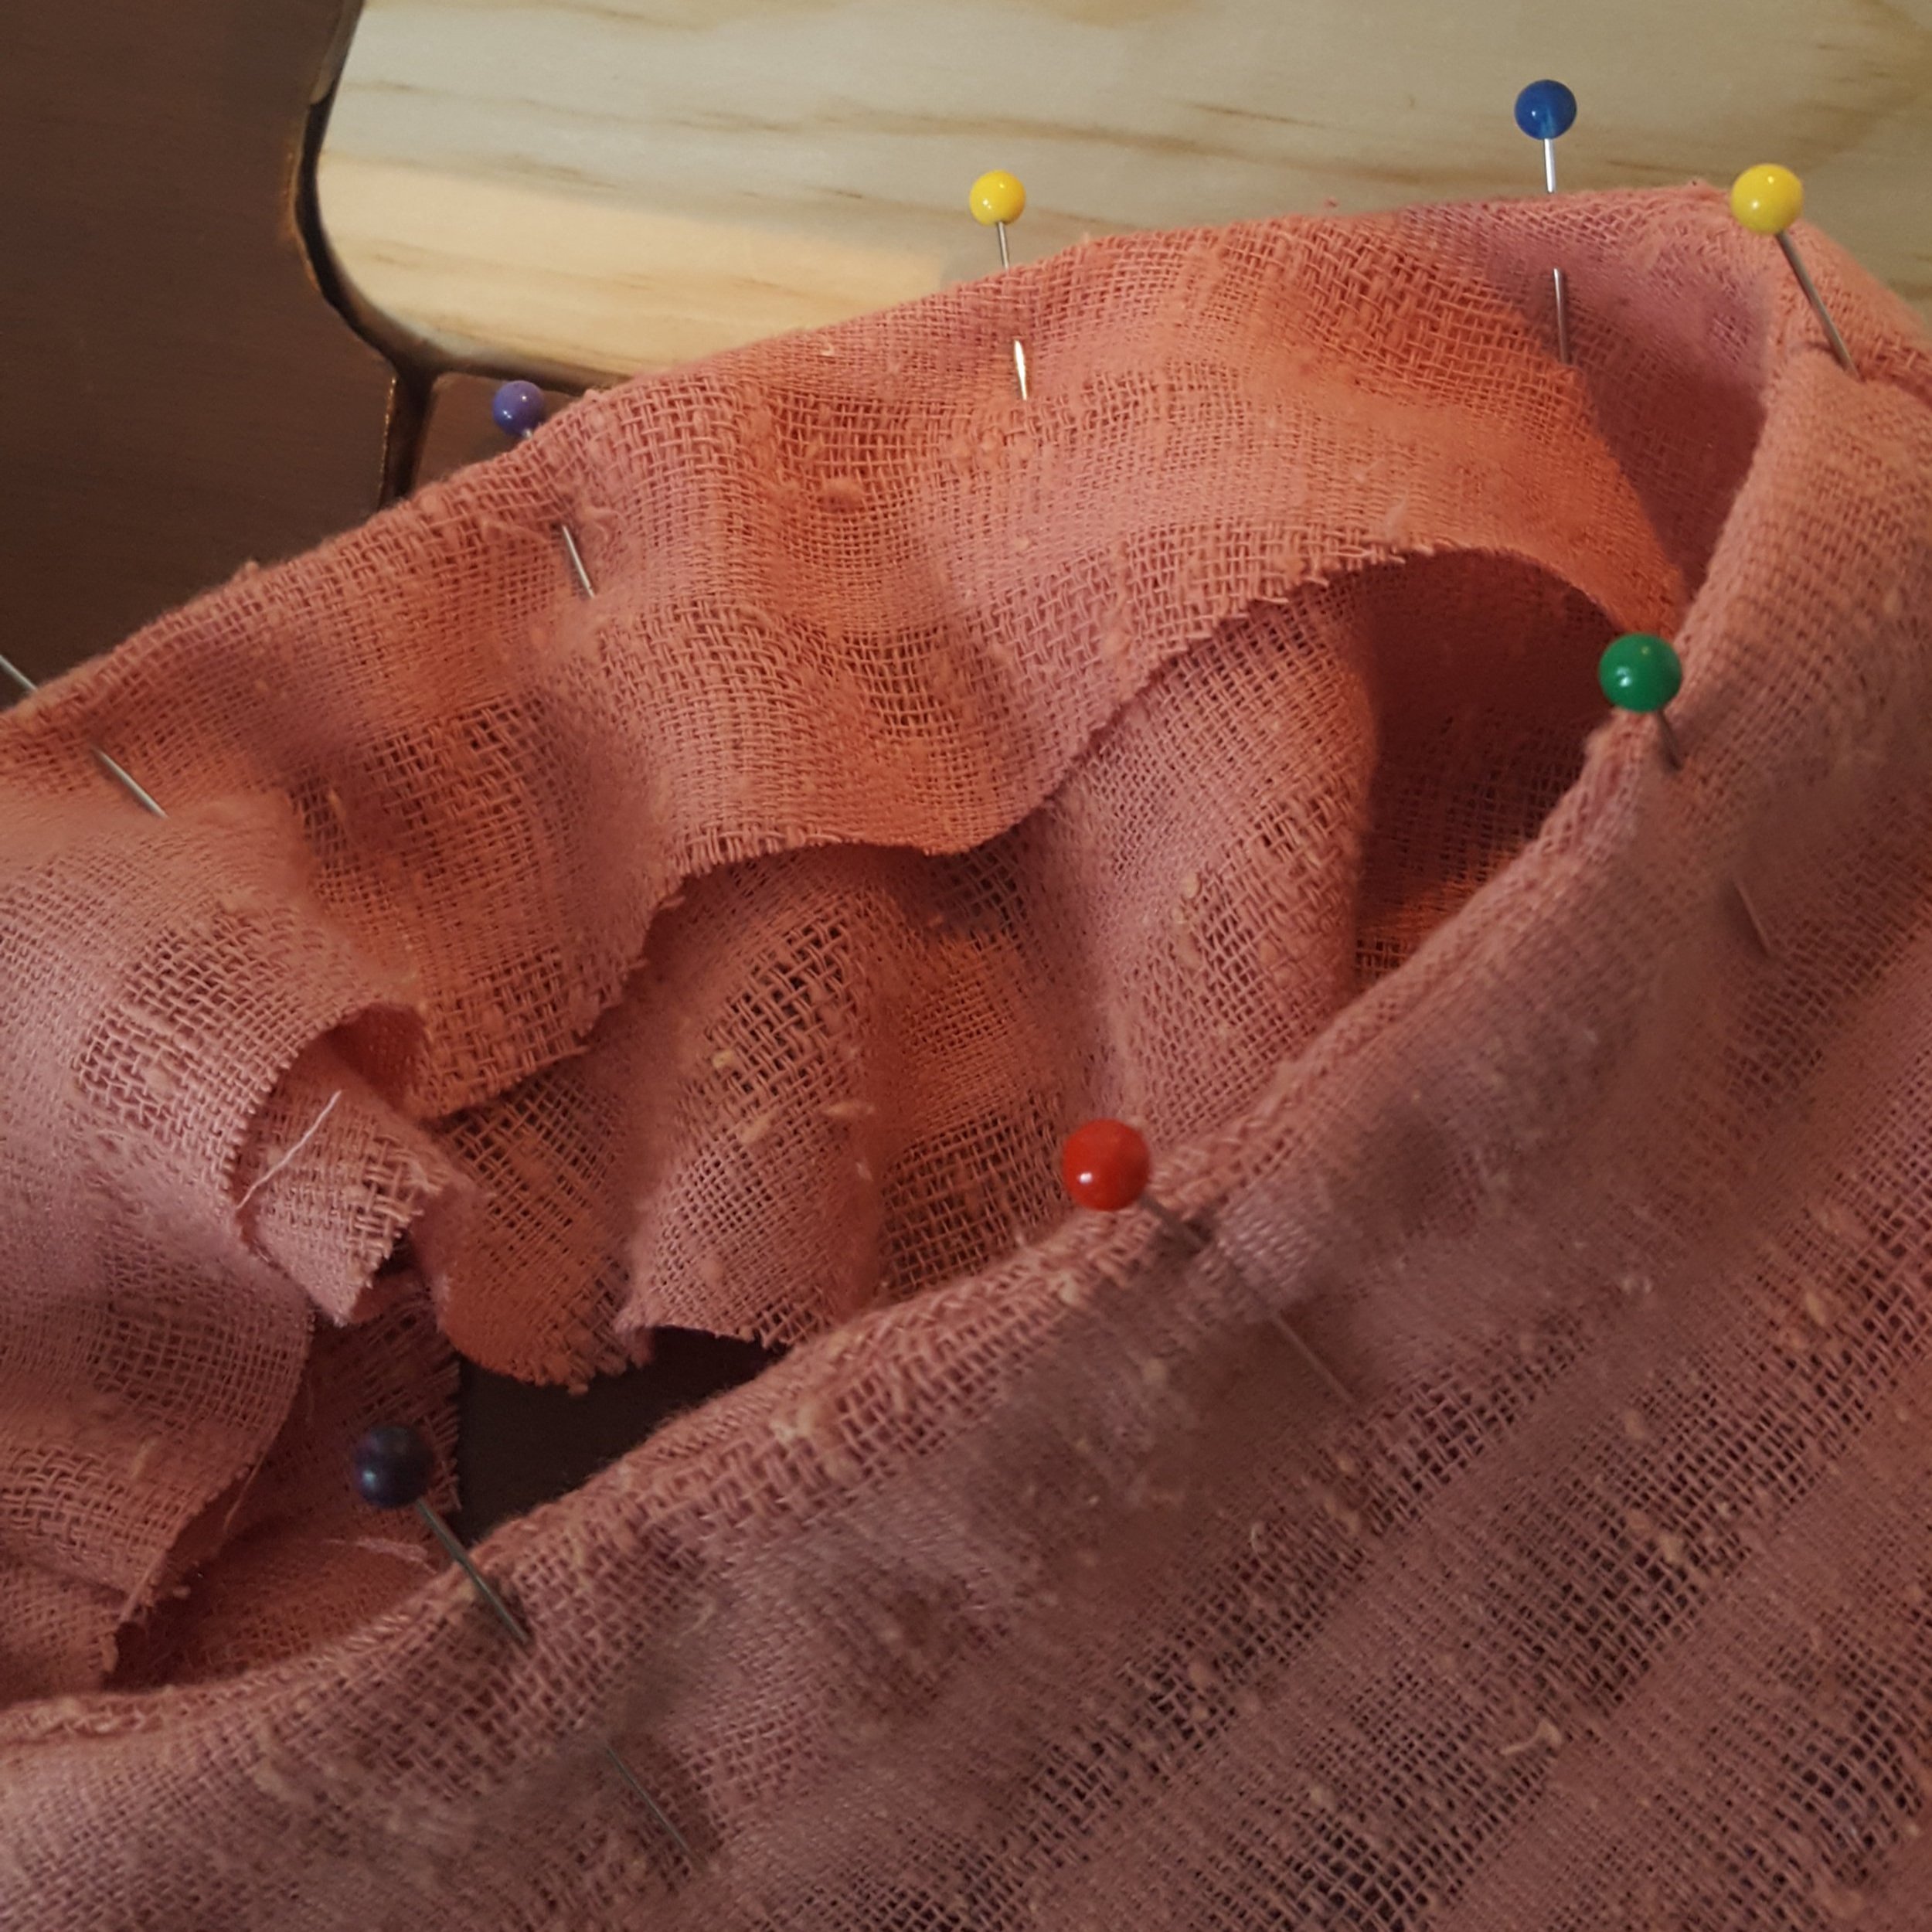
Then I came to this step in the instructions…
Not sure why it’s there. I guess it helps everything settle before completing the dress.

This was as far as I got in February.
There’s pins in the sleeves and the neckline. I don’t think I hemmed it and clearly the waist needs work.
Now that we’ve caught up to the present I’ll go ahead and show the project in it’s finished form.
Ten points for that cringey pose though.

At this point all that I had left to do was sew the sleeves on hem those, hem the skirt and that was that.
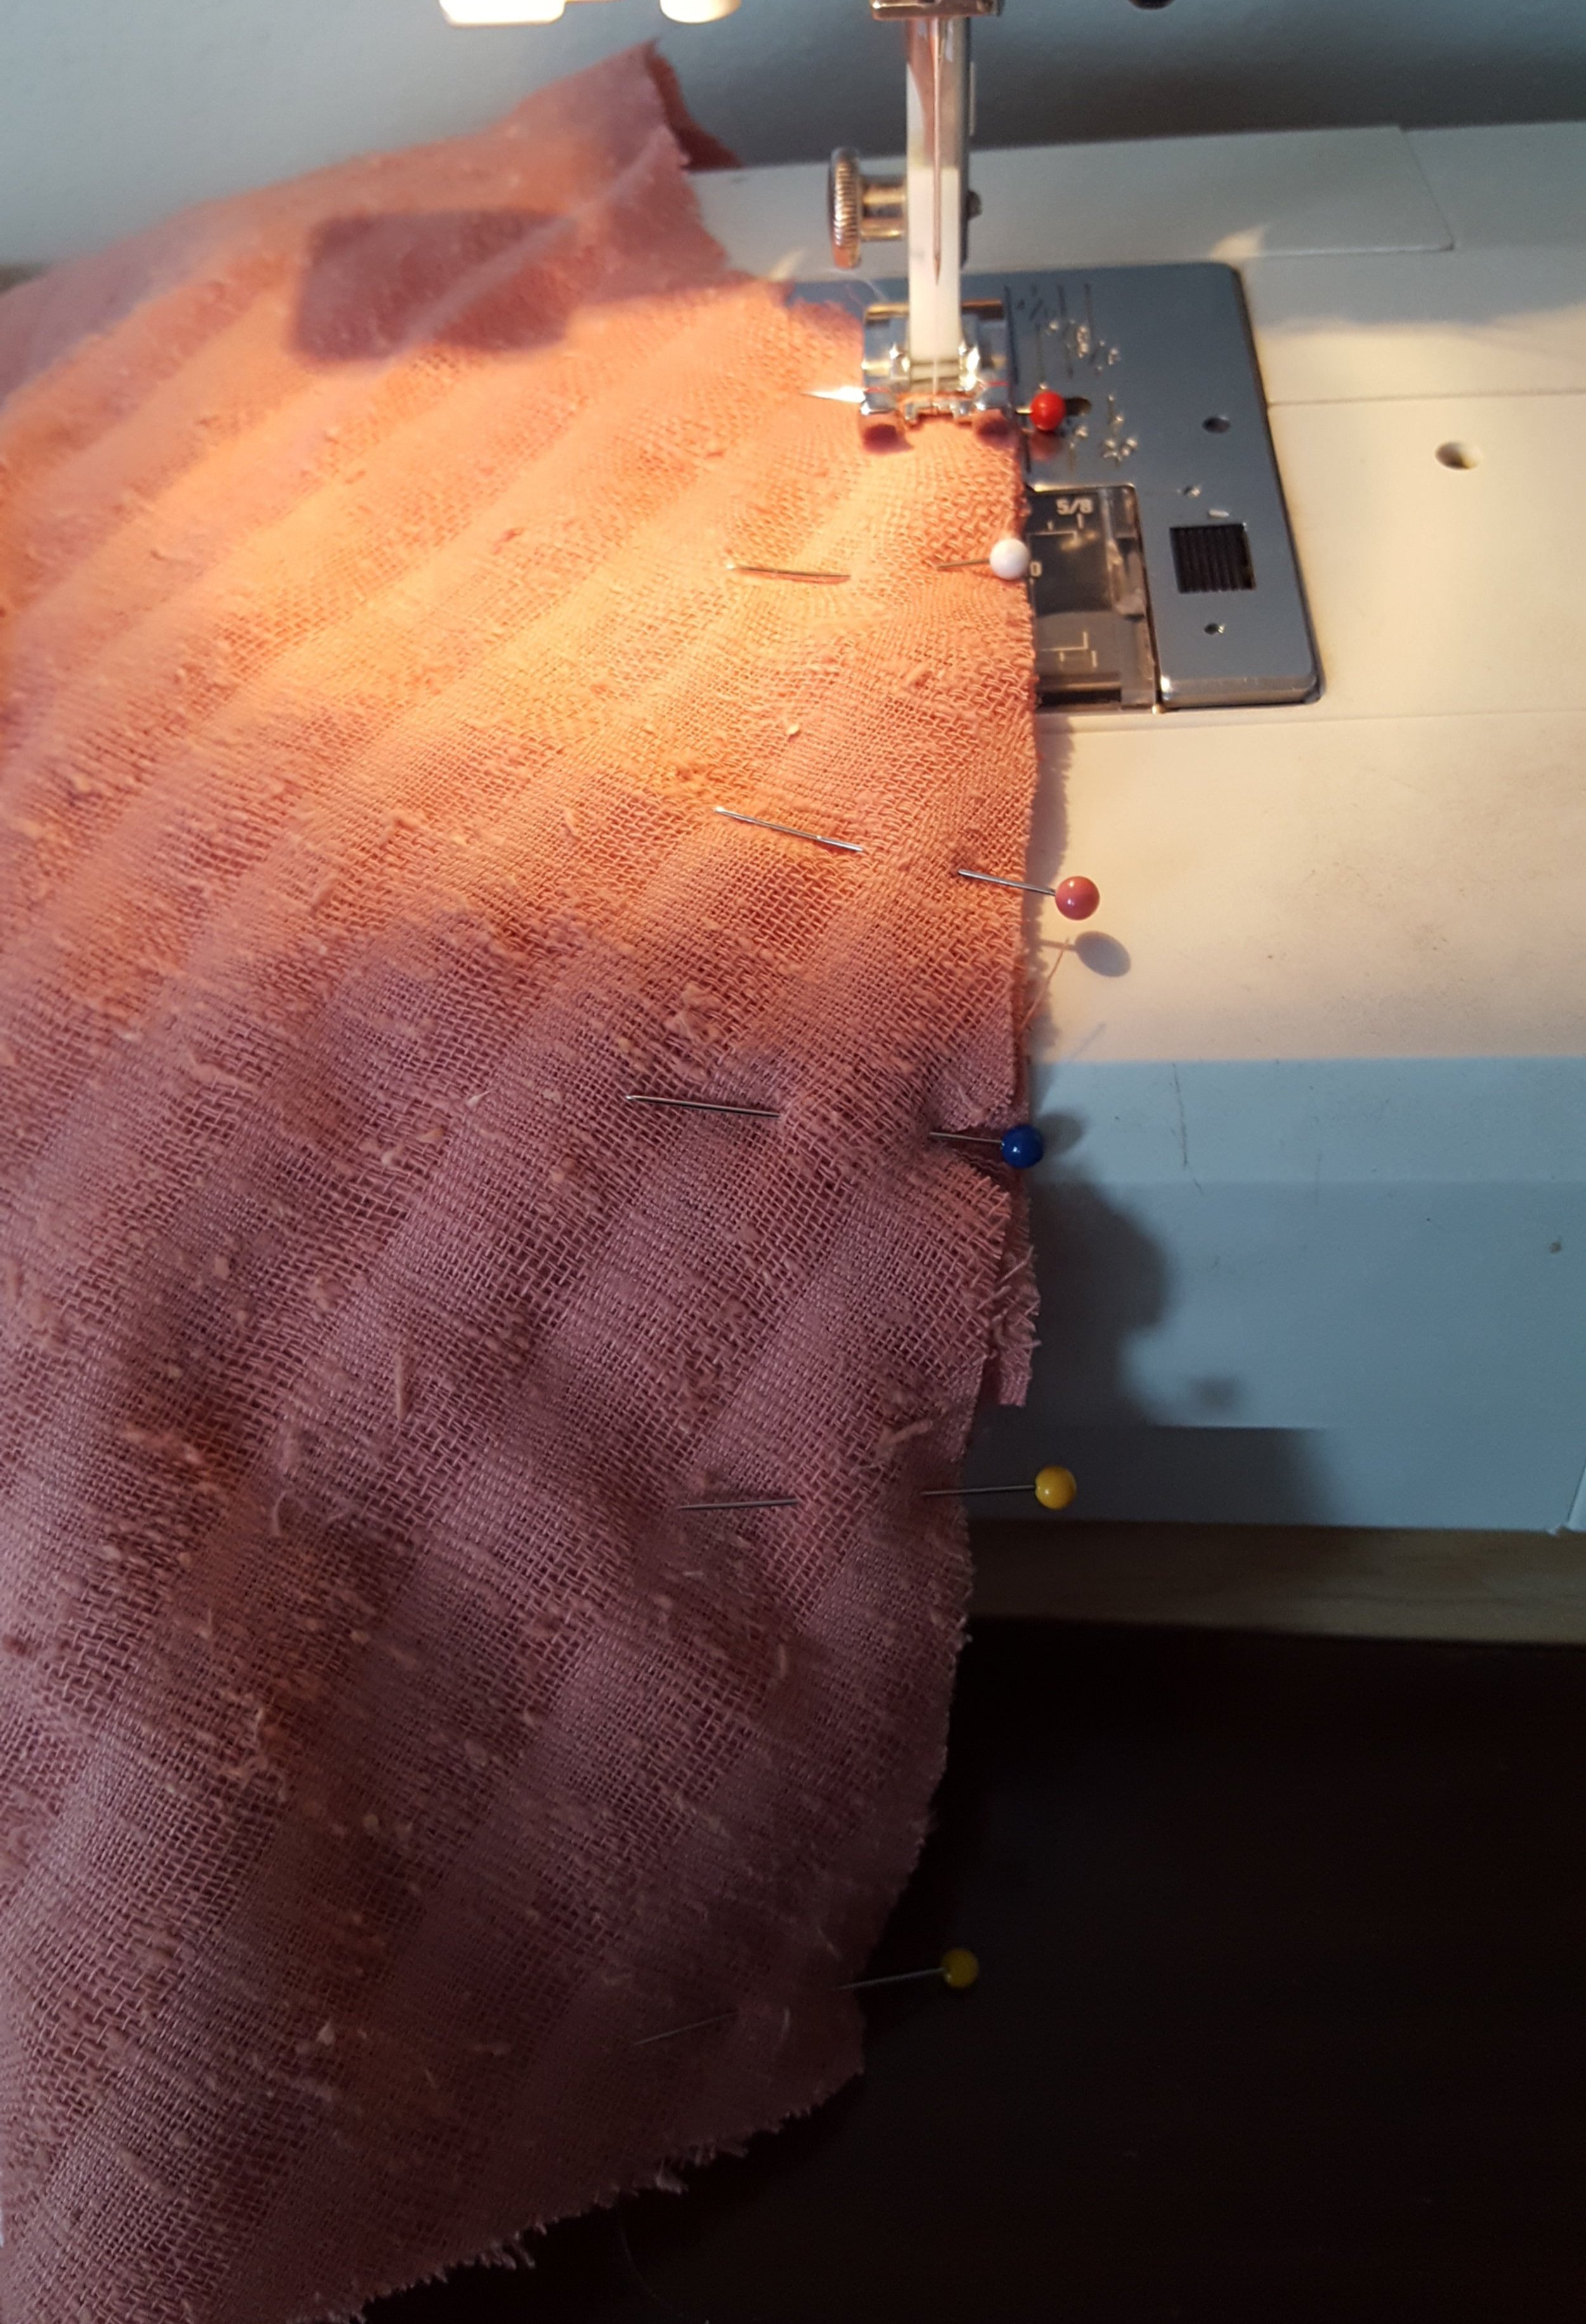
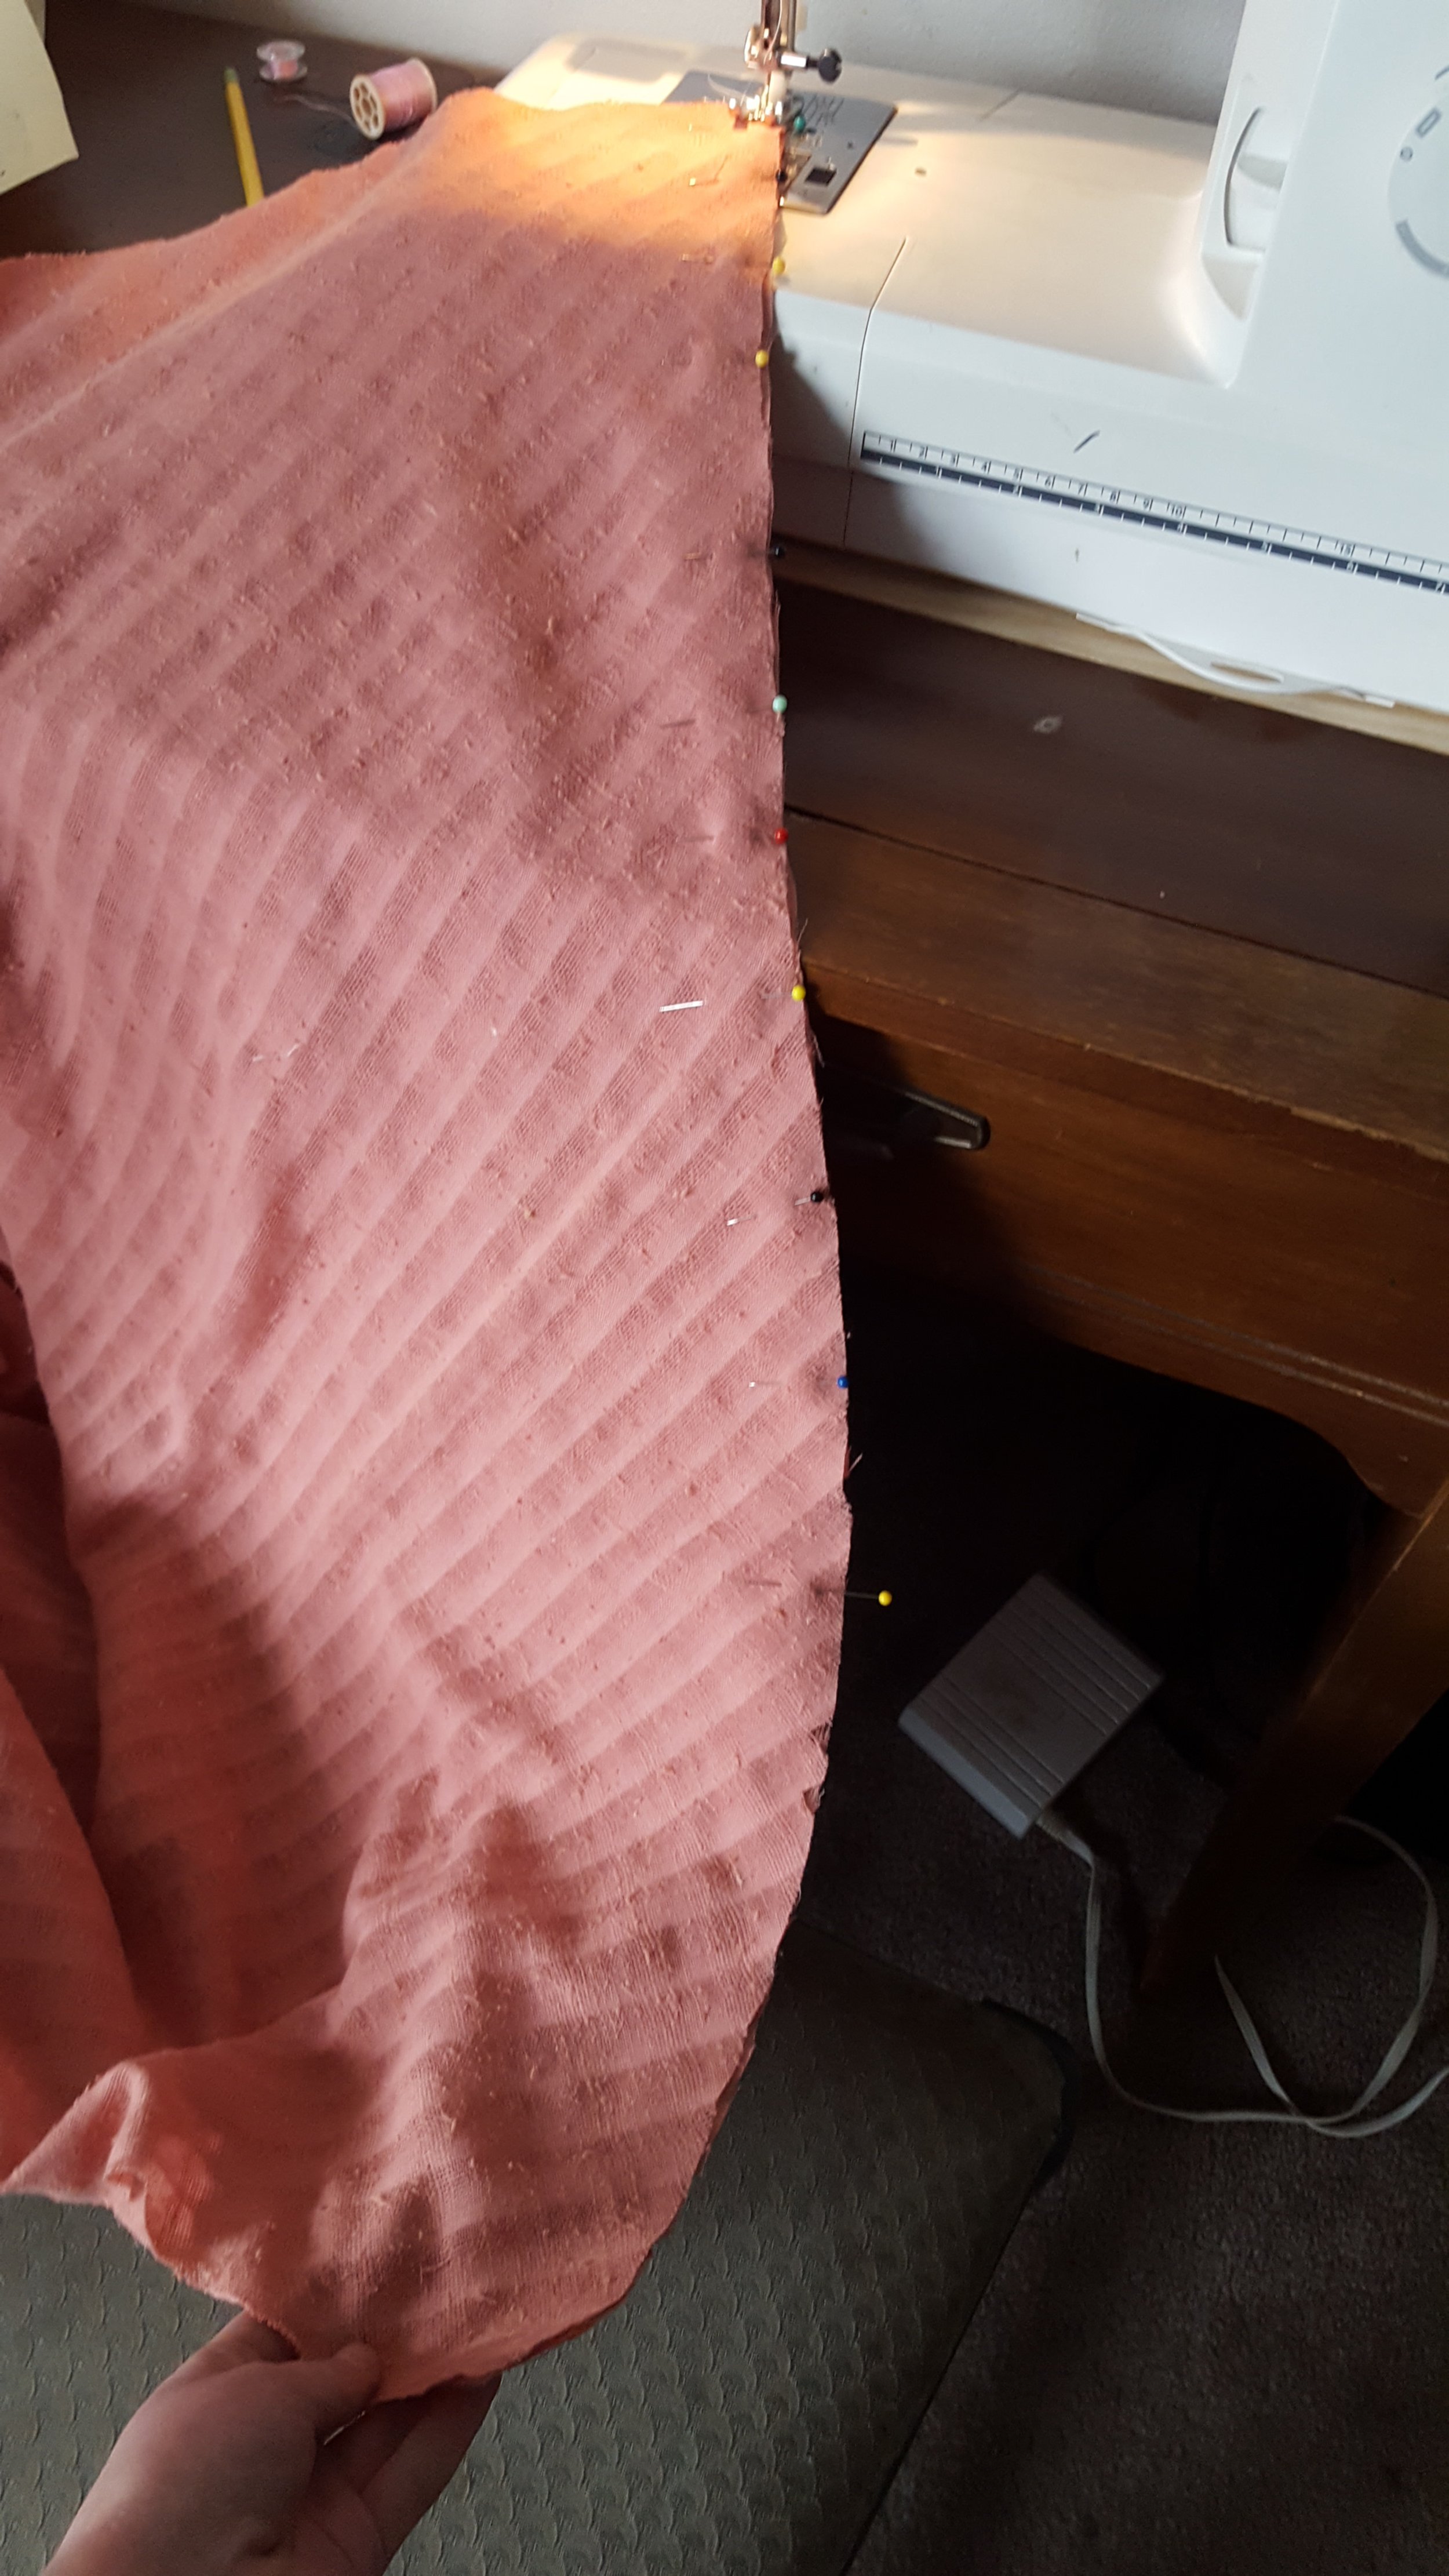
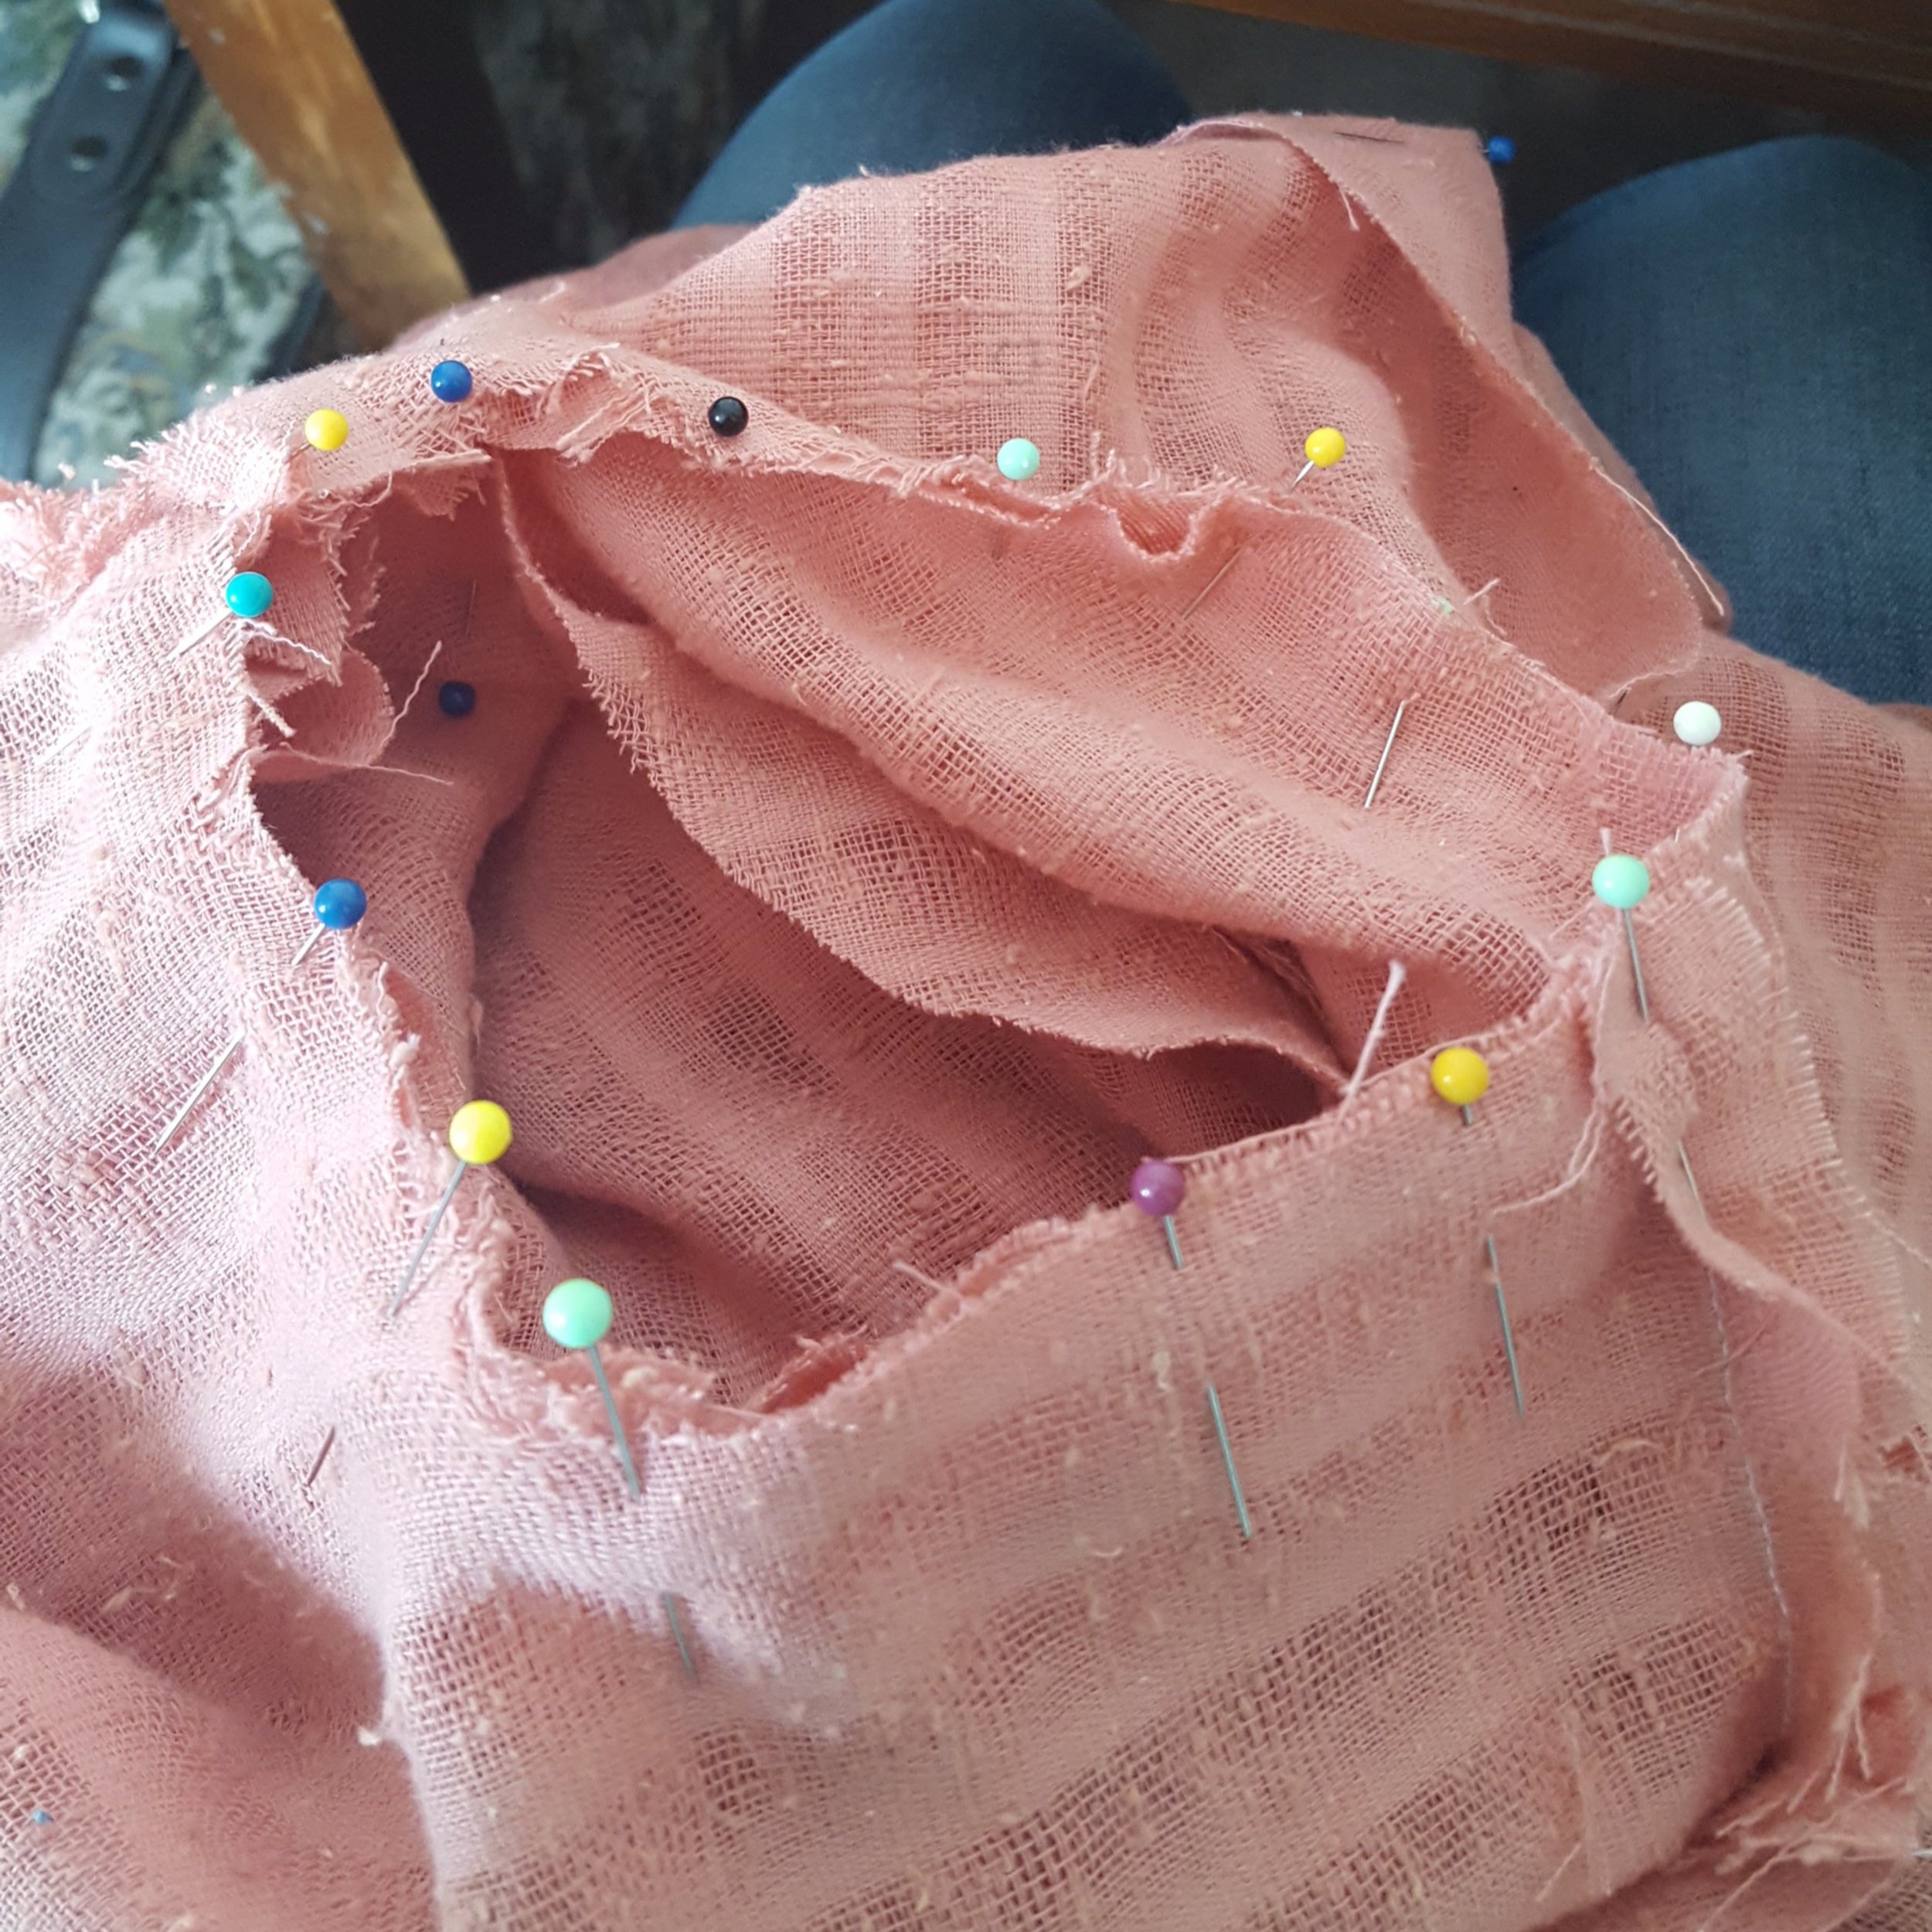
The skirt turned out to be a lot bigger than I remembered it was. It’s a very full skirted dress to say the least. Which means there is A LOT of hem to sew.

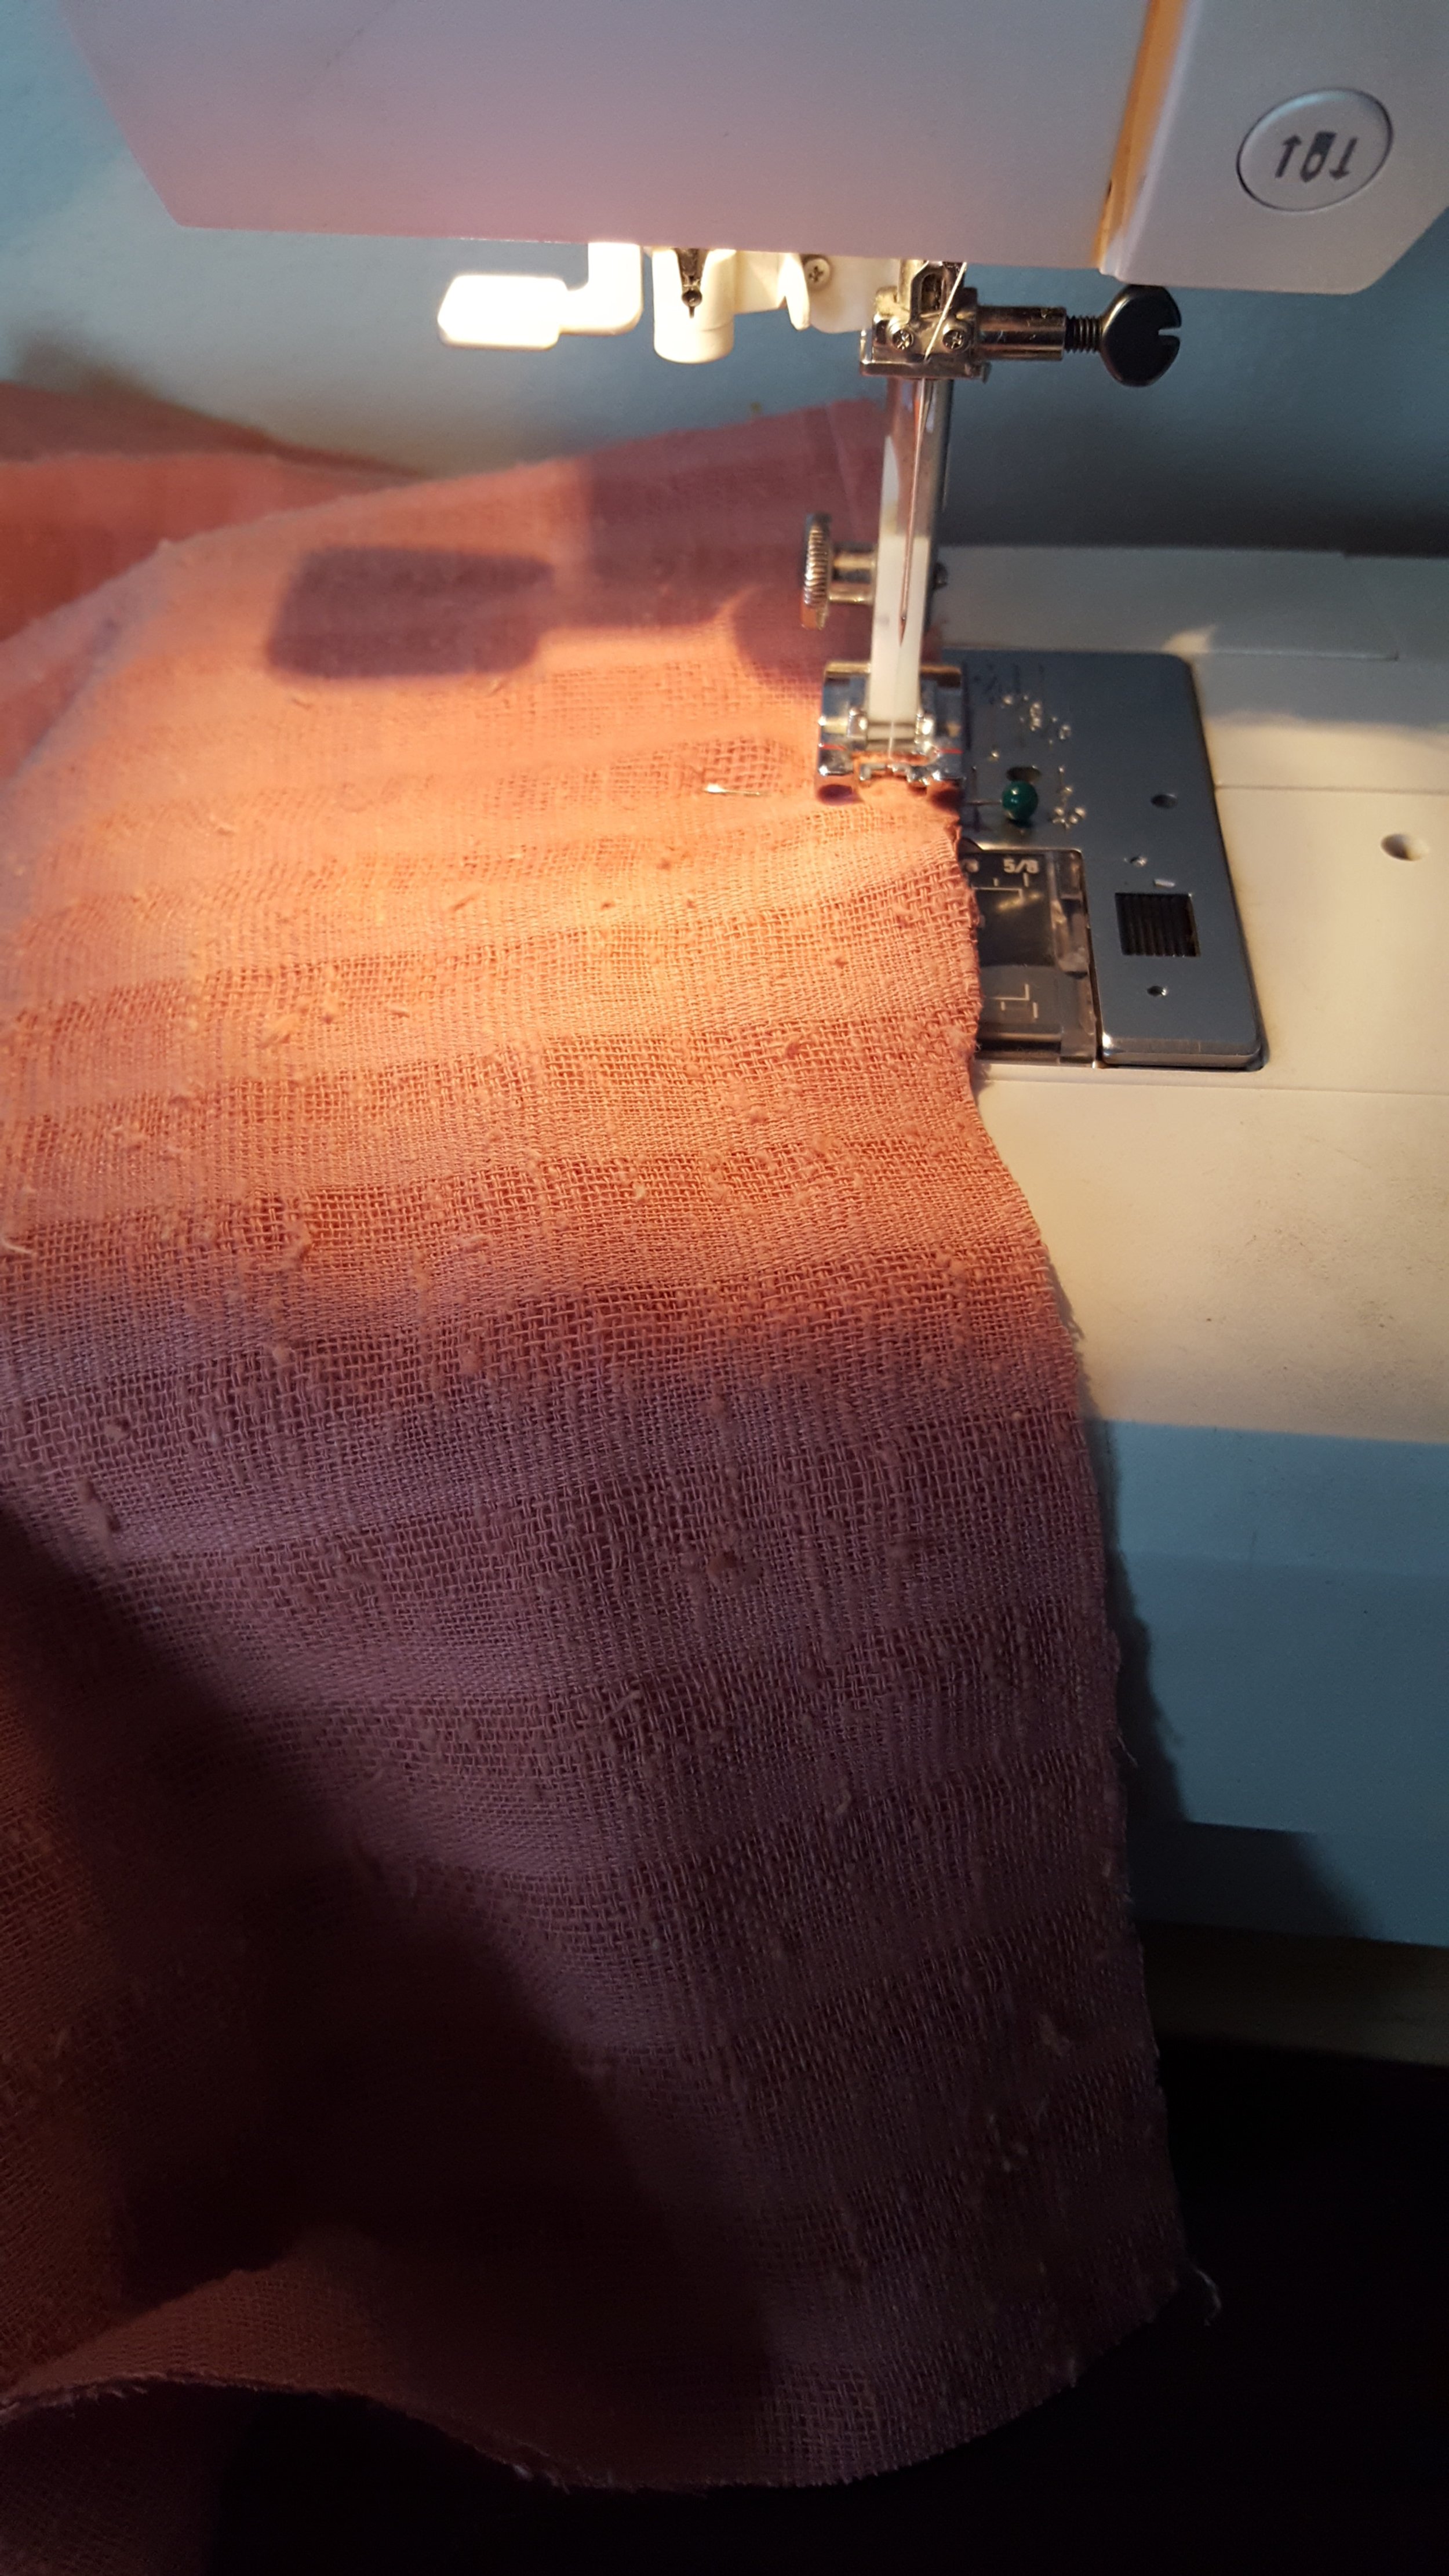
I used literally every single pin in my pin cushion to double fold the hem in.
Once I’d finished sewing that the dress was done!
Now after nearly a year of work (not consecutive), I present to you the finished (not super historically accurate) 1950’s inspired swing dress.

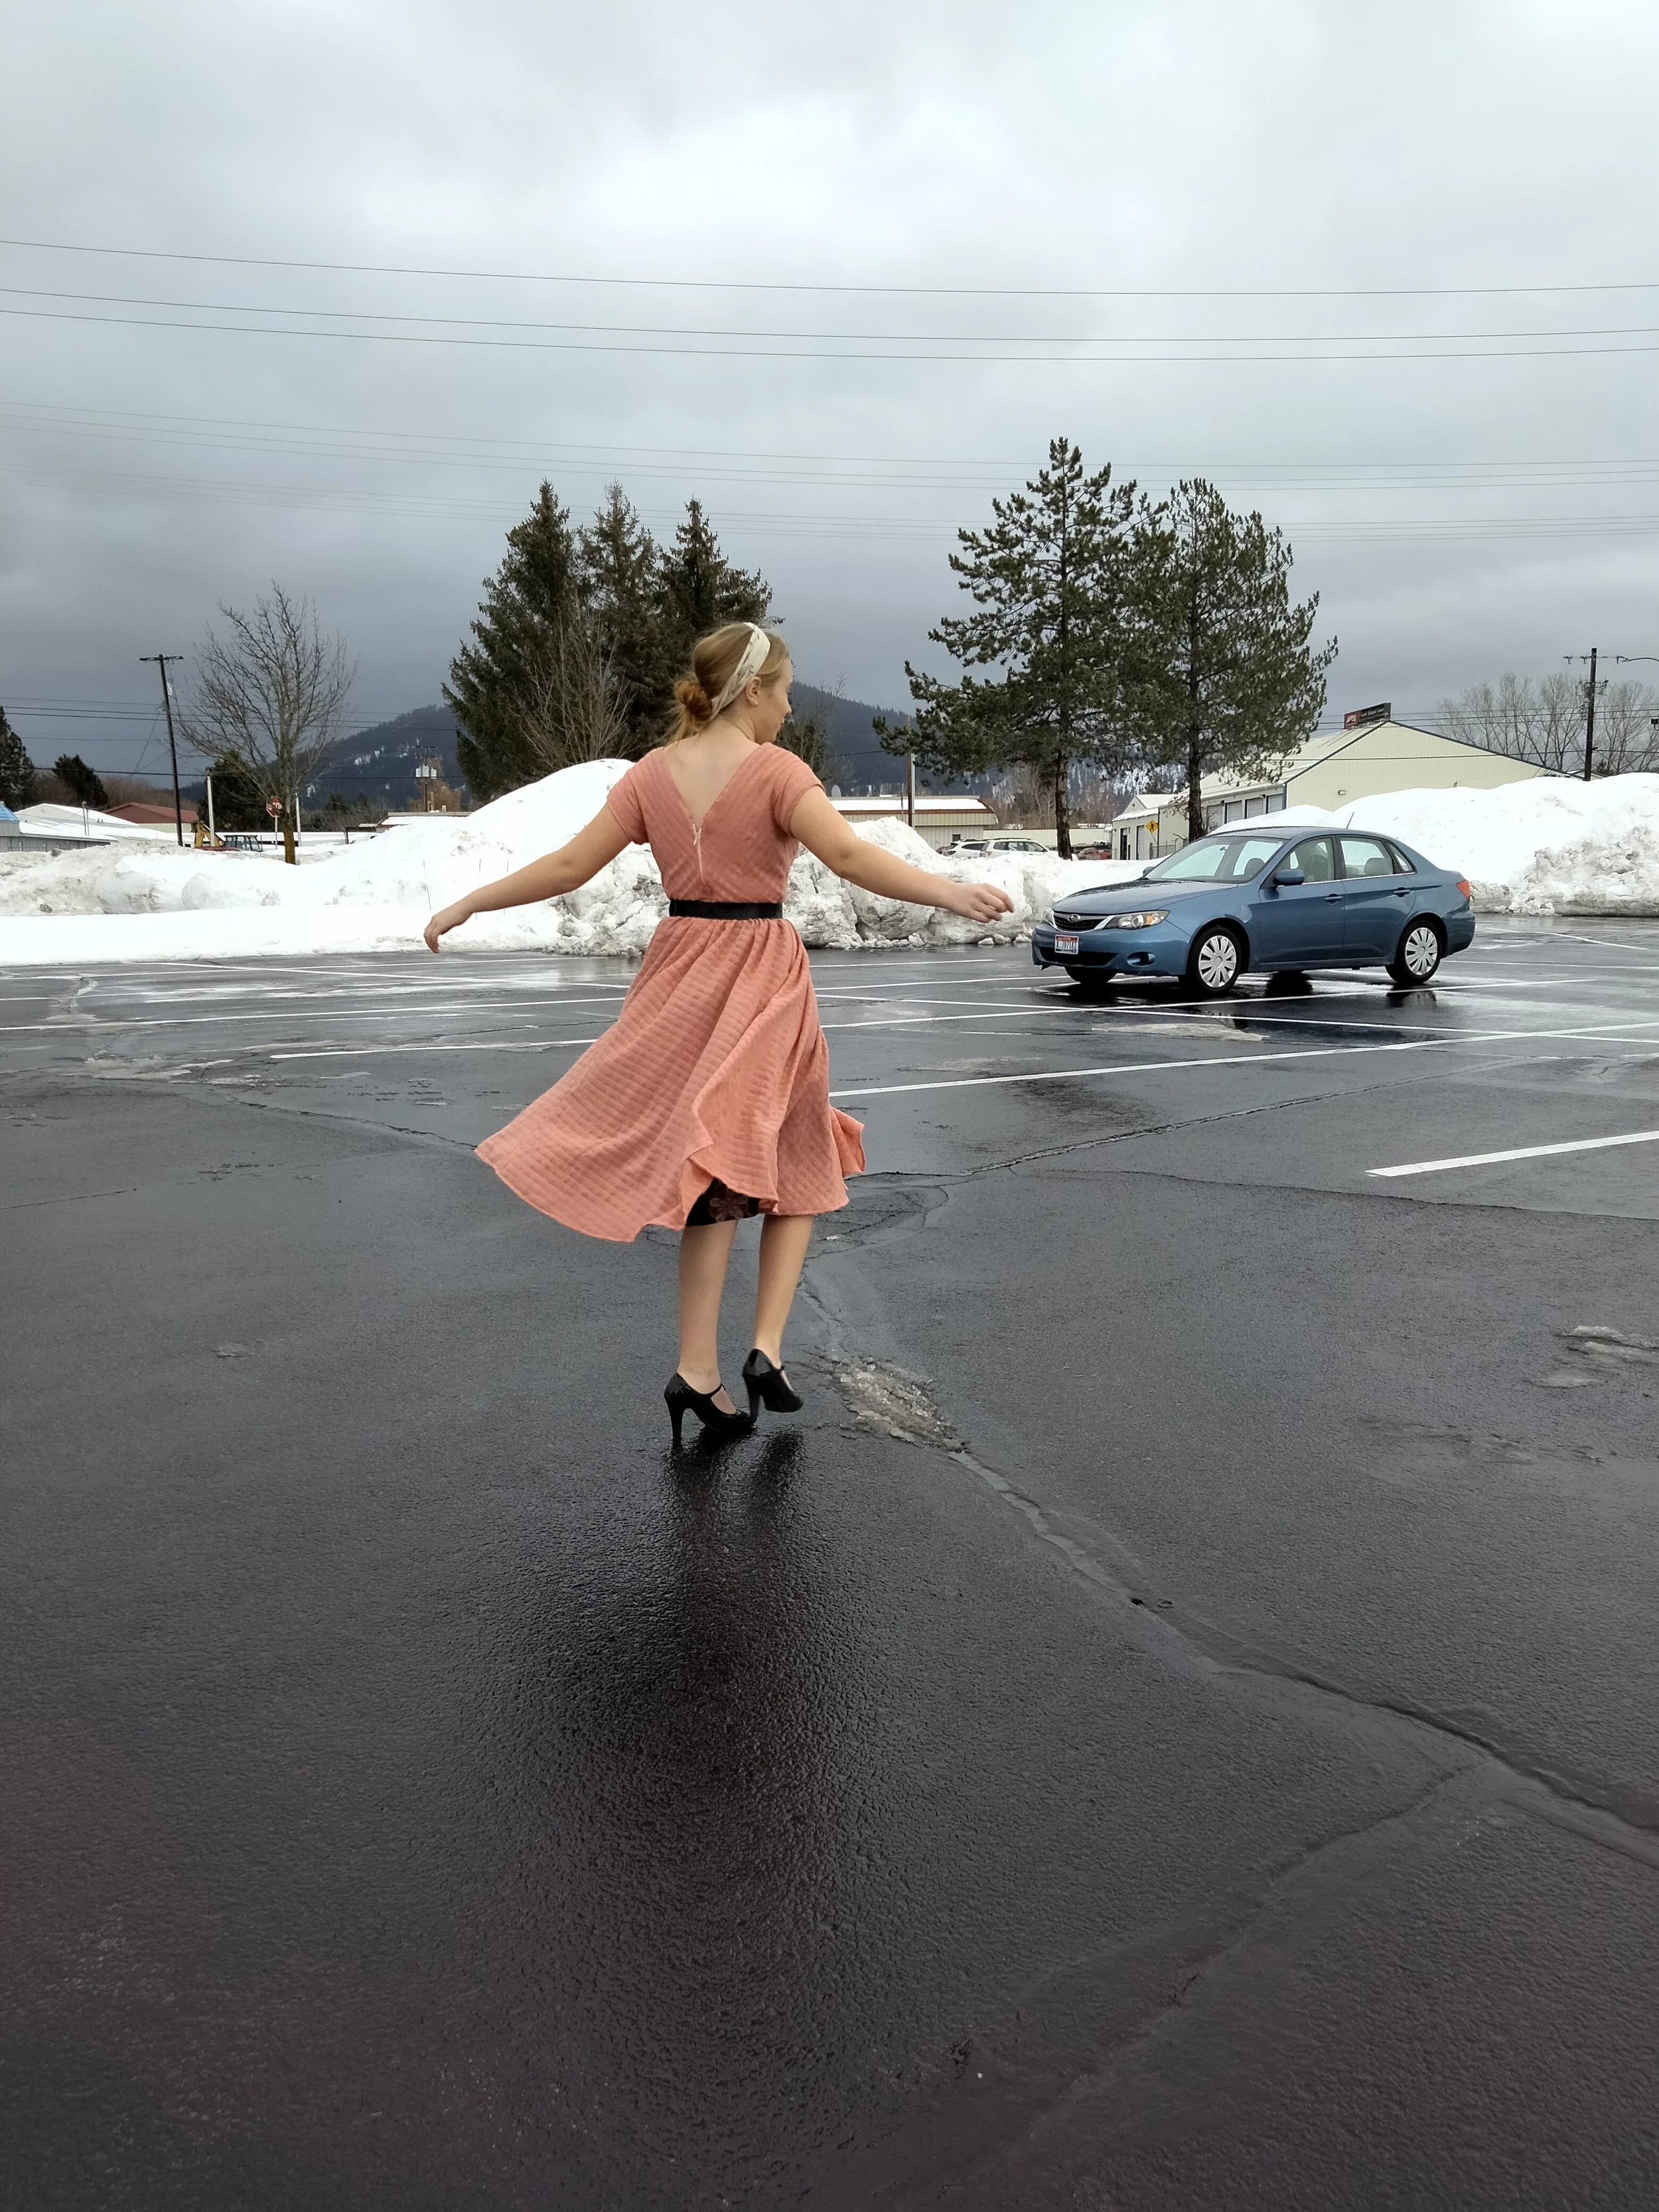
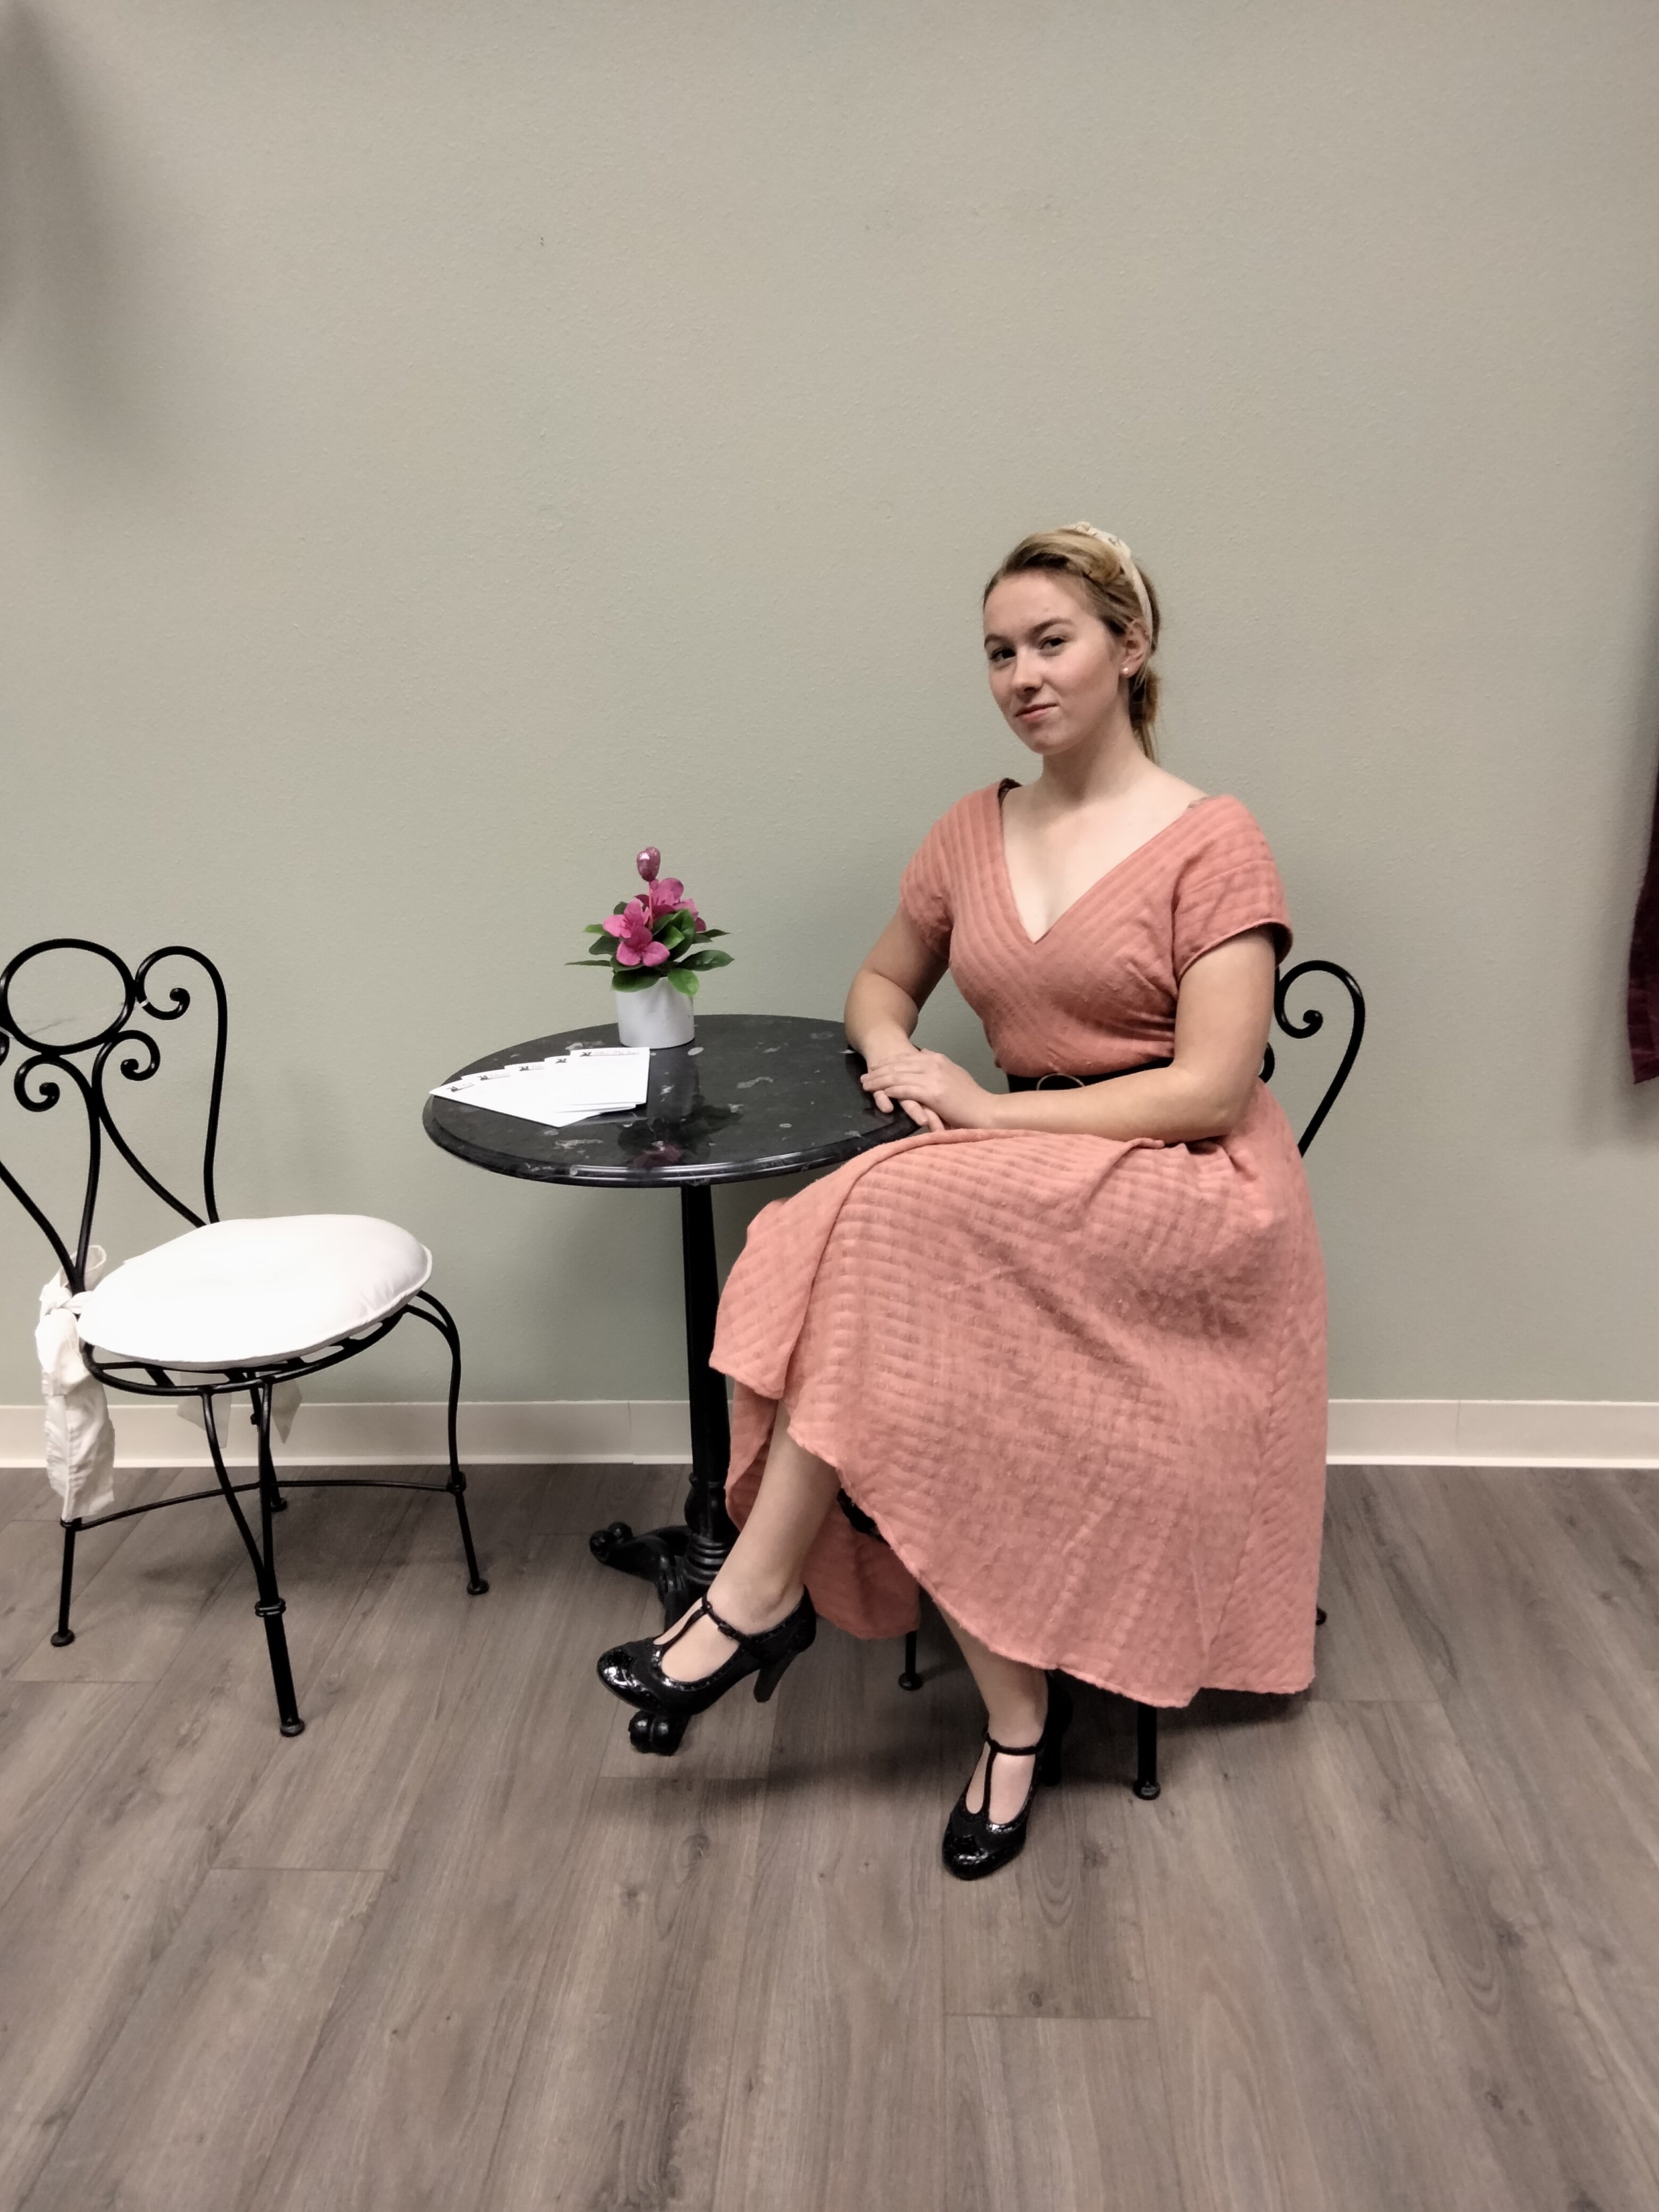
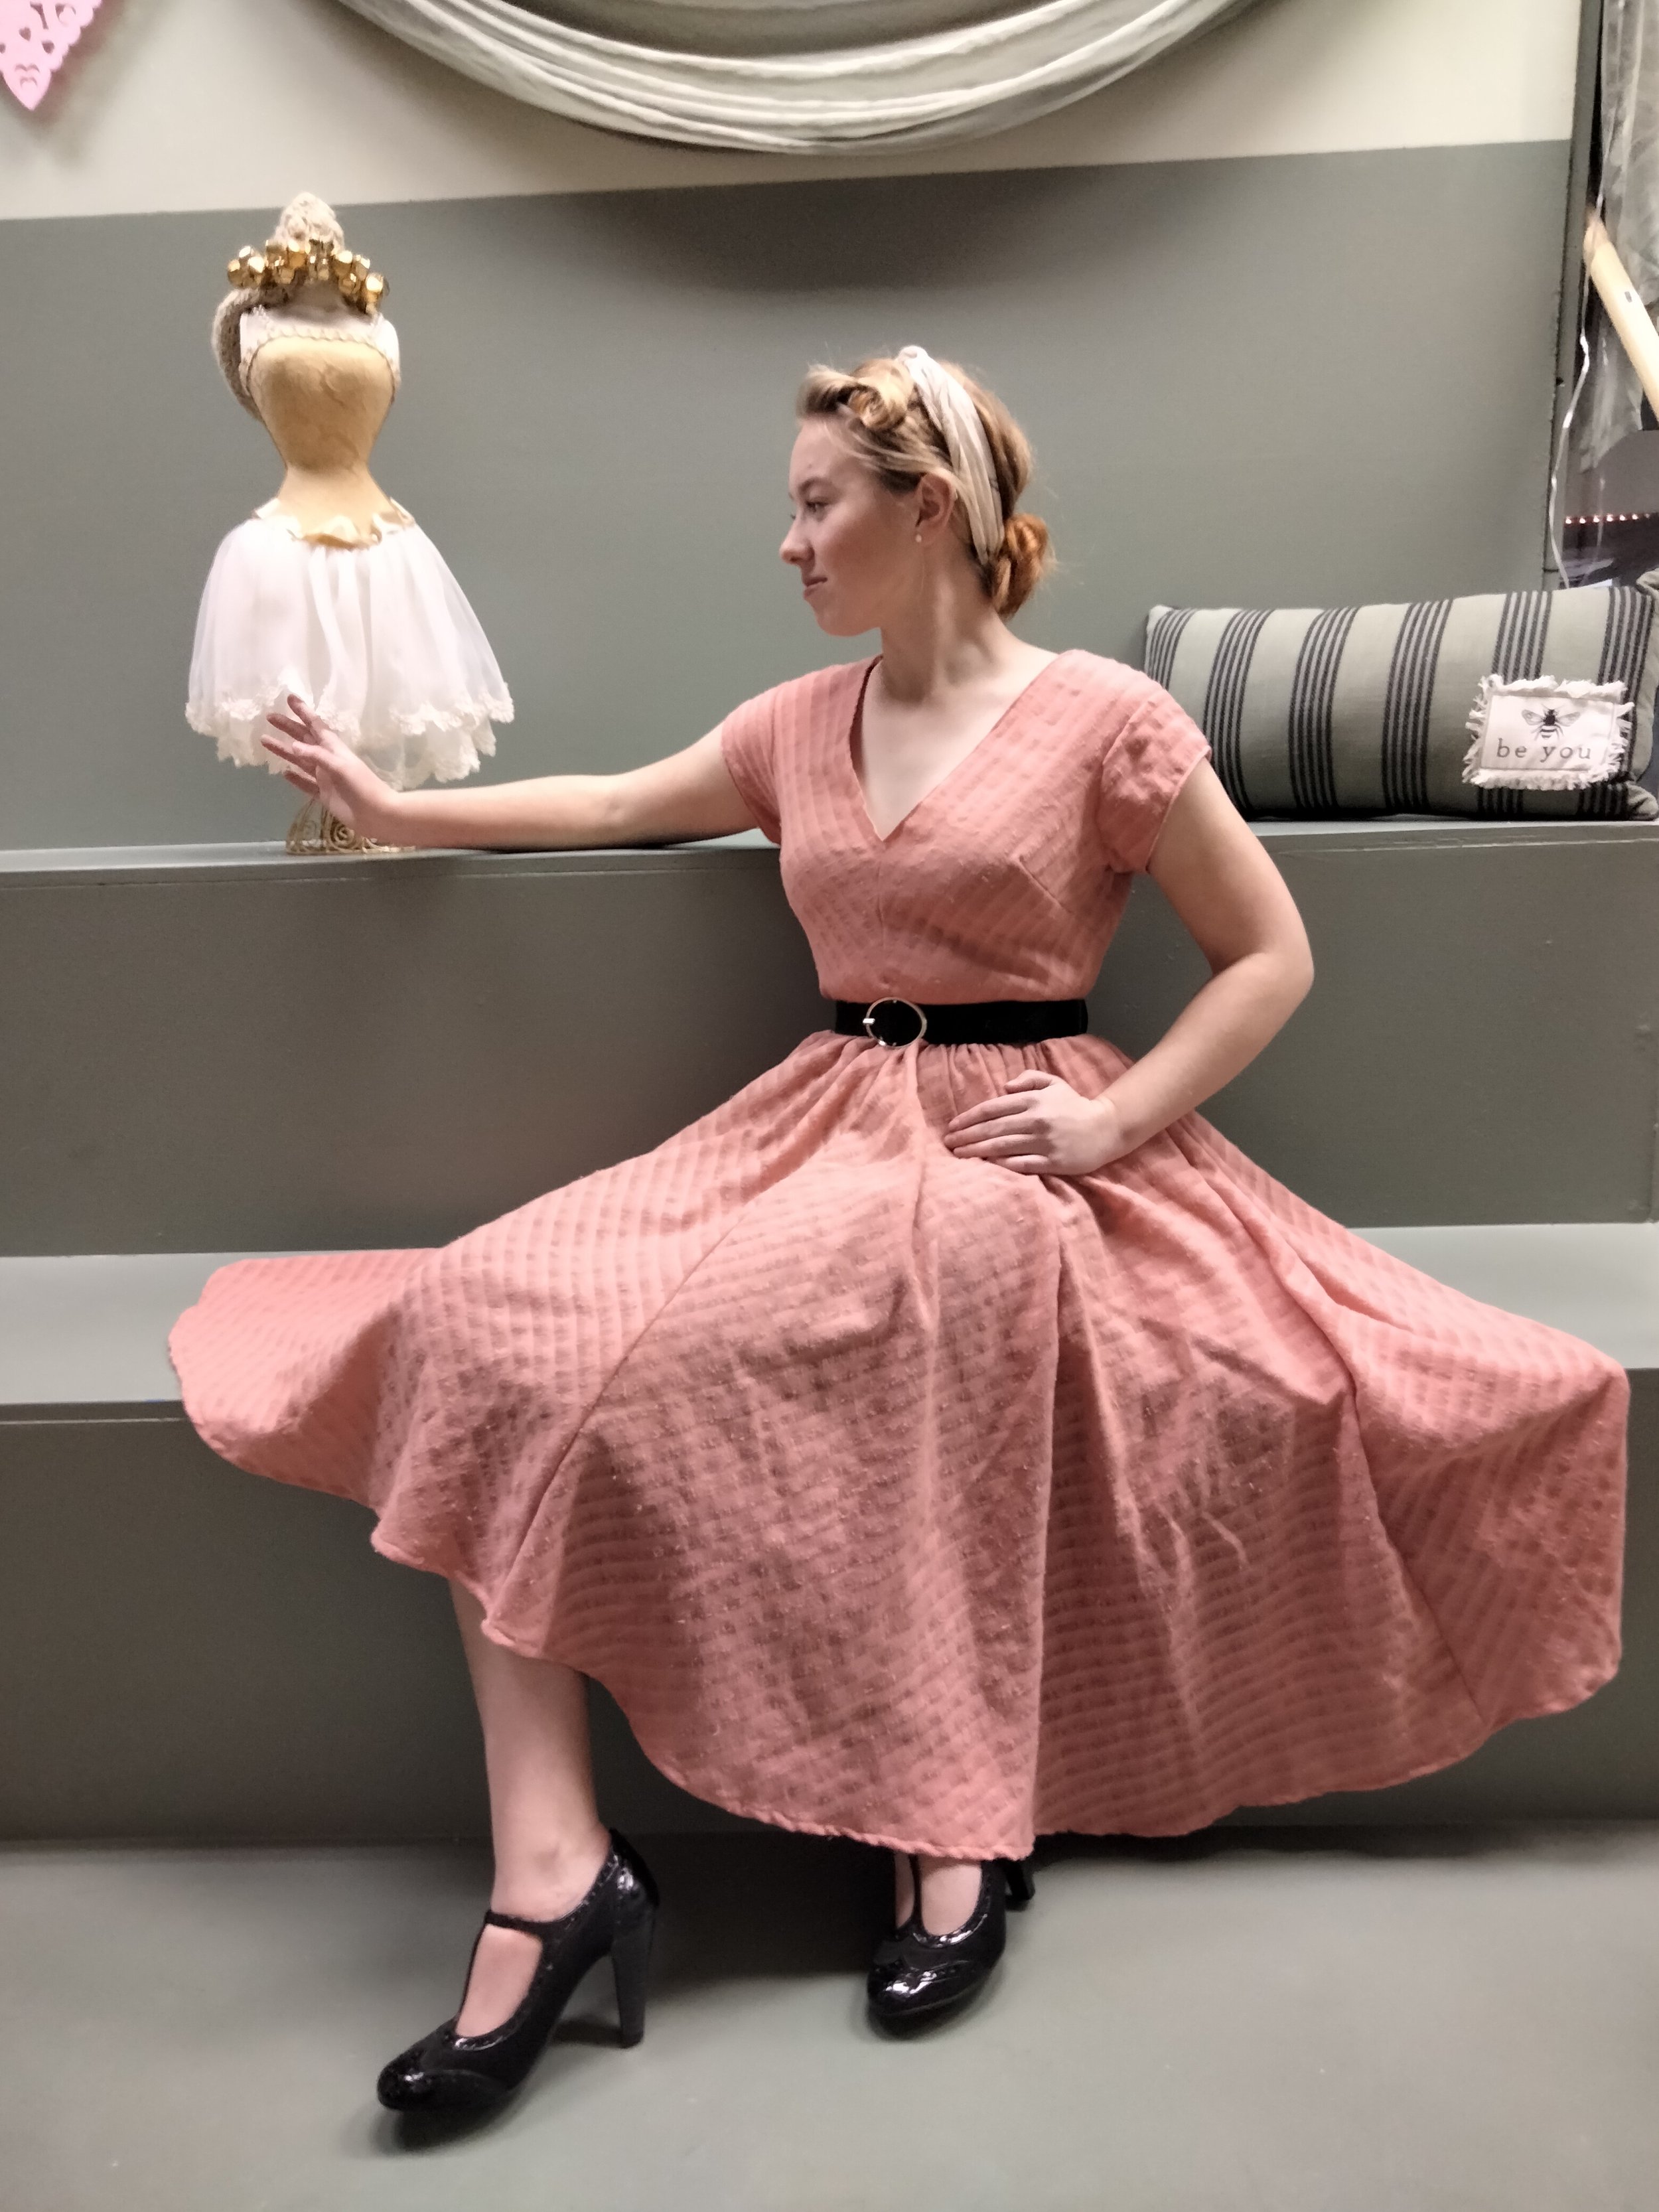
Overall, I like this dress. I think the fabric wasn’t the best choice for making a dress as it literally has no stability. The waistline could have turned out better, as it is it’s kind of bunchy and shapeless, but with a belt that pretty much goes away completely. Again, I think that just goes back to the structure of the fabric, in that it has no stability. It stretches in every direction and is super lightweight. For what it is, it turned out as best as I can expect it would. I want to try this pattern again with a different material and see if I come out with different results, but for now I’m just glad that this dress is finally (and I do mean finally) done!!
Thanks for reading!